


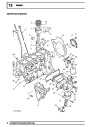


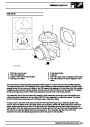


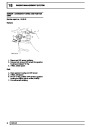


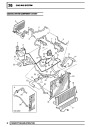


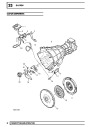


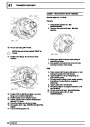


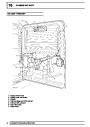


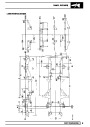
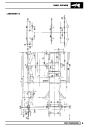


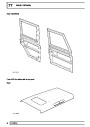


12
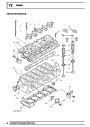
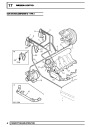
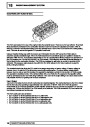
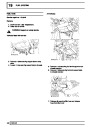
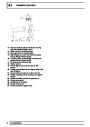
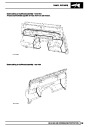
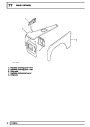
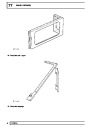
ENGINE
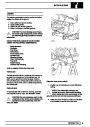
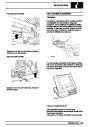
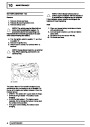
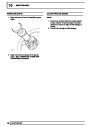
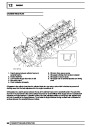
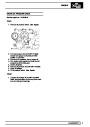
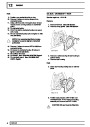
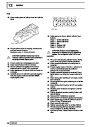
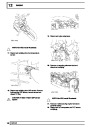
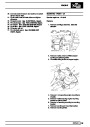
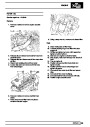
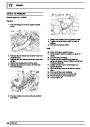
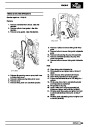
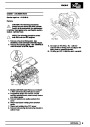
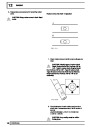
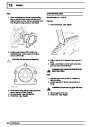
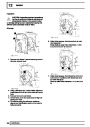
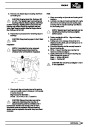
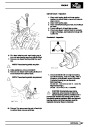
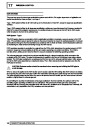
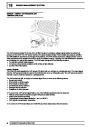
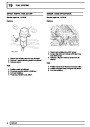
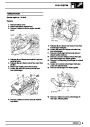
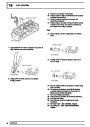
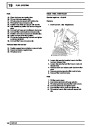
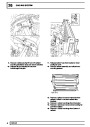
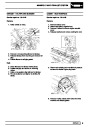
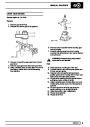
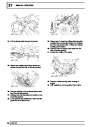
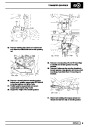
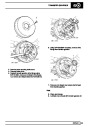
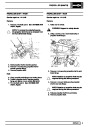
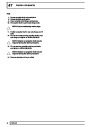
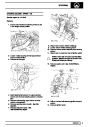
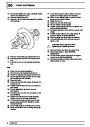
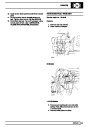
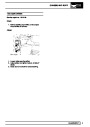
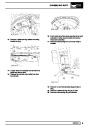
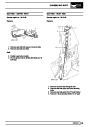
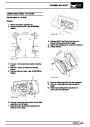
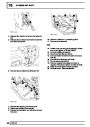
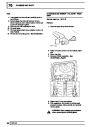
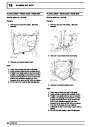
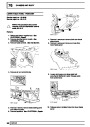
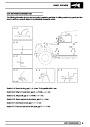
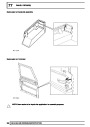
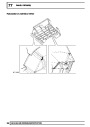
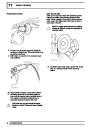
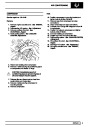
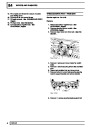
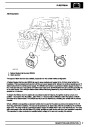
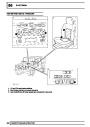
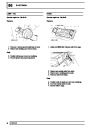
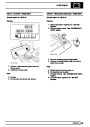
9.
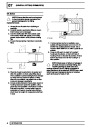
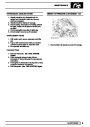
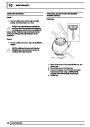
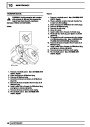
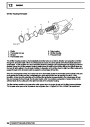
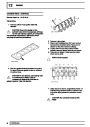
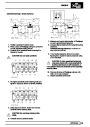
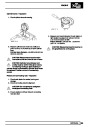
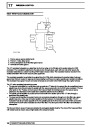
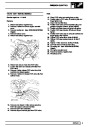
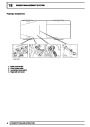
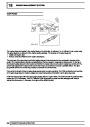
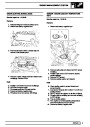
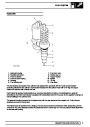
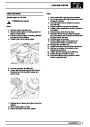
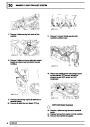
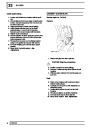
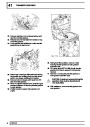
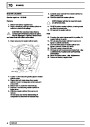
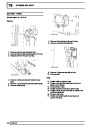
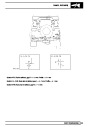
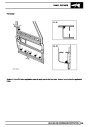
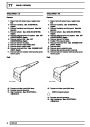
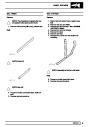
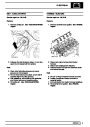
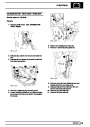
Check that the cut-out in piston skirt is
positioned above the oil squirt jet.
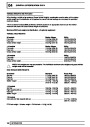
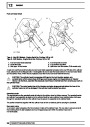
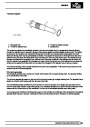
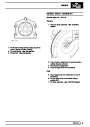
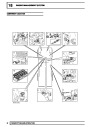
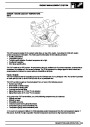
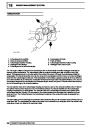
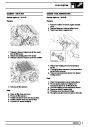
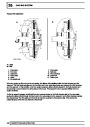
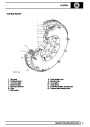
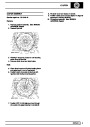
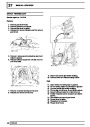
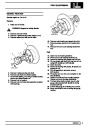
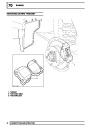
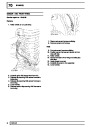
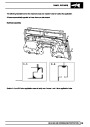
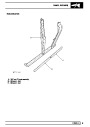
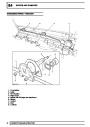
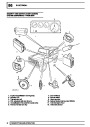
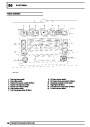
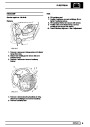
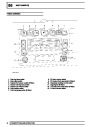
CRANKSHAFT
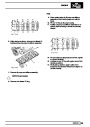
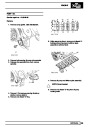
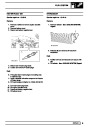
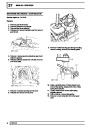
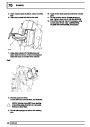
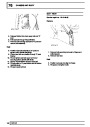
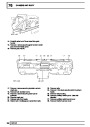
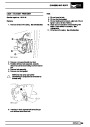
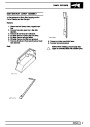
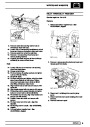
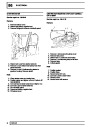
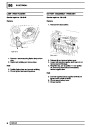
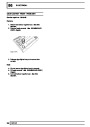
10.
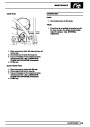
Repeat for other pistons in turn ensuring that
pistons and connecting rods are fitted in cylinder
bores from which they were removed.
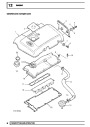
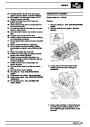
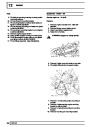
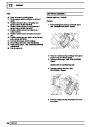
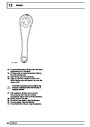
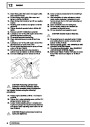
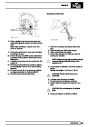
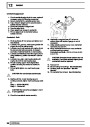
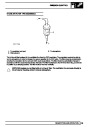
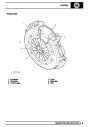
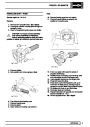
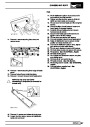
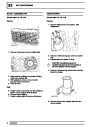
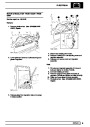
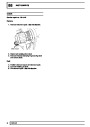
Service repair no - 12.21.33.01
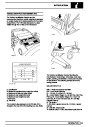
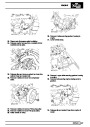
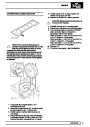
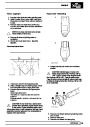
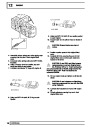
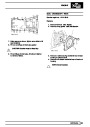
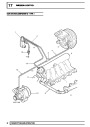
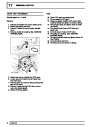
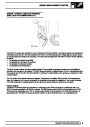
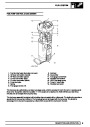
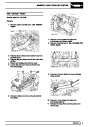
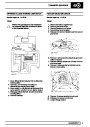
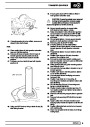
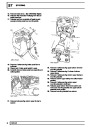
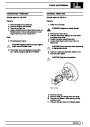
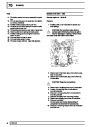
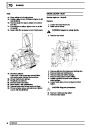
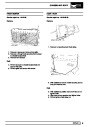
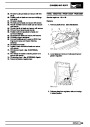
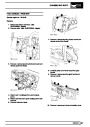
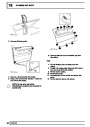
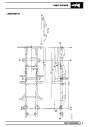
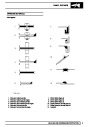
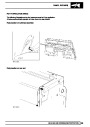
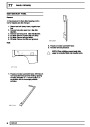
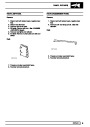
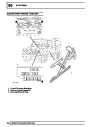
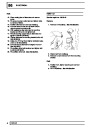
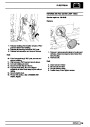
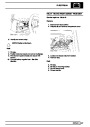
Remove
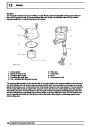
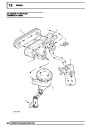
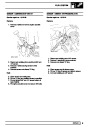
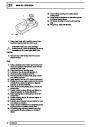
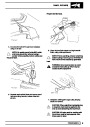
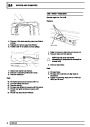
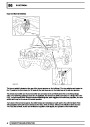
11.
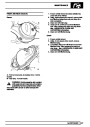
Fit connecting rod bearings. See this Section.
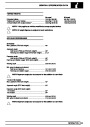
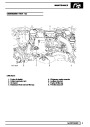
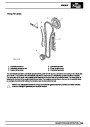
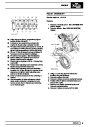
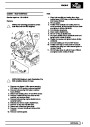
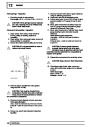
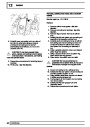
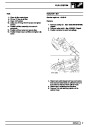
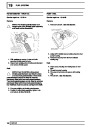
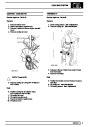
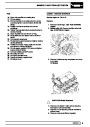
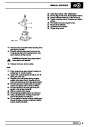
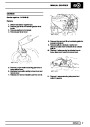
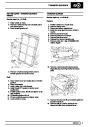
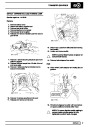
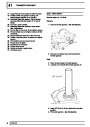
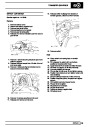
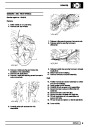
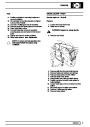
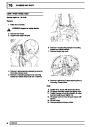
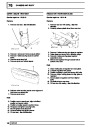
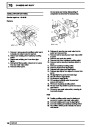
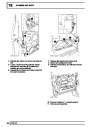
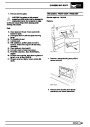
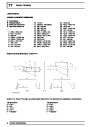
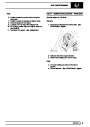
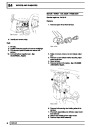
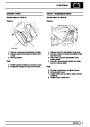
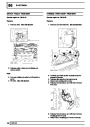
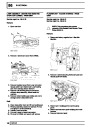
1.
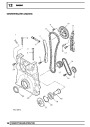
Remove timing chain and sprockets. See this
CAUTION: If new pistons, connecting rods
or crankshaft have been fitted, it will be
necessary to select correct thickness of
Section.
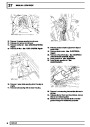
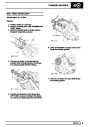
2. Remove crankshaft rear oil seal. See this
Section.
cylinder head gasket. See this Section.
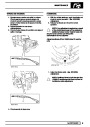
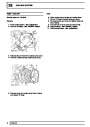
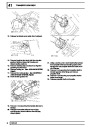
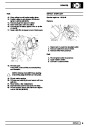
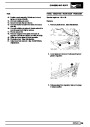
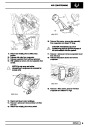
3. Remove connecting rod bearings. See this
Section.
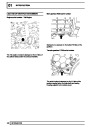
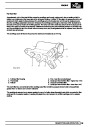
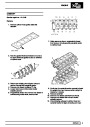
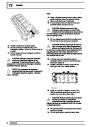
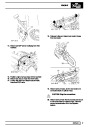
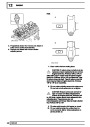
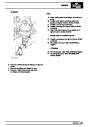
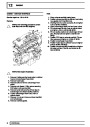
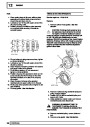
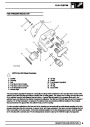
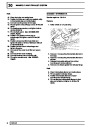
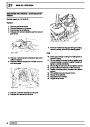
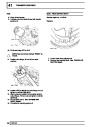
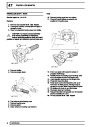
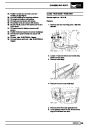
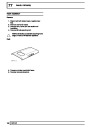
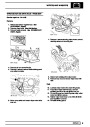
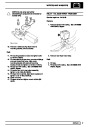
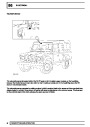
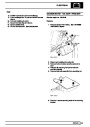
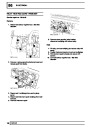
4.
5.
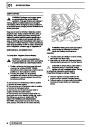
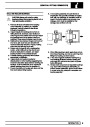
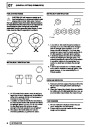
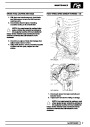
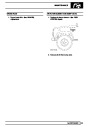
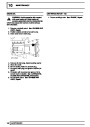
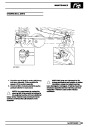
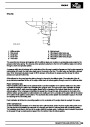
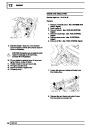
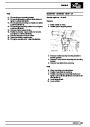
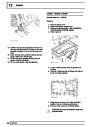
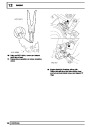
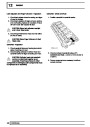
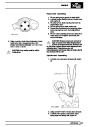
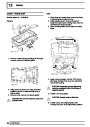
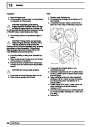
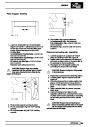
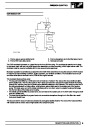
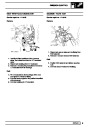
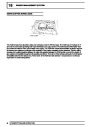
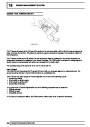
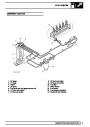
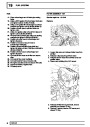
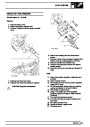
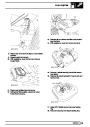
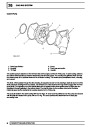
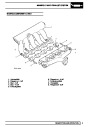
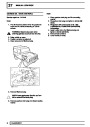
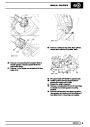
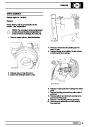
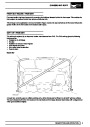
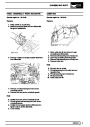
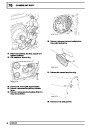
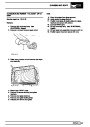
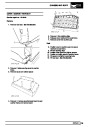
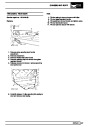
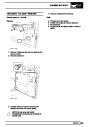
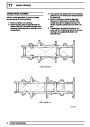
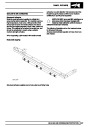
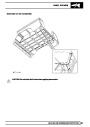
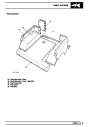
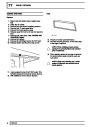
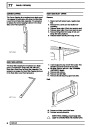
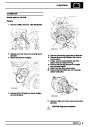
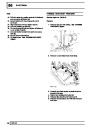
Check that cylinder reference number is on each
main bearing cap. Make suitable alignment
marks between each main bearing cap and
cylinder block.
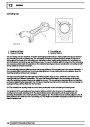
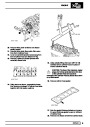
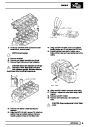
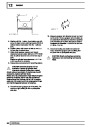
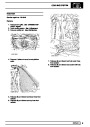
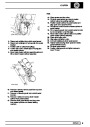
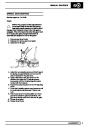
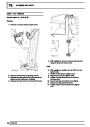
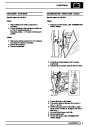
Starting at No. 3 main bearing cap and working
outwards, progressively loosen, then remove 2
bolts securing each cap. Discard main bearing
cap bolts.
36
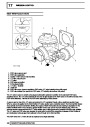
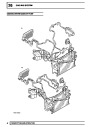
OVERHAUL
| Categories | Land Rover, Land Rover Defender |
|---|---|
| Tags | Land Rover |
| Model Year | 1999, 2000, 2001, 2002 |
| Download File |
|
| Document Type | Workshop Manual |
| Language | English |
| Product Name | Defender |
| Product Brand | Land Rover |
| Document File Type | |
| Publisher | landrover.com |
| Wikipedia's Page | http://en.wikipedia.org/wiki/Land_Rover |
| Copyright | Attribution Non-commercial |
(0 votes, average: 0 out of 5)