


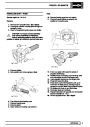


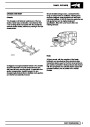


77
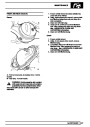
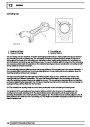
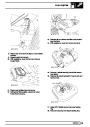
PANEL REPAIRS
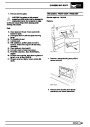
CAVITY WAX
It should also be noted that new panel assemblies and
body shells are supplied without wax injection
treatment which must be carried out after repairs.
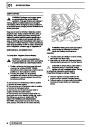
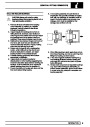
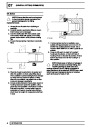
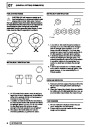
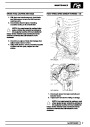
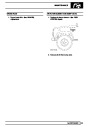
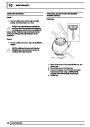
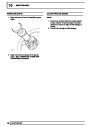
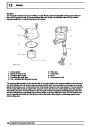
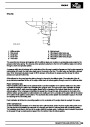
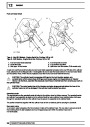
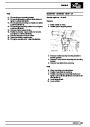
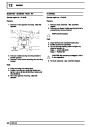
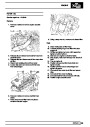
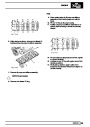
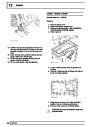
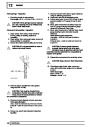
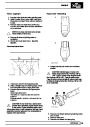
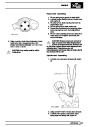
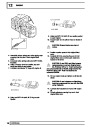
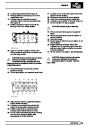
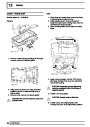
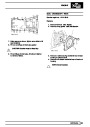
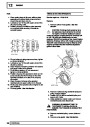
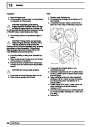
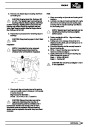
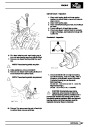
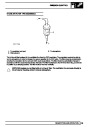
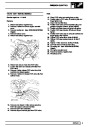
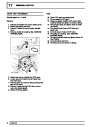
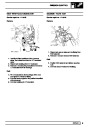
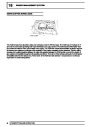
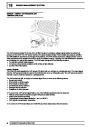
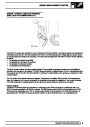
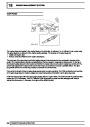
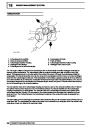
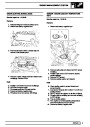
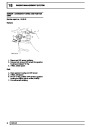
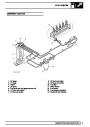
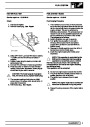
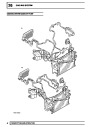
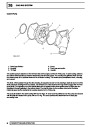
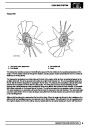
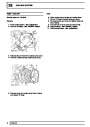
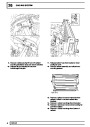
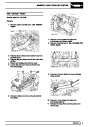
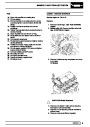
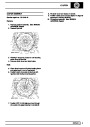
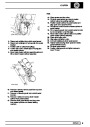
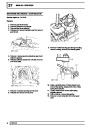
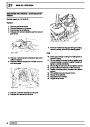
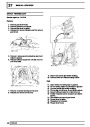
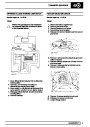
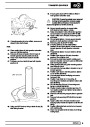
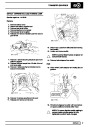
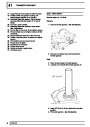
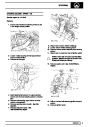
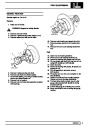
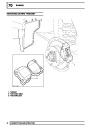
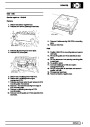
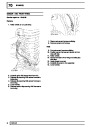
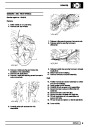
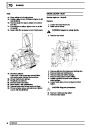
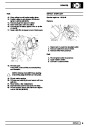
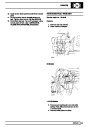
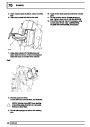
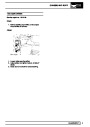
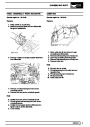
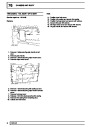
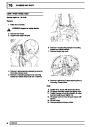
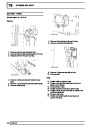
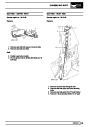
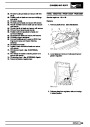
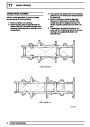
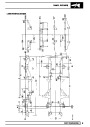
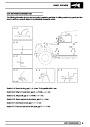
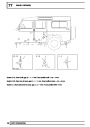
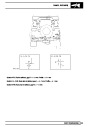
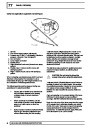
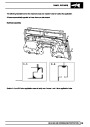
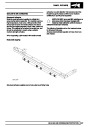
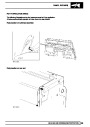
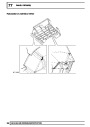
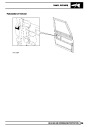
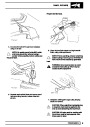
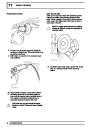
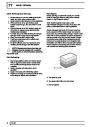
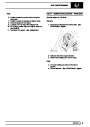
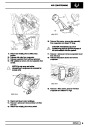
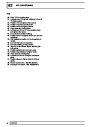
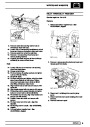
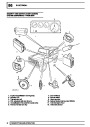
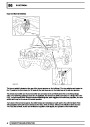
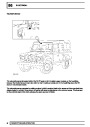
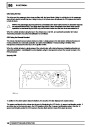
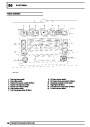
Cavity Wax Injection
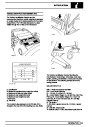
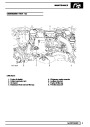
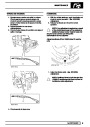
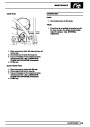
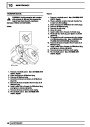
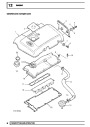
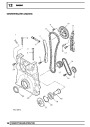
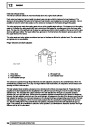
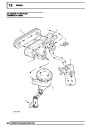
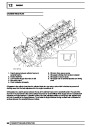
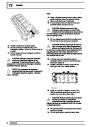
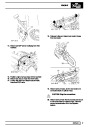
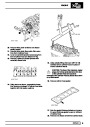
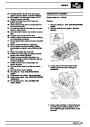
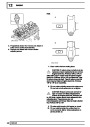
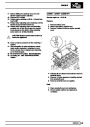
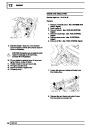
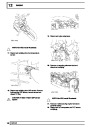
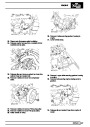
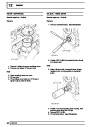
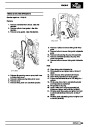
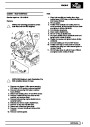
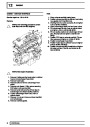
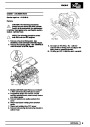
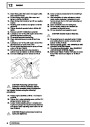
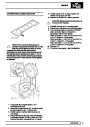
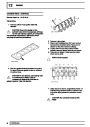
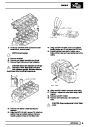
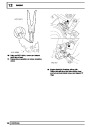
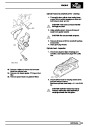
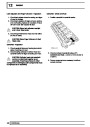
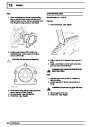
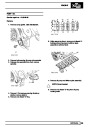
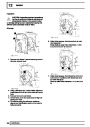
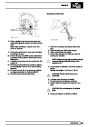
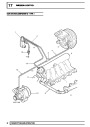
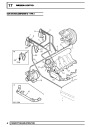
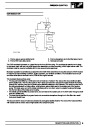
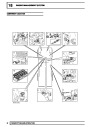
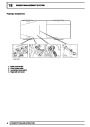
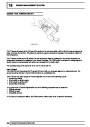
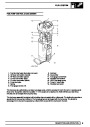
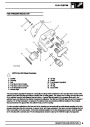
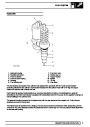
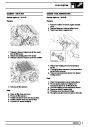
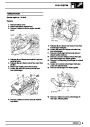
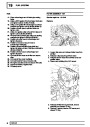
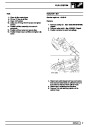
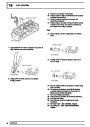
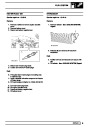
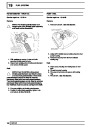
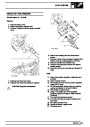
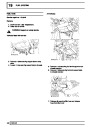
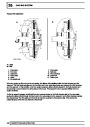
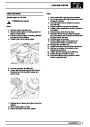
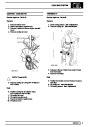
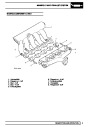
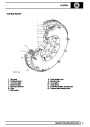
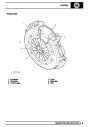
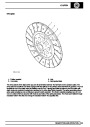
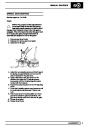
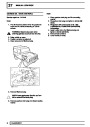
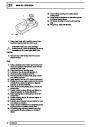
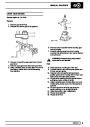
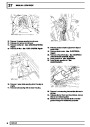
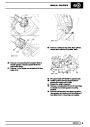
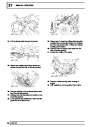
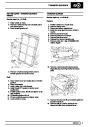
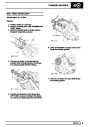
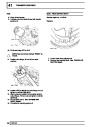
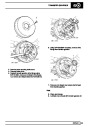
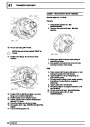
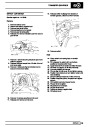
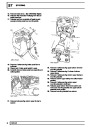
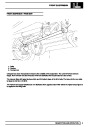
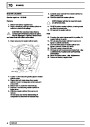
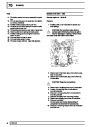
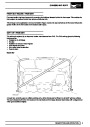
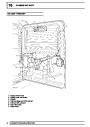
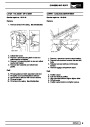
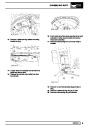
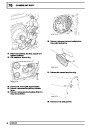
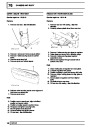
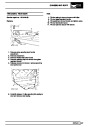
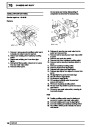
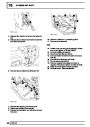
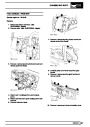
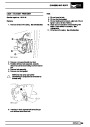
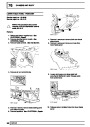
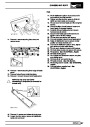
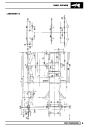
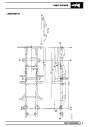
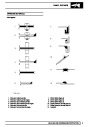
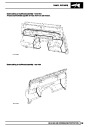
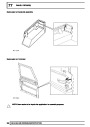
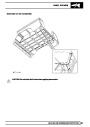
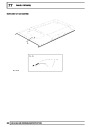
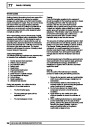
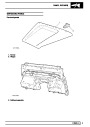
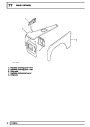
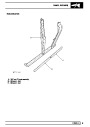
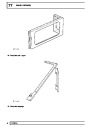
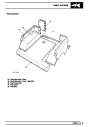
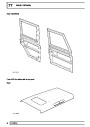
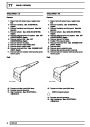
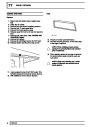
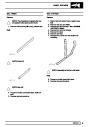
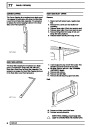
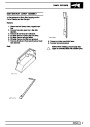
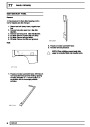
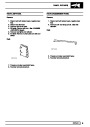
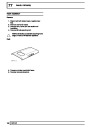
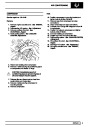
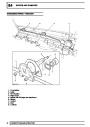
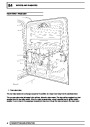
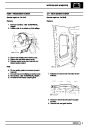
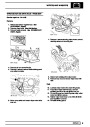
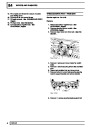
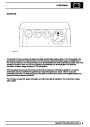
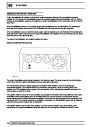
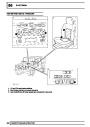
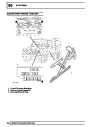
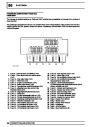
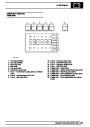
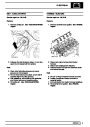
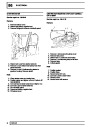
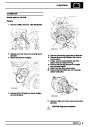
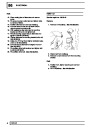
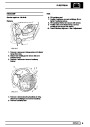
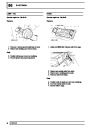
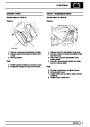
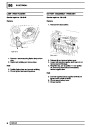
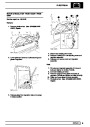
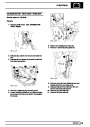
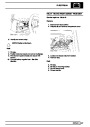
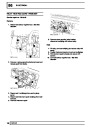
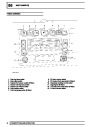
Box sections treated with cavity wax are shown in this
section. Repairs affecting these areas must include
re-treatment with an approved cavity wax, using the
access points illustrated. In addition, all interior
surfaces which have been disturbed during repairs
must be wax injected whether they have been treated
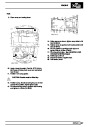
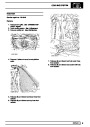
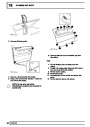
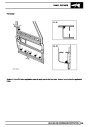
in production or not. This includes all box members,
cavities, door interiors etc. It is permissible to drill
extra holes for access where necessary, provided
these are not positioned in load-bearing members.
Ensure that such holes are treated with a suitable zinc
rich primer, brushed with wax and then sealed with a
rubber grommet.
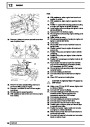
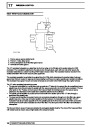
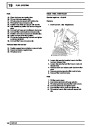
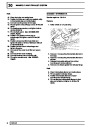
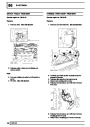
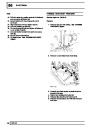
Effective cavity wax protection is vital. Always observe
the following points:
•
•
•
•
•
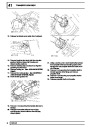
Complete all finish paint operations before
wax application.
Clean body panel areas and blow-clean
cavities if necessary, before treatment.
Maintain a temperature of 18°C (64°F)
during application and drying.
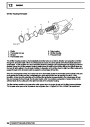
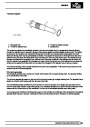
Check the spray pattern of injection
equipment.
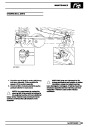
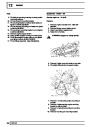
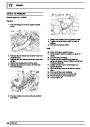
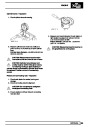
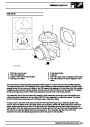
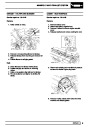
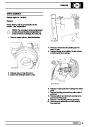
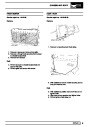
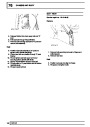
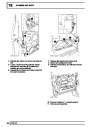
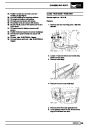
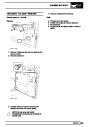
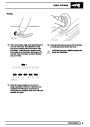
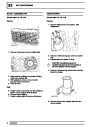
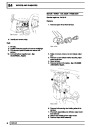
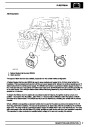
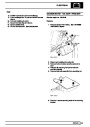
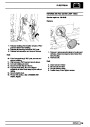
Prior to wax injection, ensure that the cavity to be
treated is free from any contamination or foreign
matter. Where necessary, clear out any debris using a
compressed air supply.
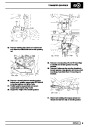
Mask off all areas not to be wax coated
and which could be contaminated by wax
overspray.
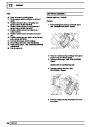
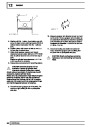
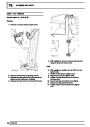
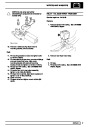
Carry out wax injection after final paint operations.
During application, ensure that the wax covers all
flange and seam areas and that it is applied to all
repaired areas of both new and existing panels.
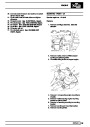
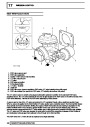
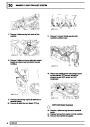
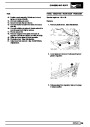
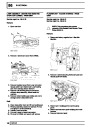
•
•
•
•
•
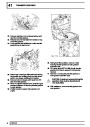
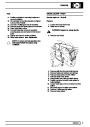
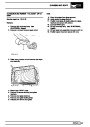
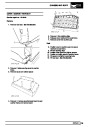
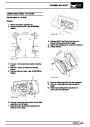
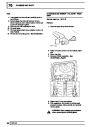
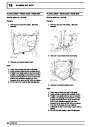
Remove body fixings, such as seat belt
retractors, if contamination is at all likely.
Move door glasses to fully closed position
before treating door interiors.
NOTE: Apply cavity wax AFTER the final
paint process and BEFORE refitting of any
trim components.
Treat body areas normally covered by trim
before refitting items.
Check that body and door drain holes are
clear after the protective wax has dried.
Keep all equipment clean, especially wax
injection nozzles.
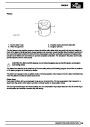
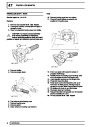
12
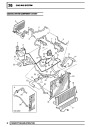
SEALING AND CORROSION PROTECTION
| Categories | Land Rover, Land Rover Defender |
|---|---|
| Tags | Land Rover |
| Model Year | 1999, 2000, 2001, 2002 |
| Download File |
|
| Document Type | Workshop Manual |
| Language | English |
| Product Name | Defender |
| Product Brand | Land Rover |
| Document File Type | |
| Publisher | landrover.com |
| Wikipedia's Page | http://en.wikipedia.org/wiki/Land_Rover |
| Copyright | Attribution Non-commercial |
(0 votes, average: 0 out of 5)