


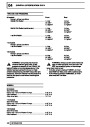


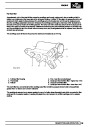
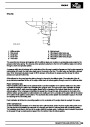


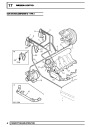


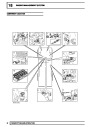

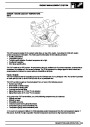


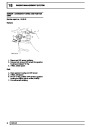

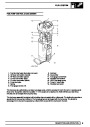


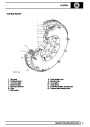
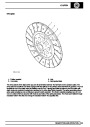


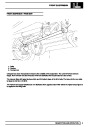


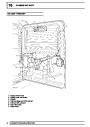


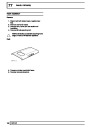


PANEL REPAIRS
PAINT PROCEDURES
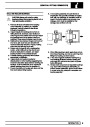
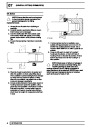
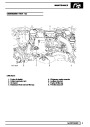
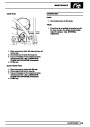
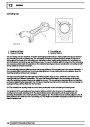
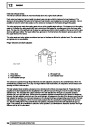
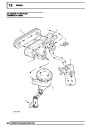
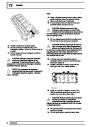
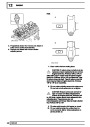
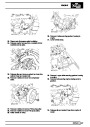
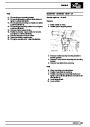
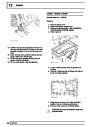
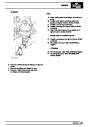
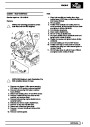
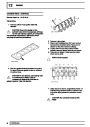
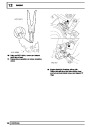
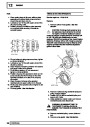
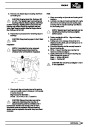
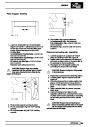
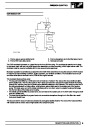
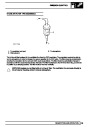
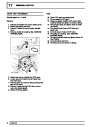
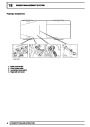
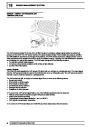
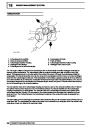
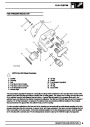
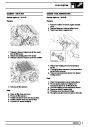
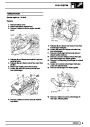
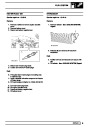
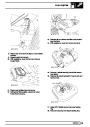
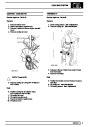
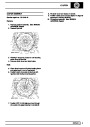
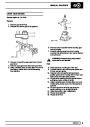
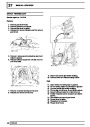
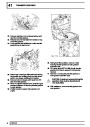
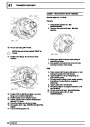
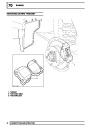
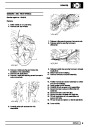
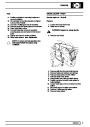
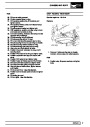
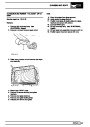
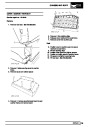
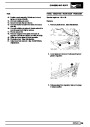
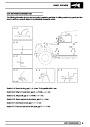
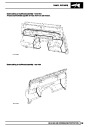
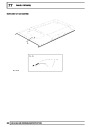
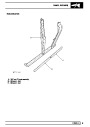
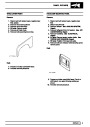
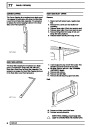
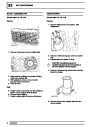
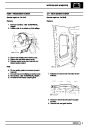
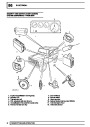
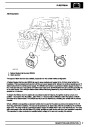
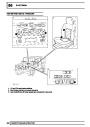
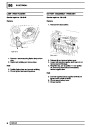
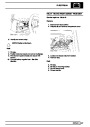
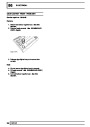
Welded Panels
Replacement Panels
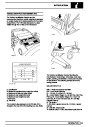
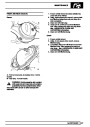
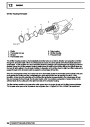
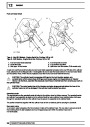
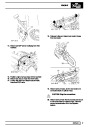
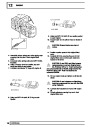
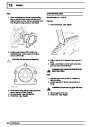
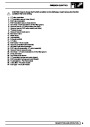
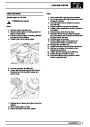
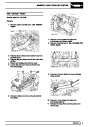
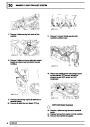
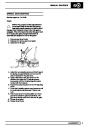
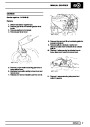
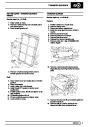
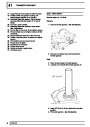
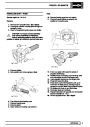
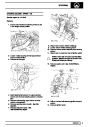
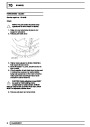
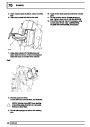
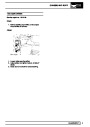
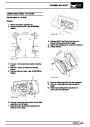
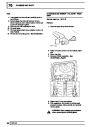
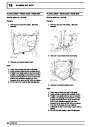
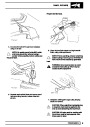
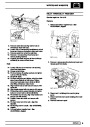
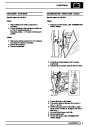
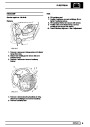
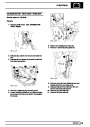
1. Remove primer from the immediate vicinity of
new and existing panel flanges, cleaning to
bright metal finish.
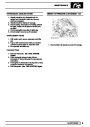
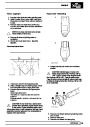
2. On joints to be spot welded, apply weld-through
zinc rich primer to joint faces of both flanges.
Make spot welds while primer is still wet or
according to the manufacturer’s instructions.
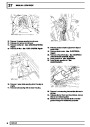
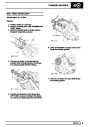
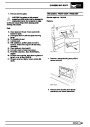
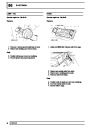
3. Dress accessible weld seams.
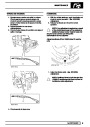
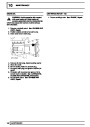
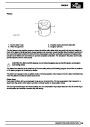
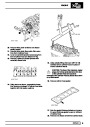
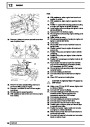
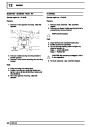
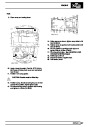
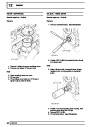
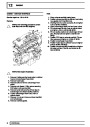
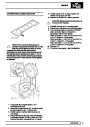
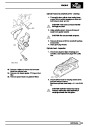
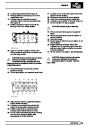
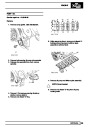
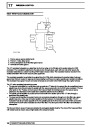
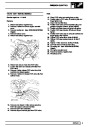
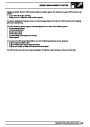
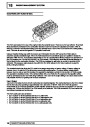
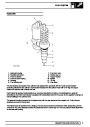
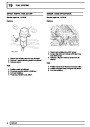
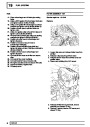
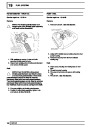
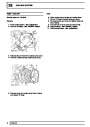
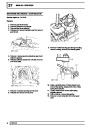
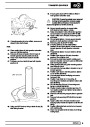
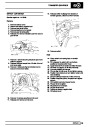
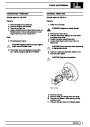
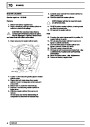
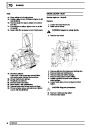
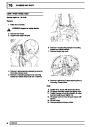
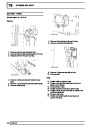
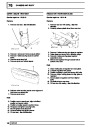
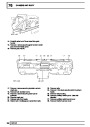
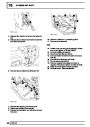
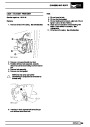
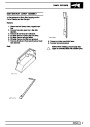
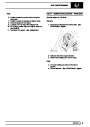
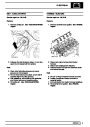
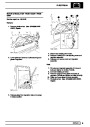
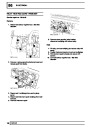
Service panels are supplied with a cathodic primer
coating as part of the panel protection, and in
compliance with the vehicle’s Corrosion Warranty
where applicable. DO NOT remove this primer
before paint refinishing. In the event of localised
surface damage or imperfections, ensure that the
minimum of primer is removed during rectification
work for effective repair.
4. Clean panel using solvent wipe.
5.
Treat bare metal with an etch phosphate
process.
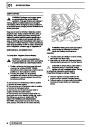
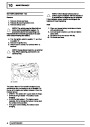
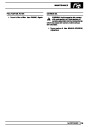
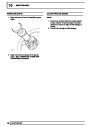
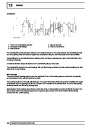
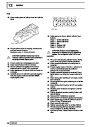
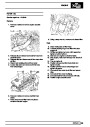
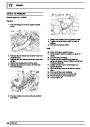
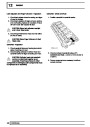
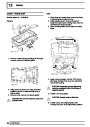
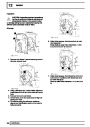
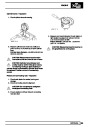
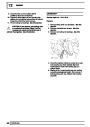
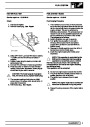
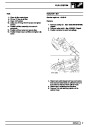
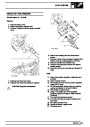
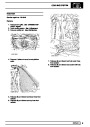
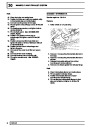
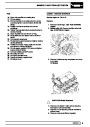
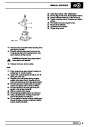
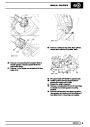
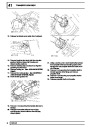
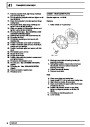
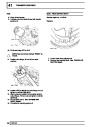
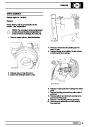
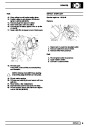
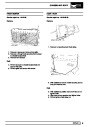
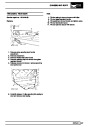
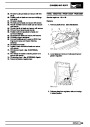
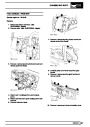
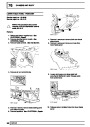
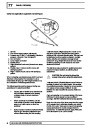
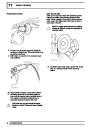
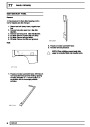
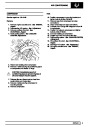
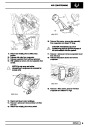
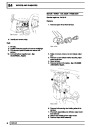
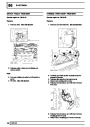
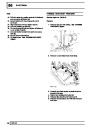
Rectify damage by panel beating or straightening. To
remove corrosion or paint runs on outer surfaces,
abrade primer coat in the affected area as necessary
using the following procedure:
6. Re-treat repaired areas.
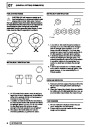
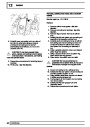
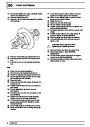
NOTE: It is not satisfactory to use
weld-through, zinc rich primers in
conjunction with MIG welding.
1.
2.
Clean the panel using a solvent wipe.
Treat exposed areas of metal with an etch
phosphate process.
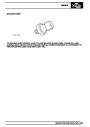
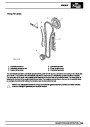
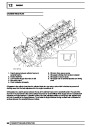
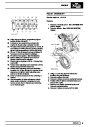
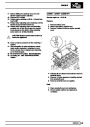
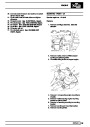
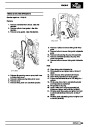
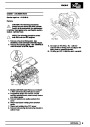
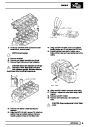
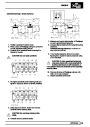
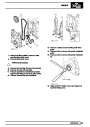
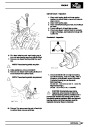
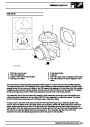
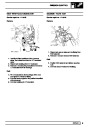
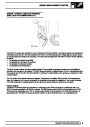
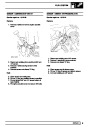
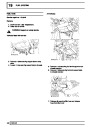
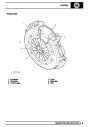
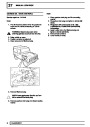
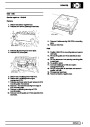
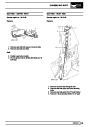
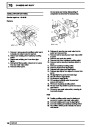
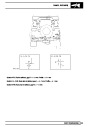
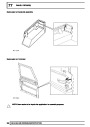
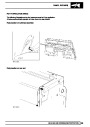
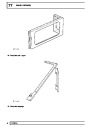
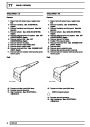
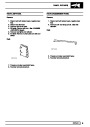
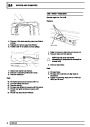
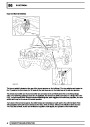
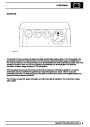
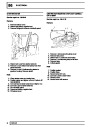
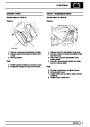
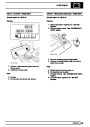
Sectioned Panels
3.
Re-treat the affected area using either a
separate acid-etch primer and two-pack
surfacer, or an integrated etch primer/filler.
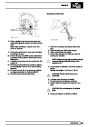
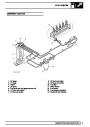
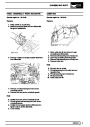
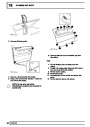
When replacing part or sectioned panels, the basic
procedure is the same as for welded panels described
above, with the following variations:
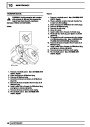
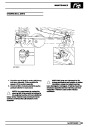
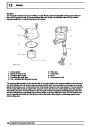
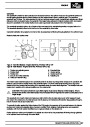
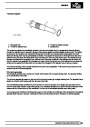
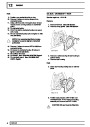
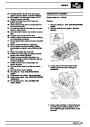
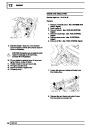
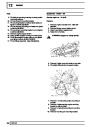
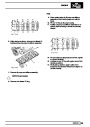
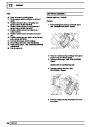
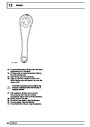
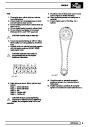
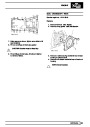
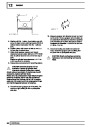
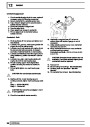
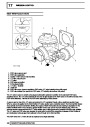
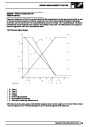
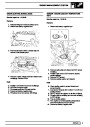
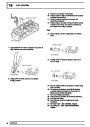
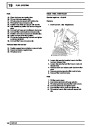
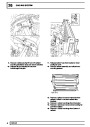
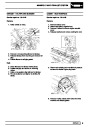
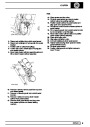
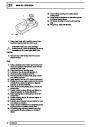
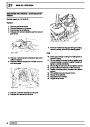
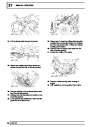
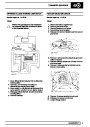
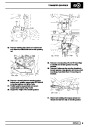
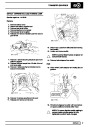
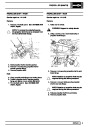
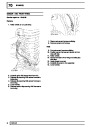
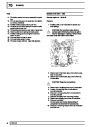
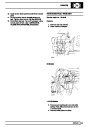
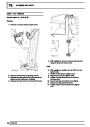
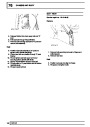
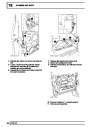
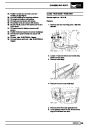
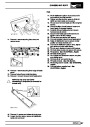
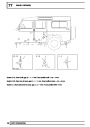
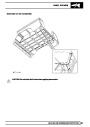
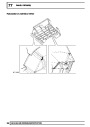
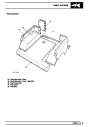
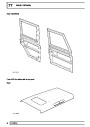
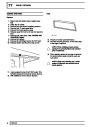
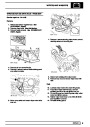
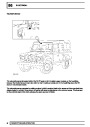
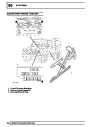
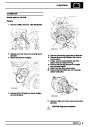
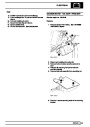
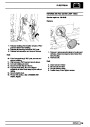
Bolted Panels
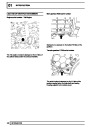
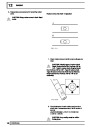
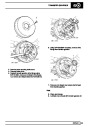
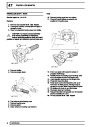
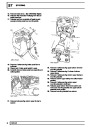
1. Remove primer from both new and existing joint
faces, cleaning to a bright metal finish.
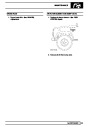
2. Where an overlap joint with the existing panel is
to be spot welded, apply weld-through, zinc rich
primer to both joint faces and spot weld while the
primer is still wet or according to the
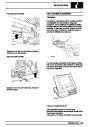
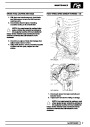
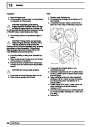
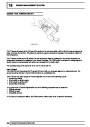
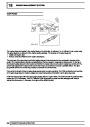
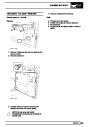
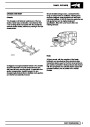
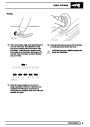
Before fitting bolt-on panels, ensure that all mating
and adjacent surfaces on the vehicle and replacement
panel are free from damage and distortion. Rectify if
necessary as described in this section, and apply
preformed strip sealer where specified.
manufacturer’s instructions.
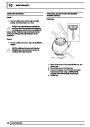
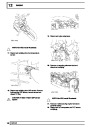
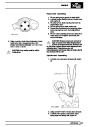
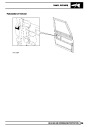
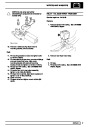
3.
4.
5.
MIG weld joints where applicable.
Clean the panel with a solvent wipe.
Treat bare metal areas using an etch phosphate
process.
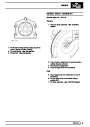
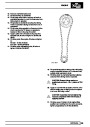
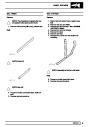
6.
7.
Re-prime affected areas as necessary as for
rectifying transit damage. See this section.
Treat the inner faces of lap or butt joints with a
suitable cavity wax. See Sealing and Corrosion
Protection.
PAINT
1
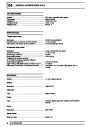
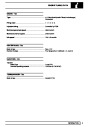
| Categories | Land Rover, Land Rover Defender |
|---|---|
| Tags | Land Rover |
| Model Year | 1999, 2000, 2001, 2002 |
| Download File |
|
| Document Type | Workshop Manual |
| Language | English |
| Product Name | Defender |
| Product Brand | Land Rover |
| Document File Type | |
| Publisher | landrover.com |
| Wikipedia's Page | http://en.wikipedia.org/wiki/Land_Rover |
| Copyright | Attribution Non-commercial |
(0 votes, average: 0 out of 5)