


30
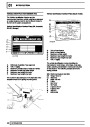
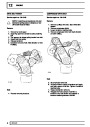
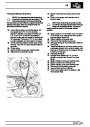
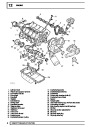
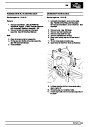
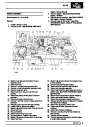
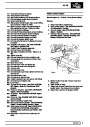
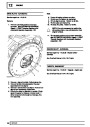
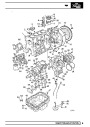
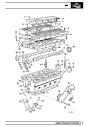
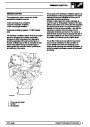
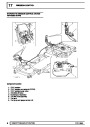
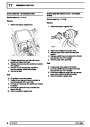
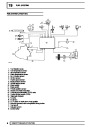
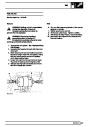
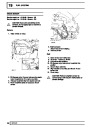
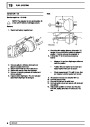
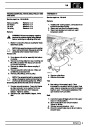
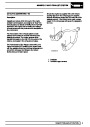
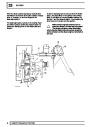
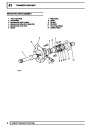
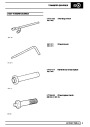
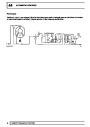
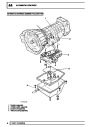
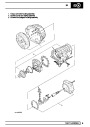
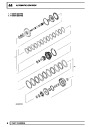
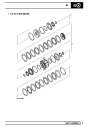
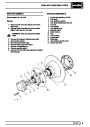
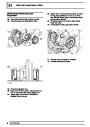
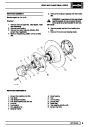
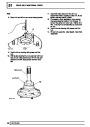
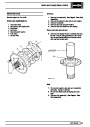
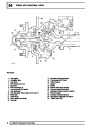
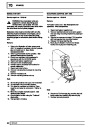
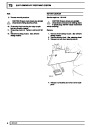
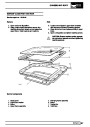
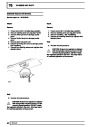
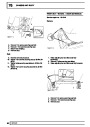
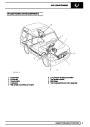
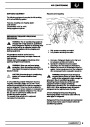
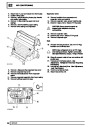
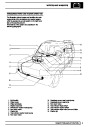
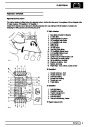
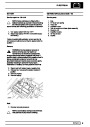
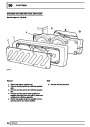
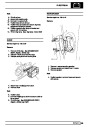
MANIFOLD AND EXHAUST SYSTEM
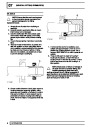
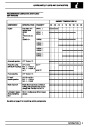
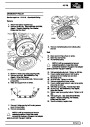
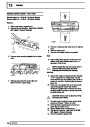
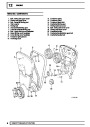
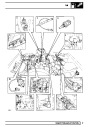
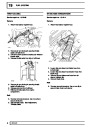
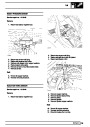
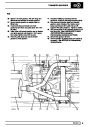
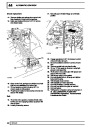
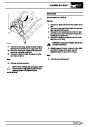
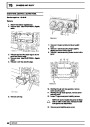
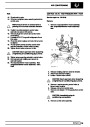
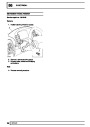
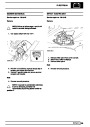
Remove
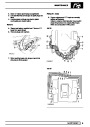
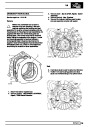
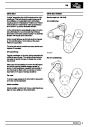
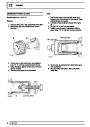
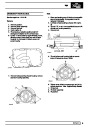
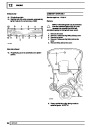
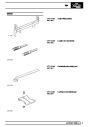
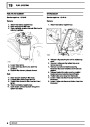
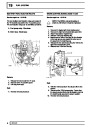
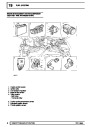
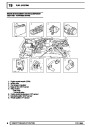
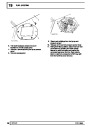
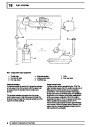
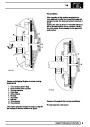
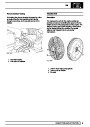
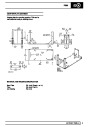
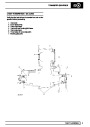
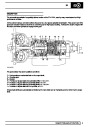
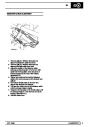
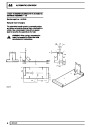
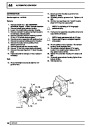
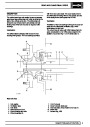
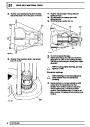
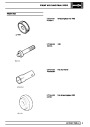
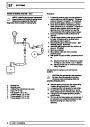
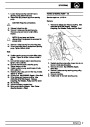
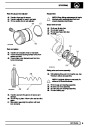
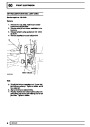
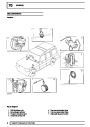
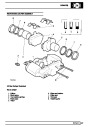
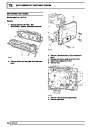
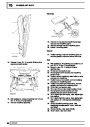
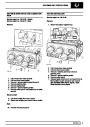
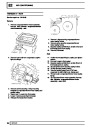
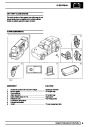
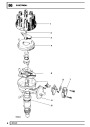
EXHAUST MANIFOLD - V8i
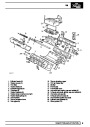
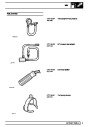
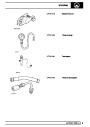
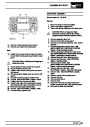
Catalysts - remove and refit 1 to 5
Service repair no - Left hand - 30.15.10
Service repair no - Right hand - 30.15.11
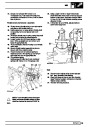
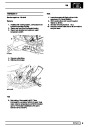
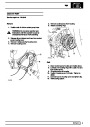
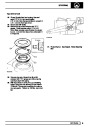
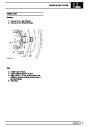
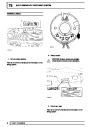
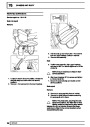
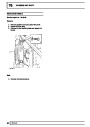
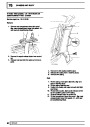
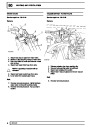
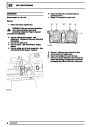
1.
2.
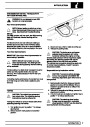
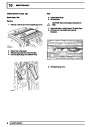
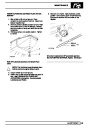
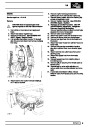
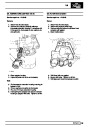
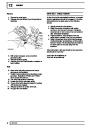
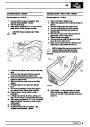
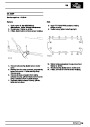
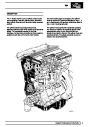
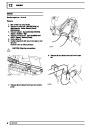
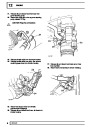
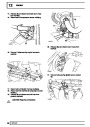
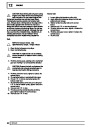
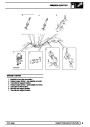
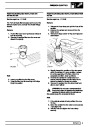
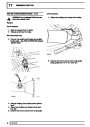
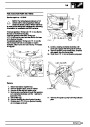
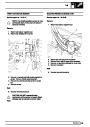
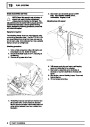
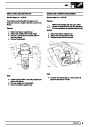
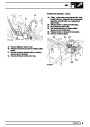
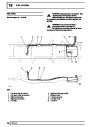
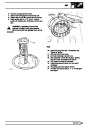
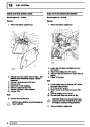
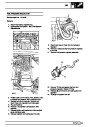
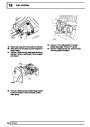
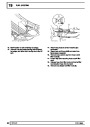
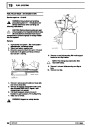
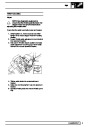
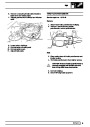
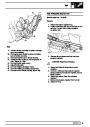
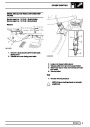
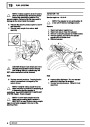
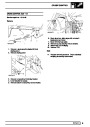
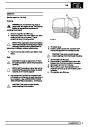
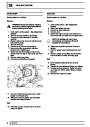
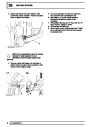
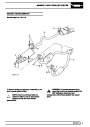
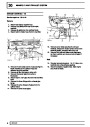
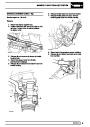
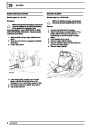
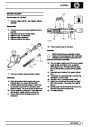
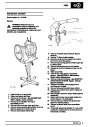
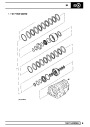
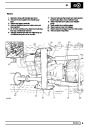
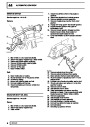
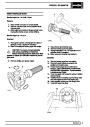
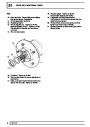
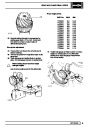
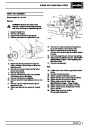
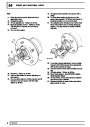
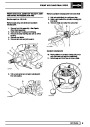
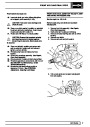
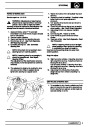
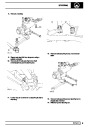
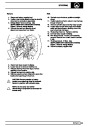
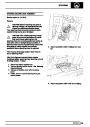
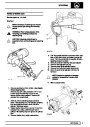
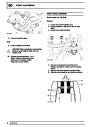
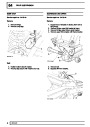
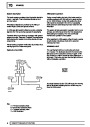
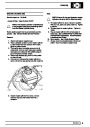
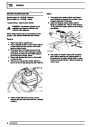
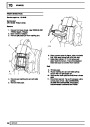
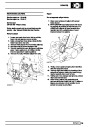
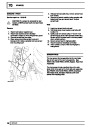
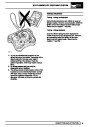
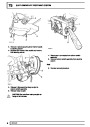
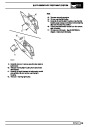
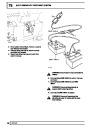
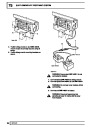
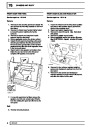
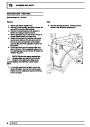
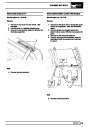
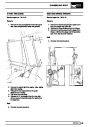
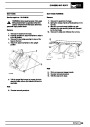
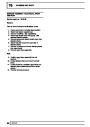
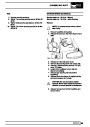
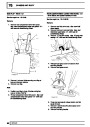
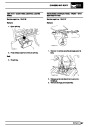
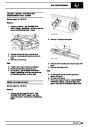
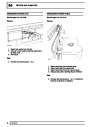
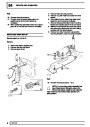
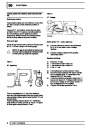
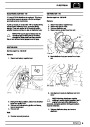
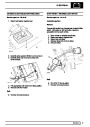
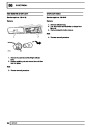
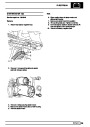
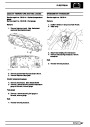
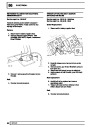
Raise vehicle on a ramp [hoist].
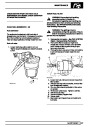
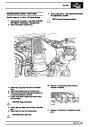
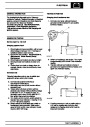
Catalyst vehicles only: Disconnect two heated
oxygen sensor wiring connectors.
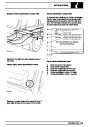
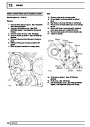
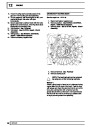
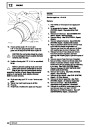
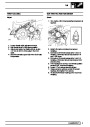
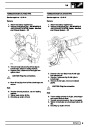
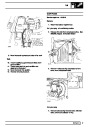
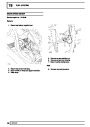
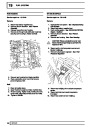
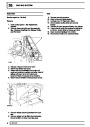
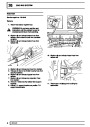
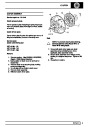
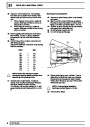
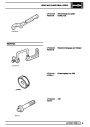
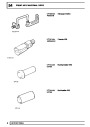
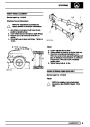
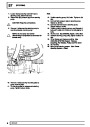
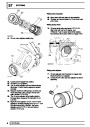
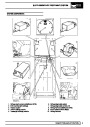
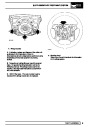
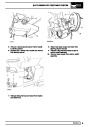
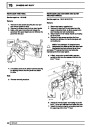
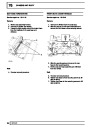
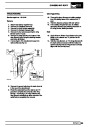
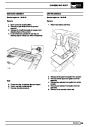
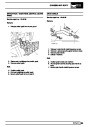
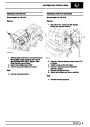
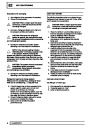
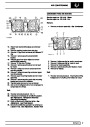
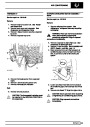
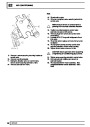
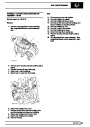
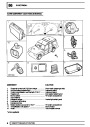
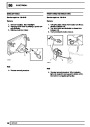
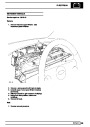
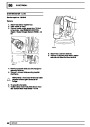
Remove
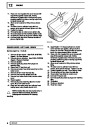
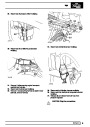
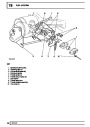
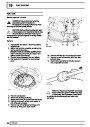
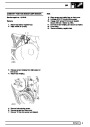
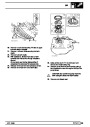
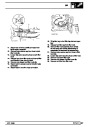
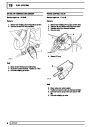
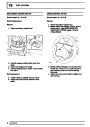
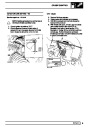
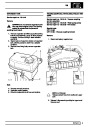
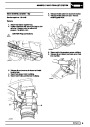
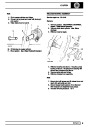
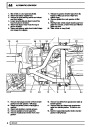
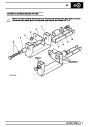
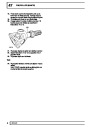
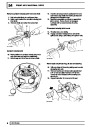
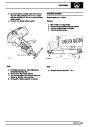
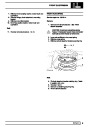
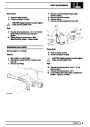
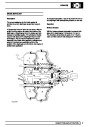
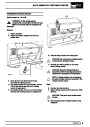
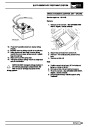
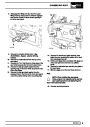
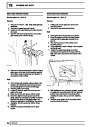
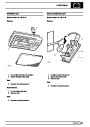
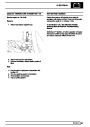
1.
Disconnect front exhaust pipe(s) from
manifold(s).
NOTE: NAS models have four heated
oxygen sensors fitted.
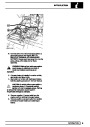
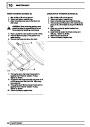
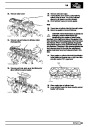
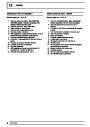
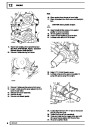
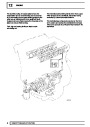
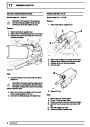
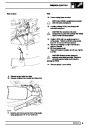
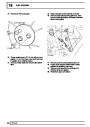
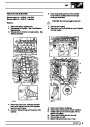
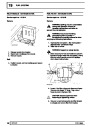
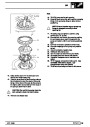
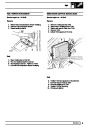
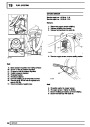
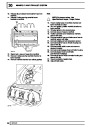
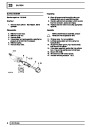
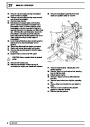
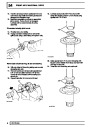
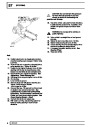
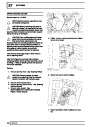
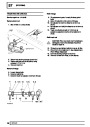
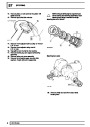
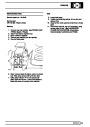
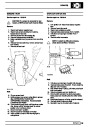
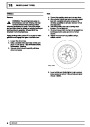
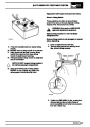
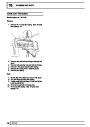
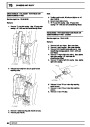
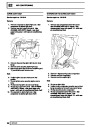
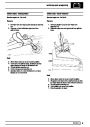
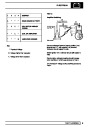
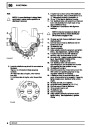
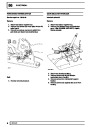
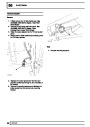
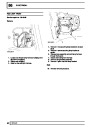
2. Tap back bolt locking tabs and remove eight
bolts, lock tabs and washers.
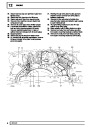
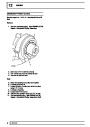
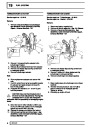
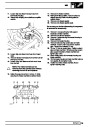
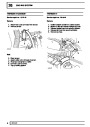
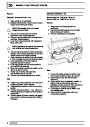
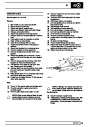
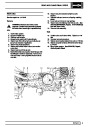
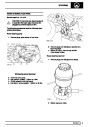
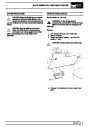
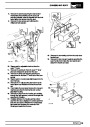
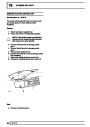
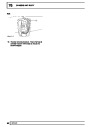
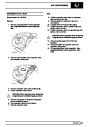
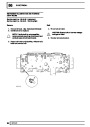
3.
4.
5.
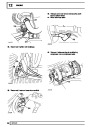
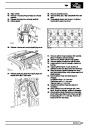
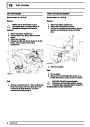
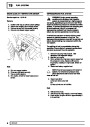
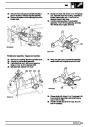
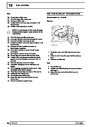
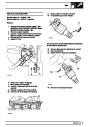
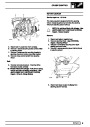
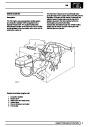
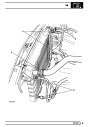
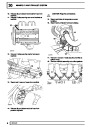
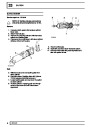
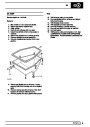
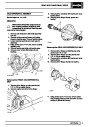
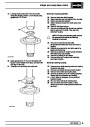
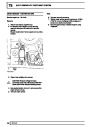
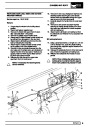
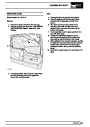
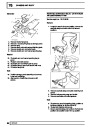
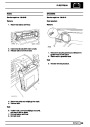
Remove two nuts securing rear exhaust
assembly to front exhaust assembly.
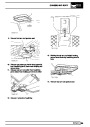
Remove nuts and release front downpipes from
manifolds. Discard gaskets.
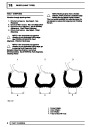
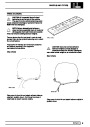
Lower front exhaust assembly with catalysts (if
fitted), retain olive.
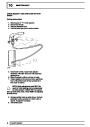
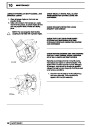
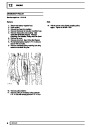
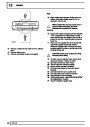
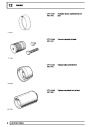
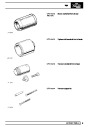
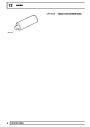
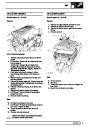
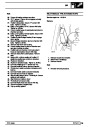
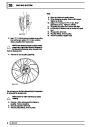
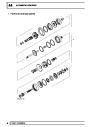
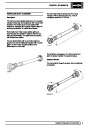
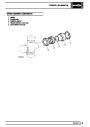
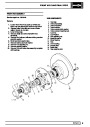
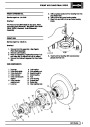
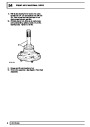
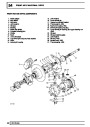
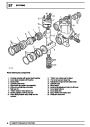
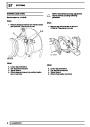
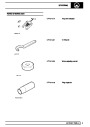
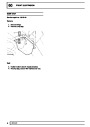
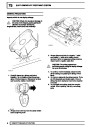
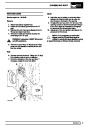
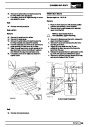
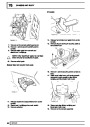
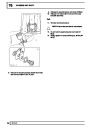
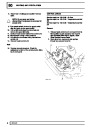
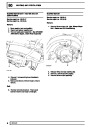
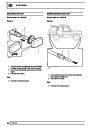
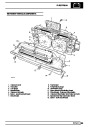
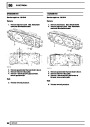
3. Remove manifold(s) and old gaskets.
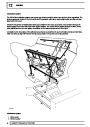
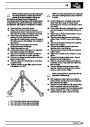
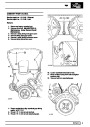
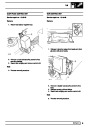
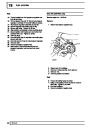
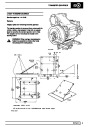
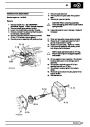
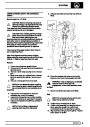
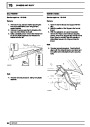
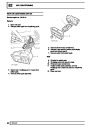
NOTE: Assistance is required for removing
and refitting rear exhaust assembly.
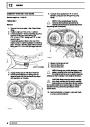
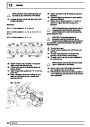
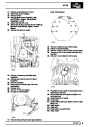
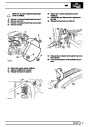
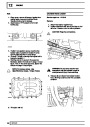
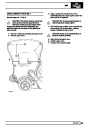
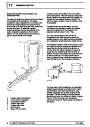
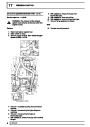
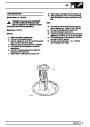
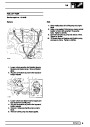
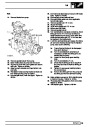
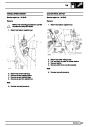
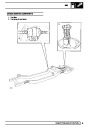
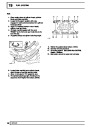
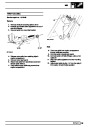
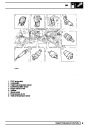
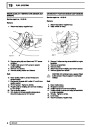
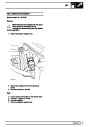
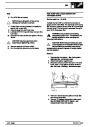
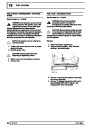
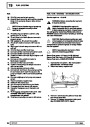
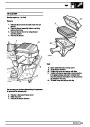
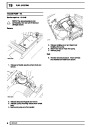
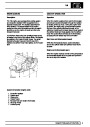
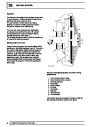
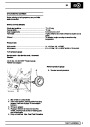
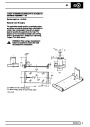
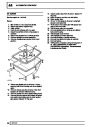
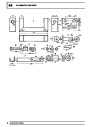
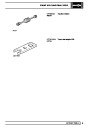
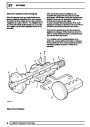
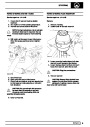
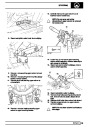
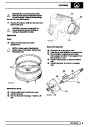
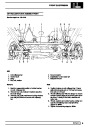
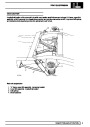
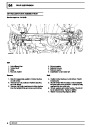
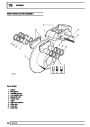
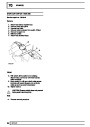
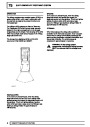
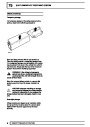
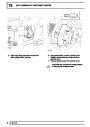
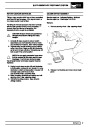
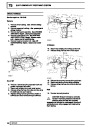
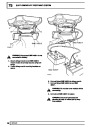
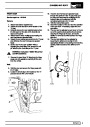
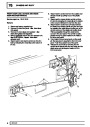
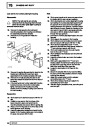
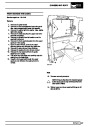
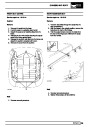
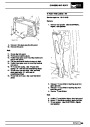
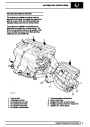
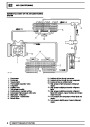
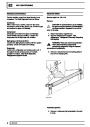
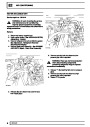
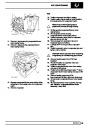
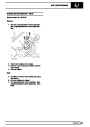
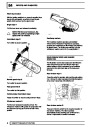
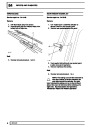
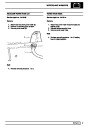
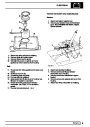
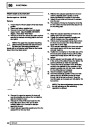
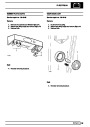
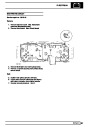
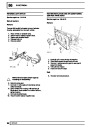
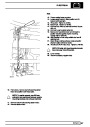
6.
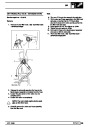
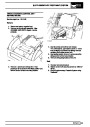
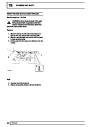
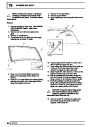
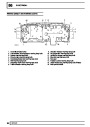
Remove bolts securing three hanger brackets to
chassis. Lower exhaust assembly onto rear axle.
Detach rubbers from hanging brackets.
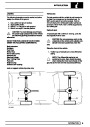
Place extended axle stands underneath chassis,
in front of chassis mounted rear towing brackets.
Lower ramp[hoist] until vehicle weight is
supported securely on stands.
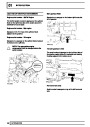
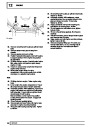
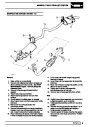
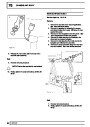
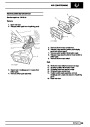
7.
8.
9.
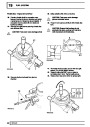
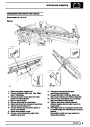
Lower ramp [hoist] until rear shock absorbers
are ALMOST fully extended.
10.
11.
12.
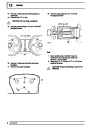
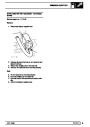
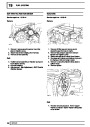
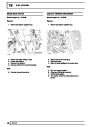
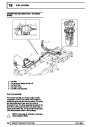
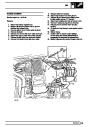
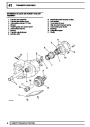
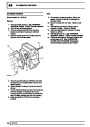
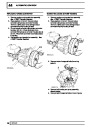
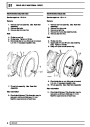
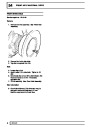
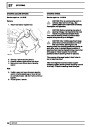
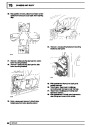
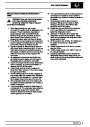
Refit
13.
14.
15.
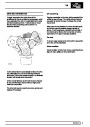
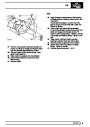
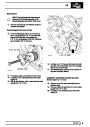
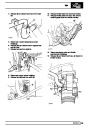
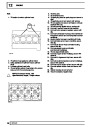
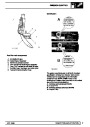
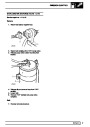
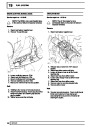
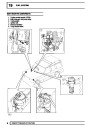
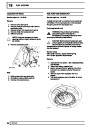
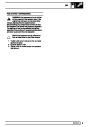
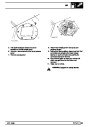
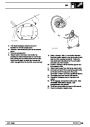
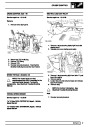
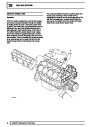
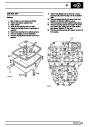
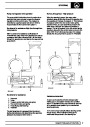
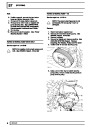
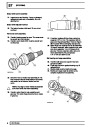
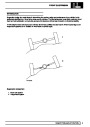
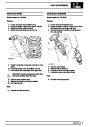
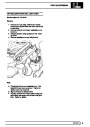
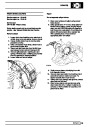
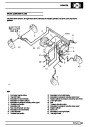
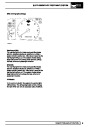
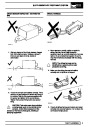
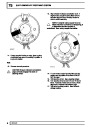
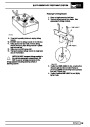
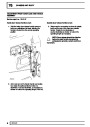
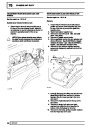
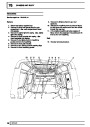
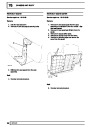
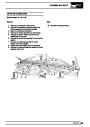
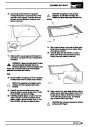
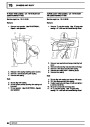
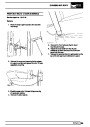
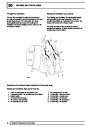
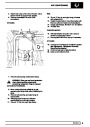
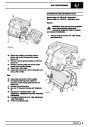
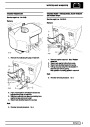
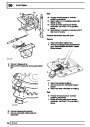
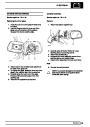
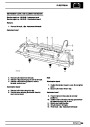
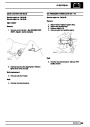
Move rear exhaust to a diagonal position, centre
silencer to right of vehicle.
Facing rear of vehicle, twist assembly
anti-clockwise clear of rear axle.
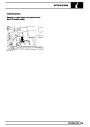
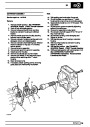
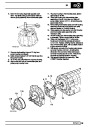
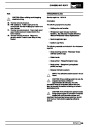
Refit
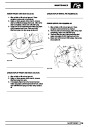
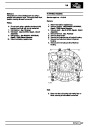
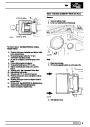
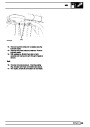
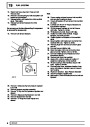
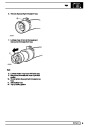
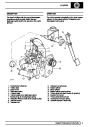
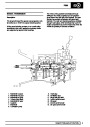
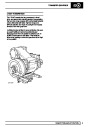
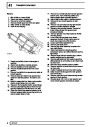
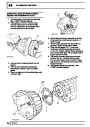
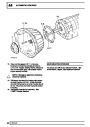
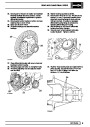
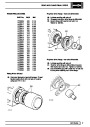
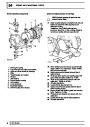
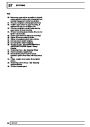
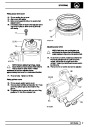
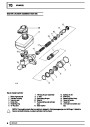
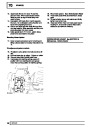
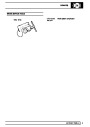
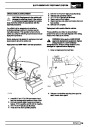
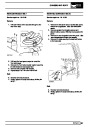
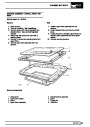
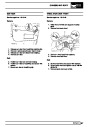
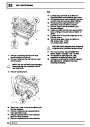
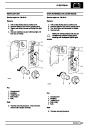
4.
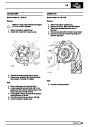
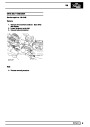
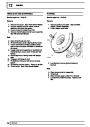
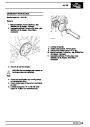
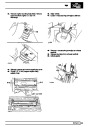
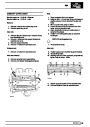
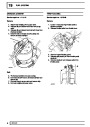
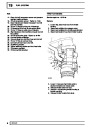
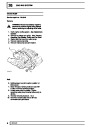
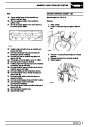
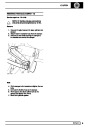
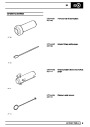
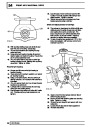
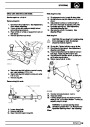
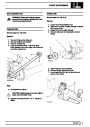
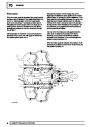
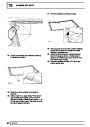
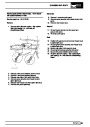
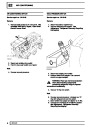
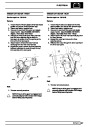
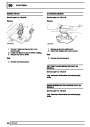
Ensure that mating surfaces of cylinder head
and exhaust manifold are clean and smooth.
Coat threads of each bolt with anti-seize
compound.
Place manifold and new gaskets in position on
cylinder head and fit securing bolts, new
lockplates and plain washers. Plain washers are
fitted between manifold and lockplates.
Evenly tighten manifold bolts to 20Nm bend
over lockplate tabs.
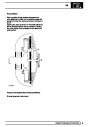
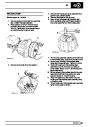
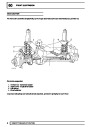
Remove rear exhaust assembly from vehicle.
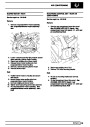
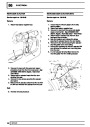
5.
6.
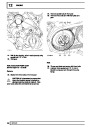
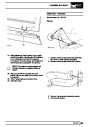
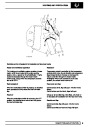
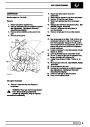
Position rear exhaust assembly over rear axle in
a diagonal position, as for removing.
Twist assembly clockwise until it is in mounting
position.
Reverse removal procedure. 1. to 9. using new
manifold gaskets and applying exhaust sealer to
system joint.
Examine system for leaks, ensuring that system
does not foul underbody components. Rectify if
necessary.
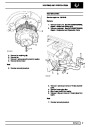
7.
8.
Reconnect front exhaust pipe, using new
exhaust flange gaskets.
16.
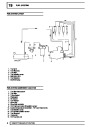
2
REPAIR
| Categories | Range Rover |
|---|---|
| Tags | Land Rover |
| Model Year | 1998 |
| Download File |
|
| Document Type | Workshop Manual |
| Language | English |
| Product Brand | Land Rover |
| Document File Type | |
| Publisher | landrover.com |
| Wikipedia's Page | http://en.wikipedia.org/wiki/Land_Rover |
| Copyright | Attribution Non-commercial |
(0 votes, average: 0 out of 5)