


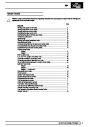


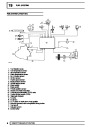


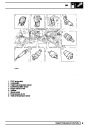


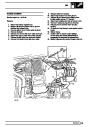
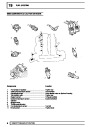


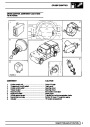


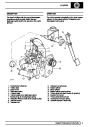
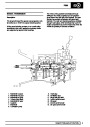


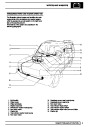


WHEELS AND TYRES
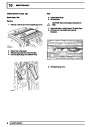
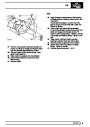
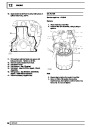
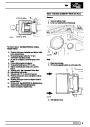
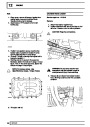
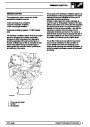
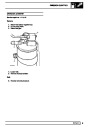
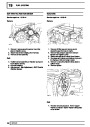
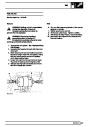
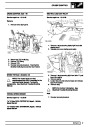
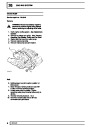
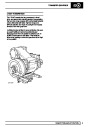
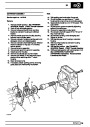
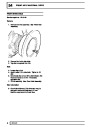
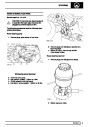
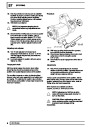
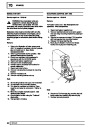
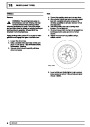
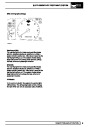
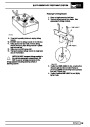
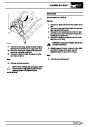
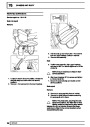
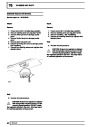
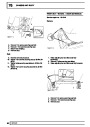
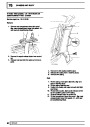
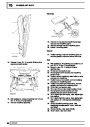
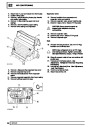
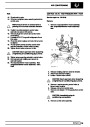
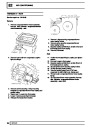
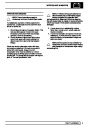
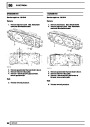
Off vehicle balancing
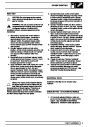
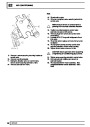
CAUTION: Do not use tyre sealants that
are injected through valve stem to repair
punctured tyres, they may produce wheel
corrosion and tyre imbalance.
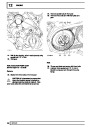
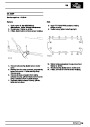
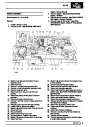
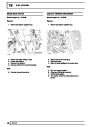
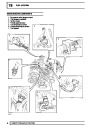
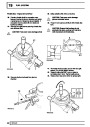
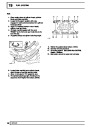
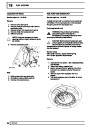
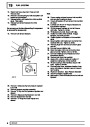
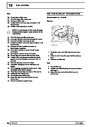
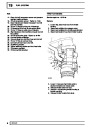
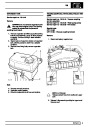
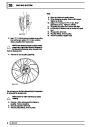
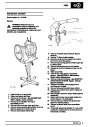
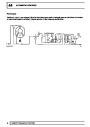
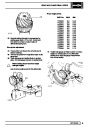
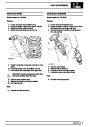
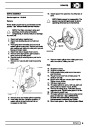
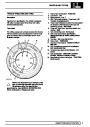
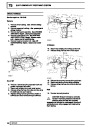
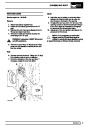
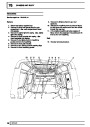
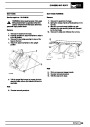
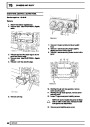
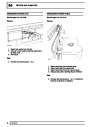
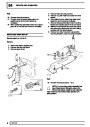
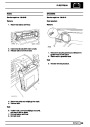
Balance wheel assembly referring to equipment
manufacturer’s instructions.
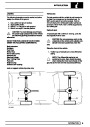
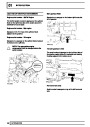
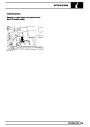
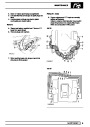
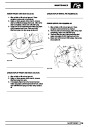
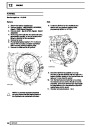
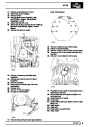
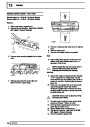
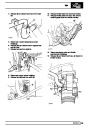
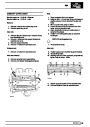
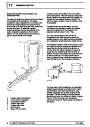
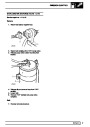
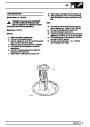
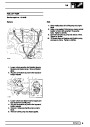
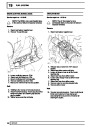
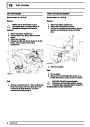
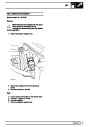
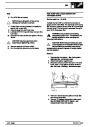
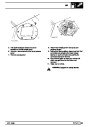
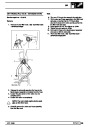
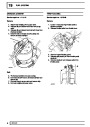
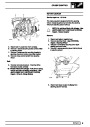
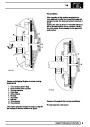
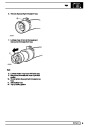
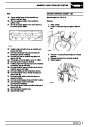
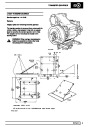
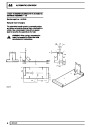
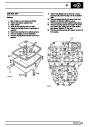
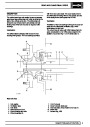
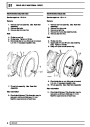
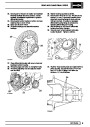
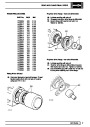
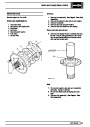
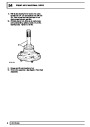
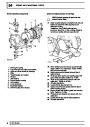
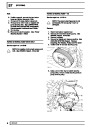
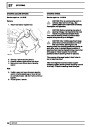
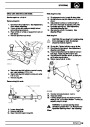
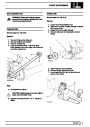
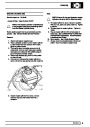
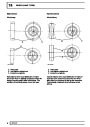
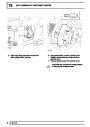
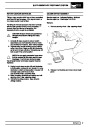
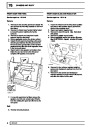
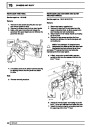
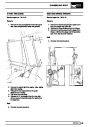
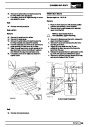
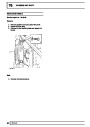
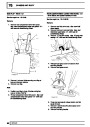
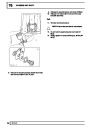
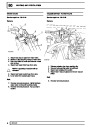
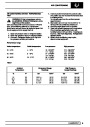
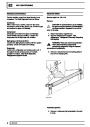
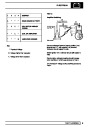
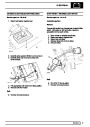
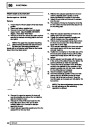
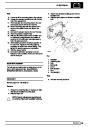
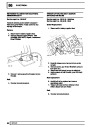
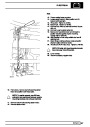
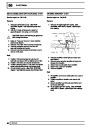
It is essential that the wheel is located by the centre
hole NOT the stud holes. To ensure positive wheel
location the diameter of the locating collar on the
machine shaft must be 112.80 to 112.85 mm (4.441 to
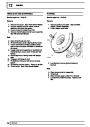
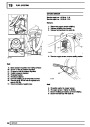
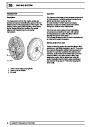
Aluminium wheel rim bead seats should be cleaned
using a non-abrasive cleaner to remove the mounting
lubricants and old rubber. Before mounting or
demounting a tyre, bead area should be well
lubricated with a suitable tyre lubricant.
4.443
in). This diameter will ensure that the collar fits
correctly within the centre hole of the wheel.
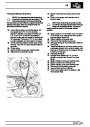
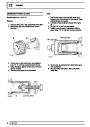
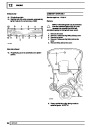
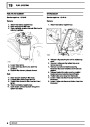
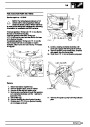
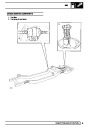
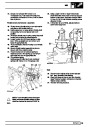
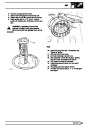
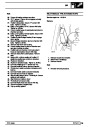
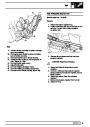
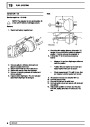
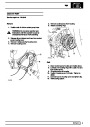
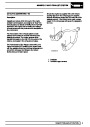
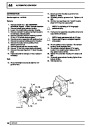
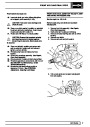
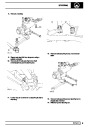
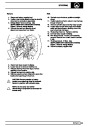
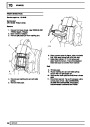
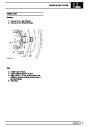
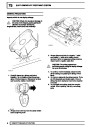
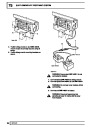
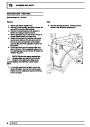
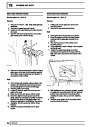
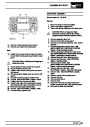
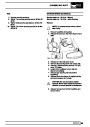
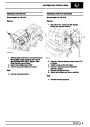
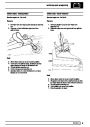
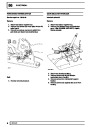
Where possible always use the vehicle wheel
retaining nuts to locate the wheel on the balancer, to
avoid damaging the wheel. If this is not possible, the
locating nuts must be of a similar pattern to the
original wheel nuts. The use of conical type wheel
nuts for this purpose may damage the aluminium
alloy.
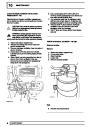
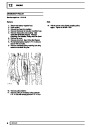
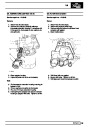
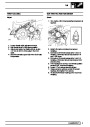
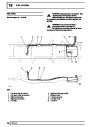
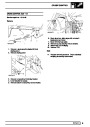
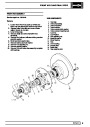
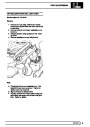
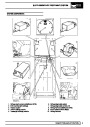
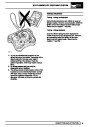
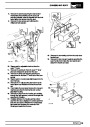
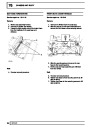
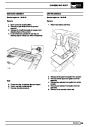
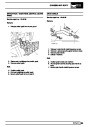
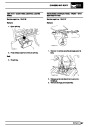
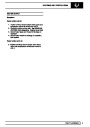
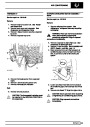
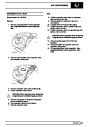
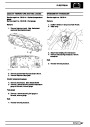
TYRE FITTING
Alloy wheels
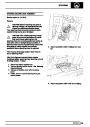
Cleaning
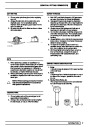
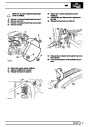
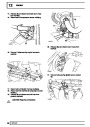
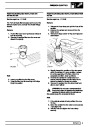
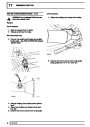
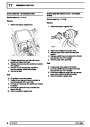
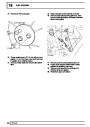
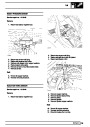
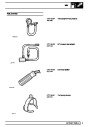
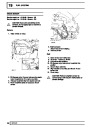
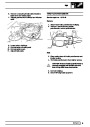
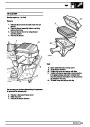
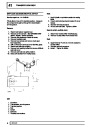
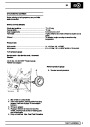
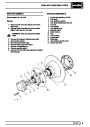
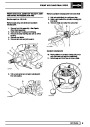
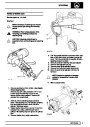
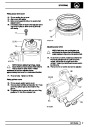
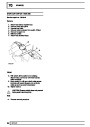
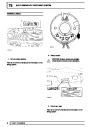
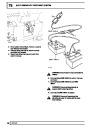
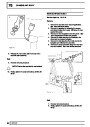
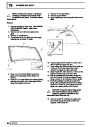
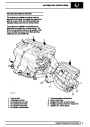
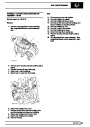
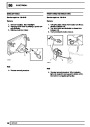
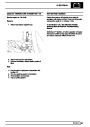
1. Install a new valve assembly.
2.
Ensure wheel and tyre is adequately lubricated.
Wash the aluminium wheels using a suitable wash
and wax concentrate correctly diluted and rinse with
cold clear water. DO NOT use abrasives or aluminium
wheel cleaners containing acid, as they will destroy
the lacquer finish.
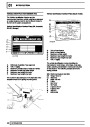
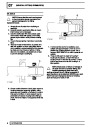
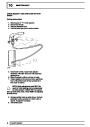
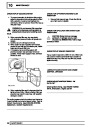
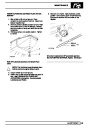
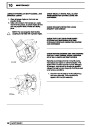
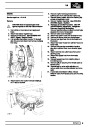
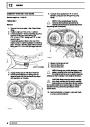
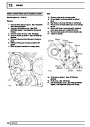
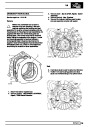
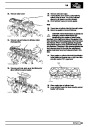
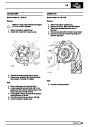
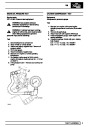
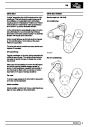
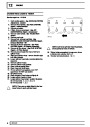
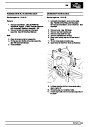
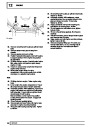
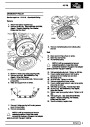
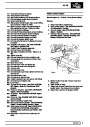
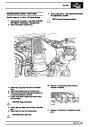
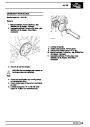
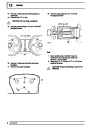
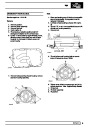
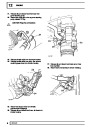
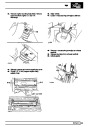
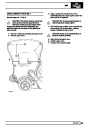
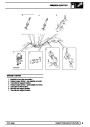
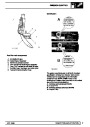
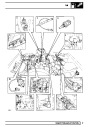
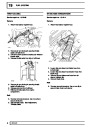
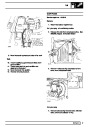
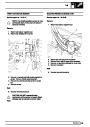
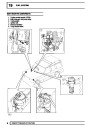
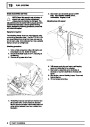
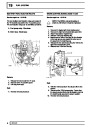
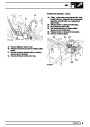
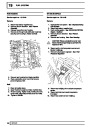
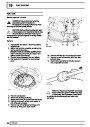
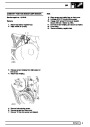
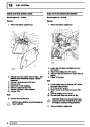
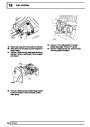
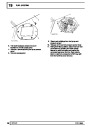
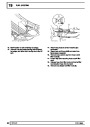
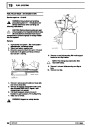
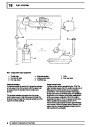
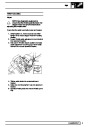
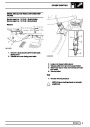
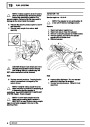
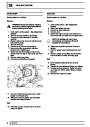
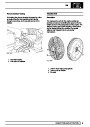
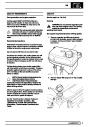
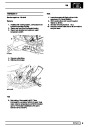
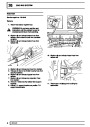
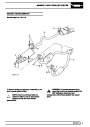
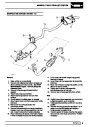
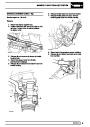
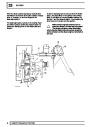
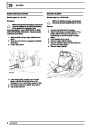
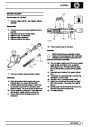
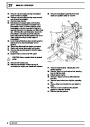
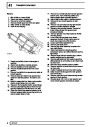
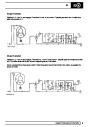
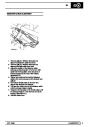
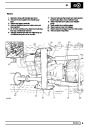
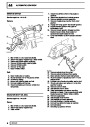
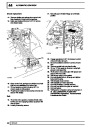
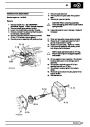
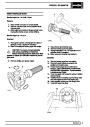
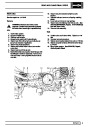
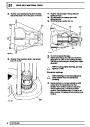
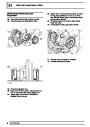
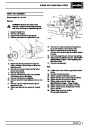
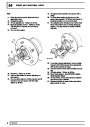
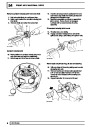
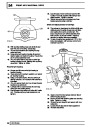
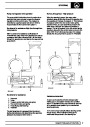
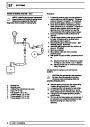
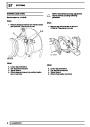
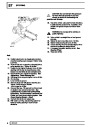
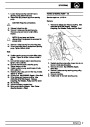
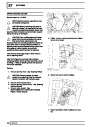
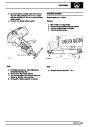
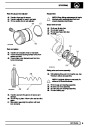
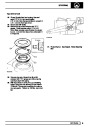
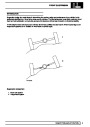
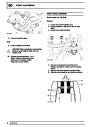
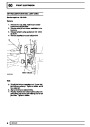
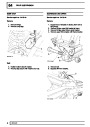
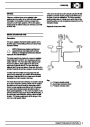
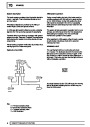
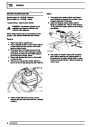
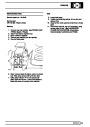
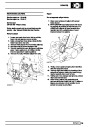
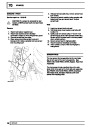
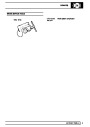
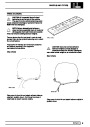
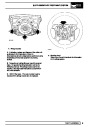
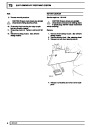
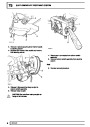
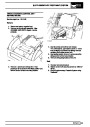
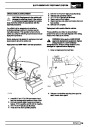
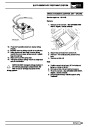
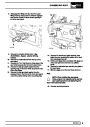
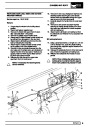
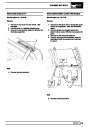
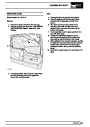
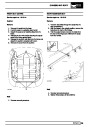
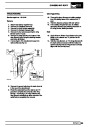
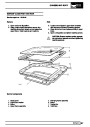
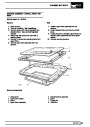
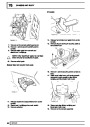
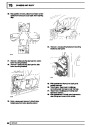
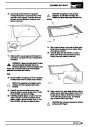
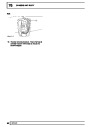
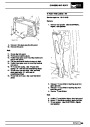
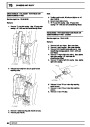
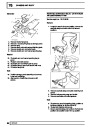
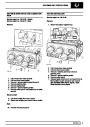
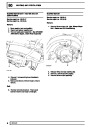
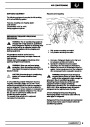
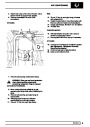
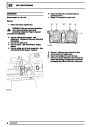
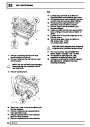
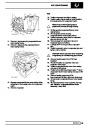
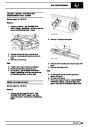
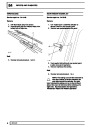
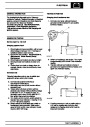
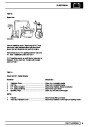
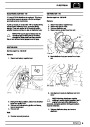
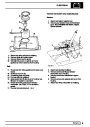
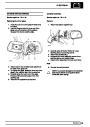
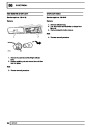
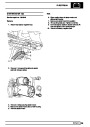
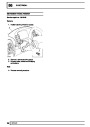
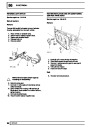
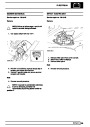
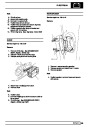
3. Mount tyre in normal manner. Inflate tyre and at
same time apply hand pressure to area around
valve to aid seating over valve first.
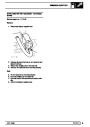
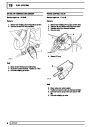
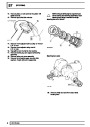
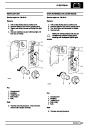
NOTE: Stop inflation immediately if tyre
seats opposite valve, as this will result in
valve being blocked by tyre beading,
making further inflation impossible, and carry out
following procedure.
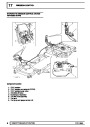
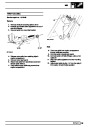
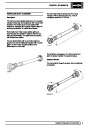
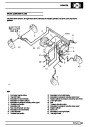
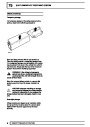
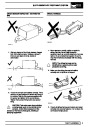
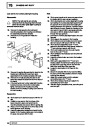
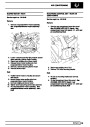
Tyre changing
Use only tyre changing equipment to mount or
demount tyres, following the equipment
manufacturer’s instructions. DO NOT use hand tools
or tyre levers, as they may damage tyre beads or the
aluminium wheel rim.
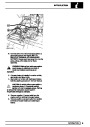
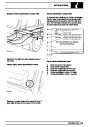
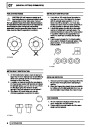
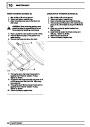
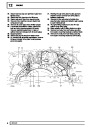
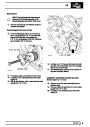
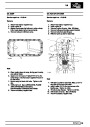
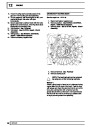
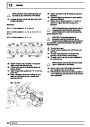
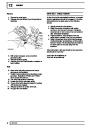
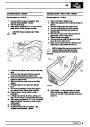
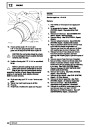
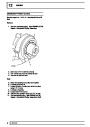
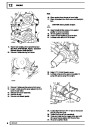
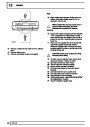
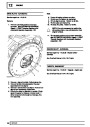
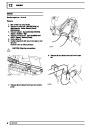
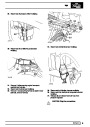
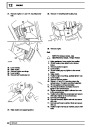
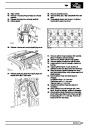
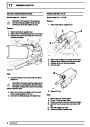
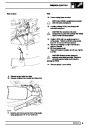
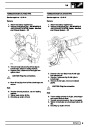
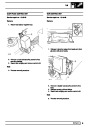
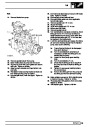
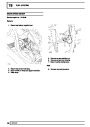
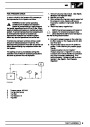
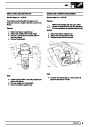
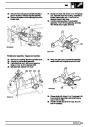
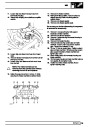
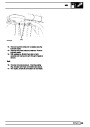
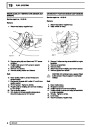
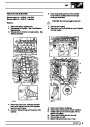
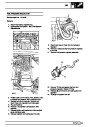
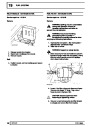
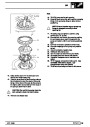
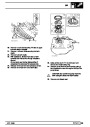
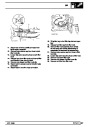
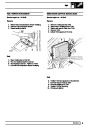
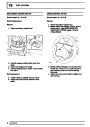
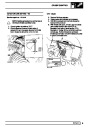
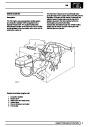
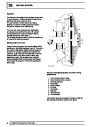
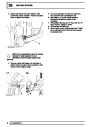
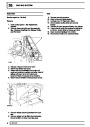
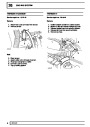
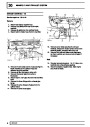
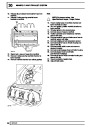
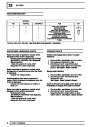
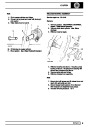
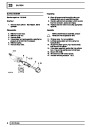
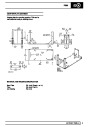
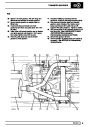
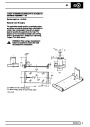
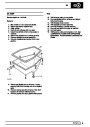
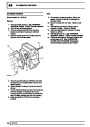
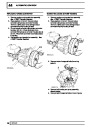
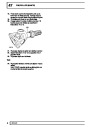
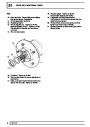
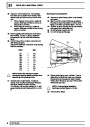
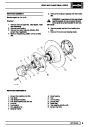
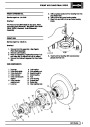
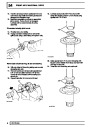
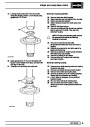
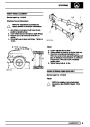
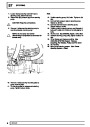
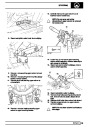
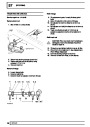
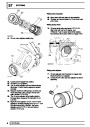
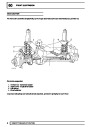
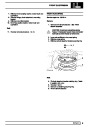
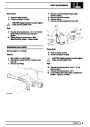
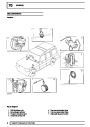
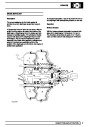
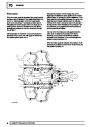
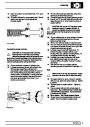
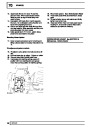
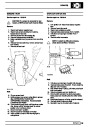
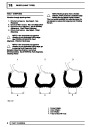
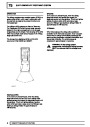
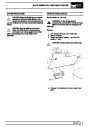
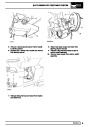
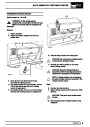
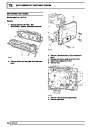
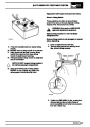
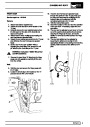
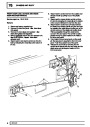
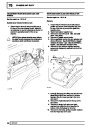
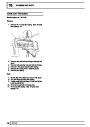
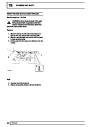
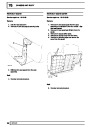
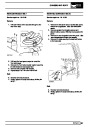
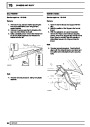
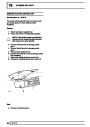
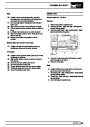
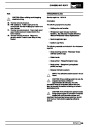
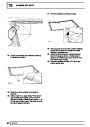
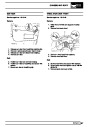
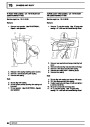
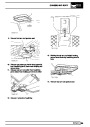
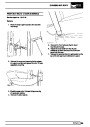
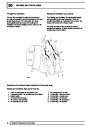
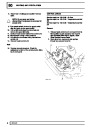
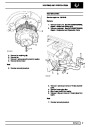
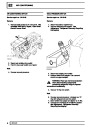
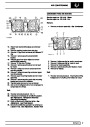
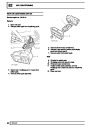
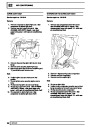
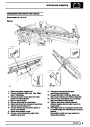
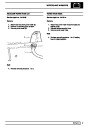
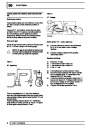
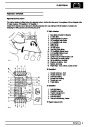
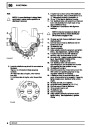
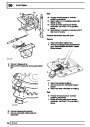
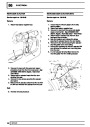
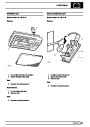
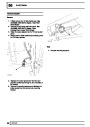
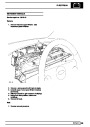
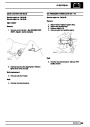
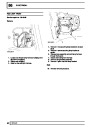
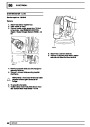
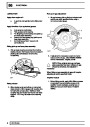
4. Deflate tyre, unseat and rotate it around the rim
until valve is in line with that part of tyre which
seated initially. This part of beading having
seated over hump previously will automatically
seat first when tyre is re-inflated.
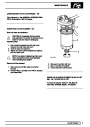
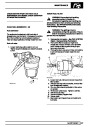
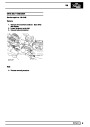
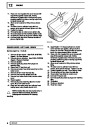
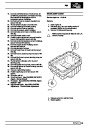
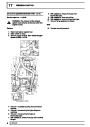
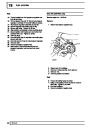
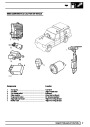
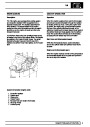
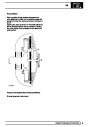
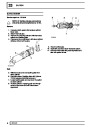
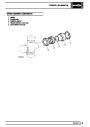
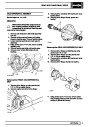
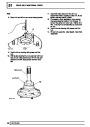
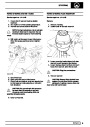
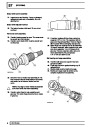
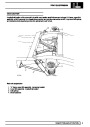
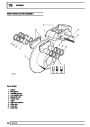
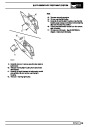
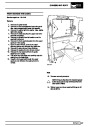
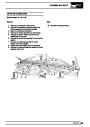
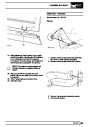
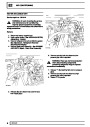
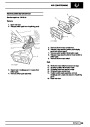
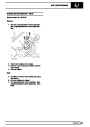
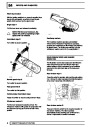
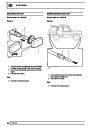
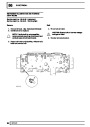
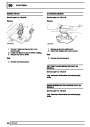
Puncture repair
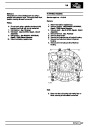
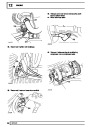
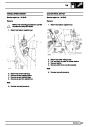
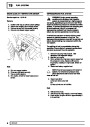
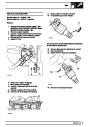
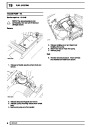
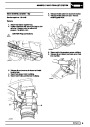
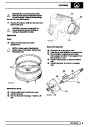
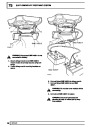
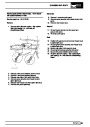
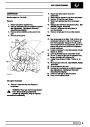
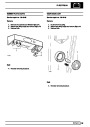
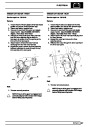
5.
Inflate tyre to seat beads correctly, finally inflate
to correct pressure.
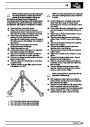
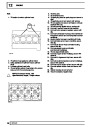
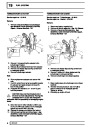
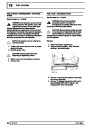
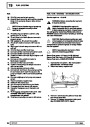
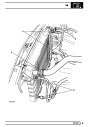
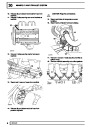
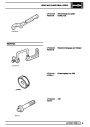
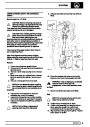
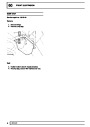
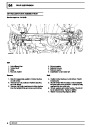
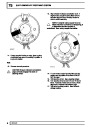
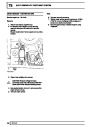
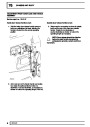
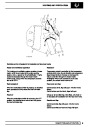
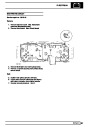
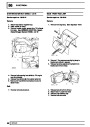
Remove punctured tyre from wheel and repair using a
combination service plug and vulcanising patch.
Always follow manufacturer’s instructions when using
a puncture repair kit.
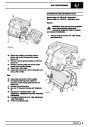
Only punctures in tread area are repairable, DO NOT
attempt to repair punctures in tyre shoulders or
sidewalls.
Do not attempt to repair a tyre that has sustained the
following: bulges or blisters, ply separation, broken or
cracked beads, wear indicators visible and punctures
larger than 6 mm diameter.
REPAIR
5
| Categories | Range Rover |
|---|---|
| Tags | Land Rover |
| Model Year | 1998 |
| Download File |
|
| Document Type | Workshop Manual |
| Language | English |
| Product Brand | Land Rover |
| Document File Type | |
| Publisher | landrover.com |
| Wikipedia's Page | http://en.wikipedia.org/wiki/Land_Rover |
| Copyright | Attribution Non-commercial |
(0 votes, average: 0 out of 5)