


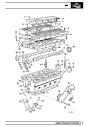


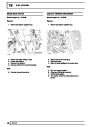


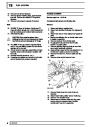
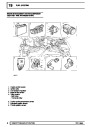


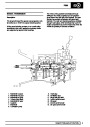
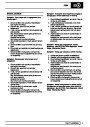
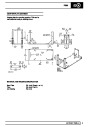
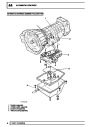
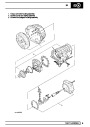

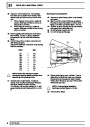


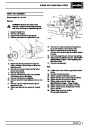


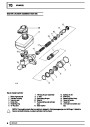


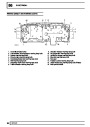

76
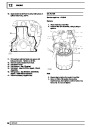
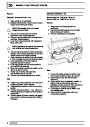
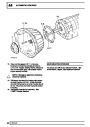
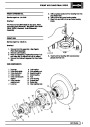
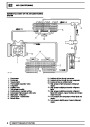
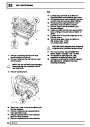
CHASSIS AND BODY
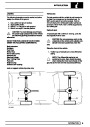
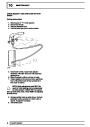
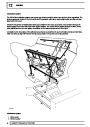
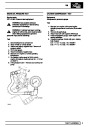
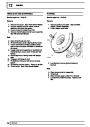
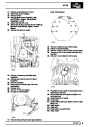
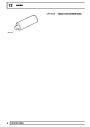
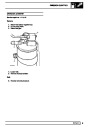
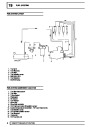
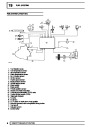
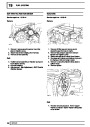
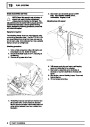
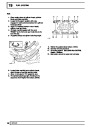
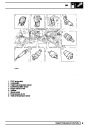
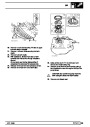
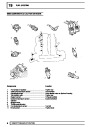
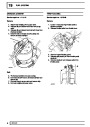
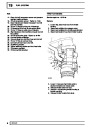
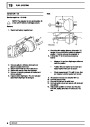
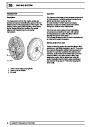
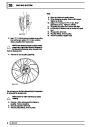
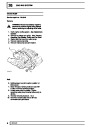
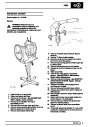
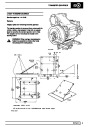
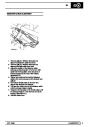
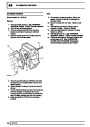
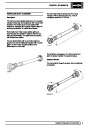
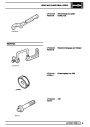
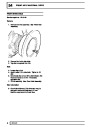
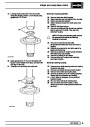
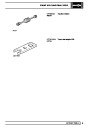
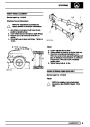
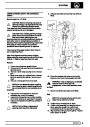
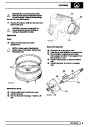
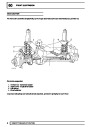
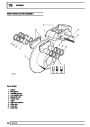
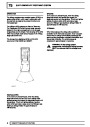
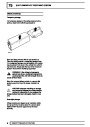
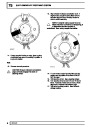
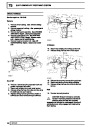
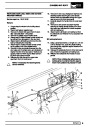
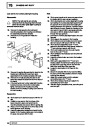
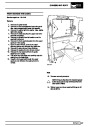
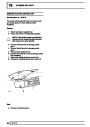
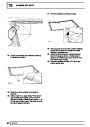
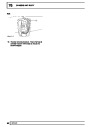
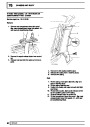
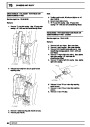
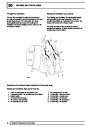
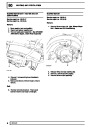
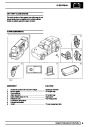
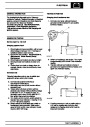
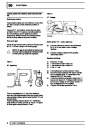
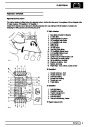
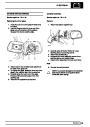
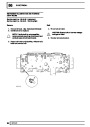
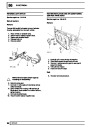
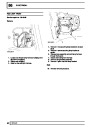
MUD FLAP - REAR - LH
Service repair no - 76.10.85
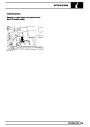
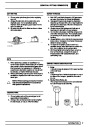
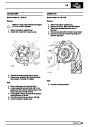
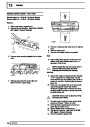
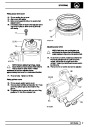
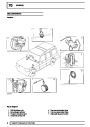
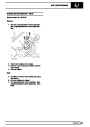
Remove
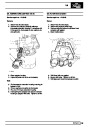
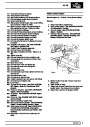
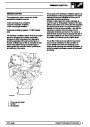
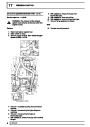
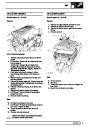
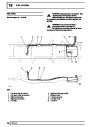
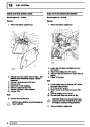
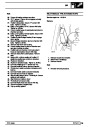
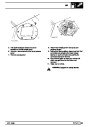
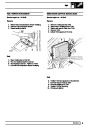
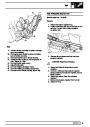
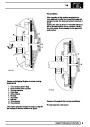
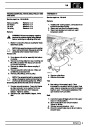
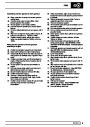
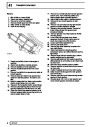
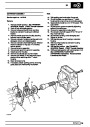
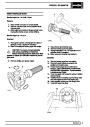
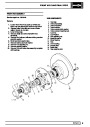
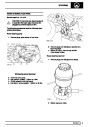
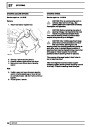
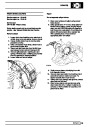
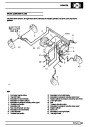
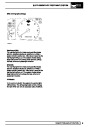
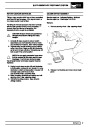
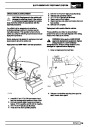
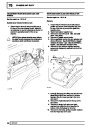
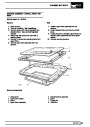
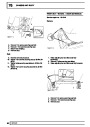
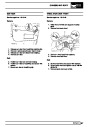
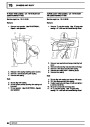
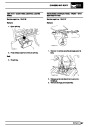
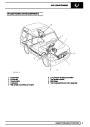
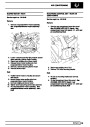
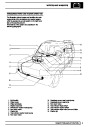
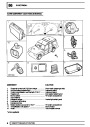
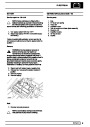
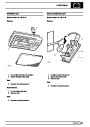
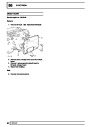
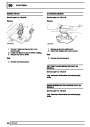
REAR COMPARTMENT LOWER TRIM PANEL - LH
WITH REAR AIR CONDITIONING FITTED
-
Service repair no - 76.13.03/20
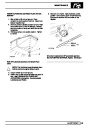
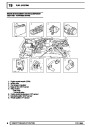
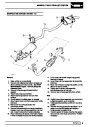
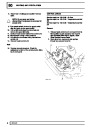
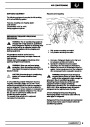
Remove
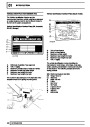
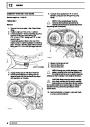
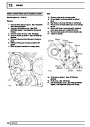
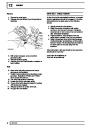
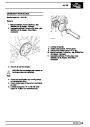
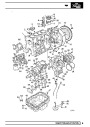
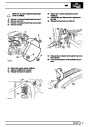
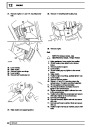
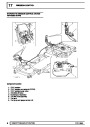
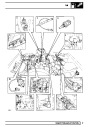
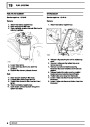
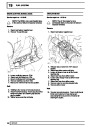
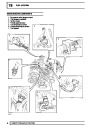
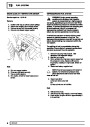
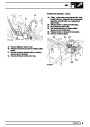
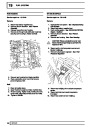
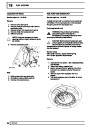
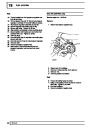
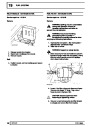
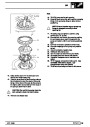
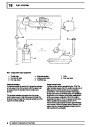
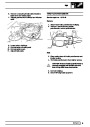
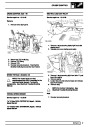
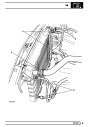
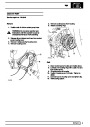
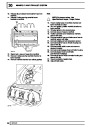
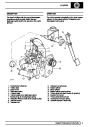
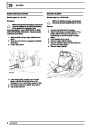
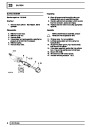
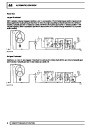
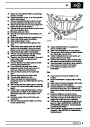
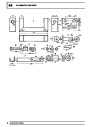
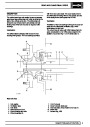
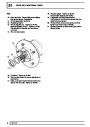
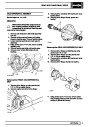
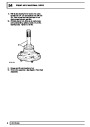
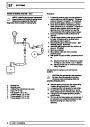
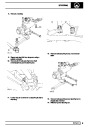
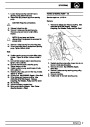
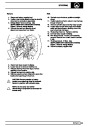
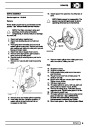
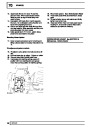
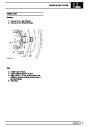
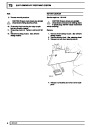
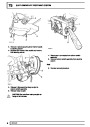
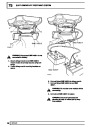
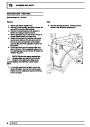
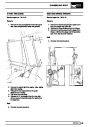
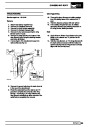
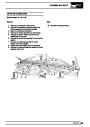
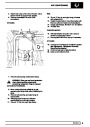
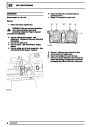
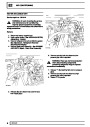
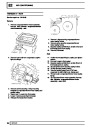
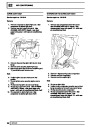
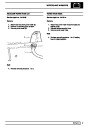
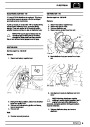
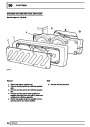
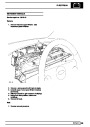
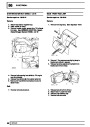
1.
Remove rear compartment lower trim panel.
See rear compartment lower trim panel - lh -
with rear air conditioning fitted.
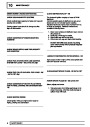
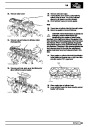
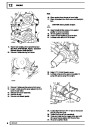
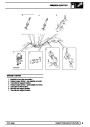
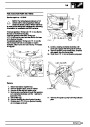
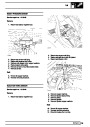
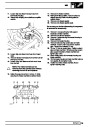
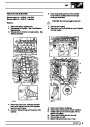
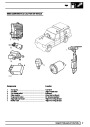
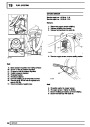
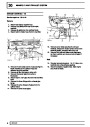
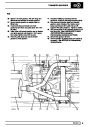
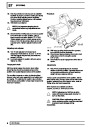
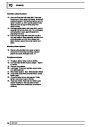
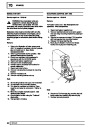
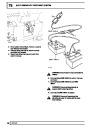
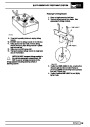
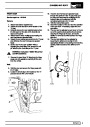
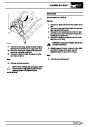
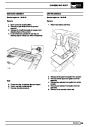
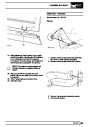
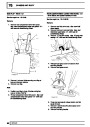
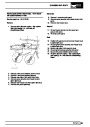
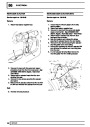
1. Remove rear fold down seat. See rear fold
down seats.
2.
3.
Remove fold down rear seat belts. See rear
fold down seat belts - lh - with rear air
conditioning fitted.
Remove ’E’ post trim casing. See ’E’ post trim
casing - lh - with rear air conditioning fitted.
4.
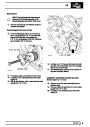
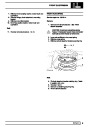
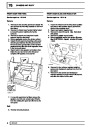
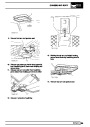
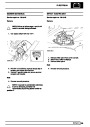
5.
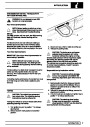
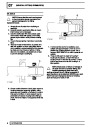
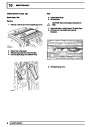
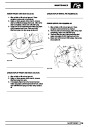
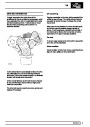
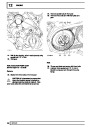
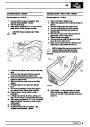
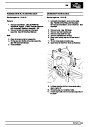
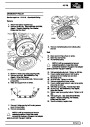
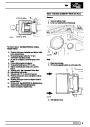
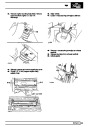
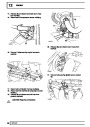
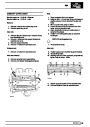
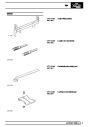
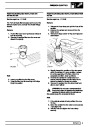
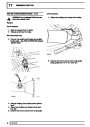
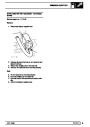
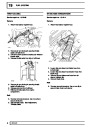
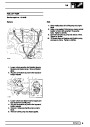
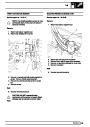
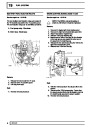
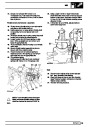
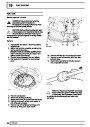
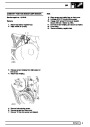
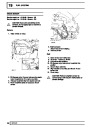
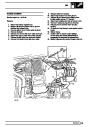
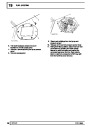
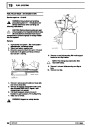
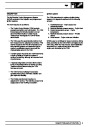
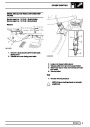
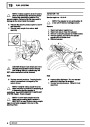
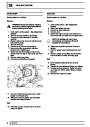
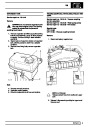
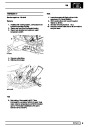
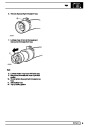
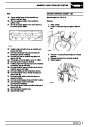
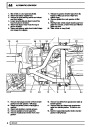
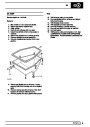
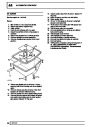
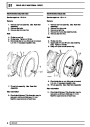
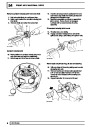
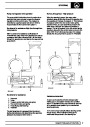
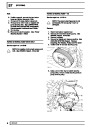
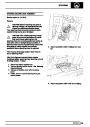
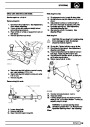
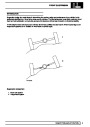
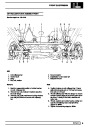
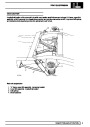
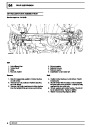
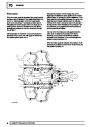
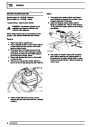
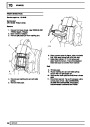
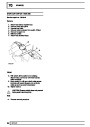
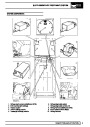
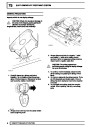
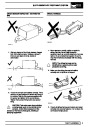
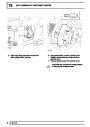
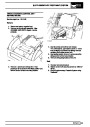
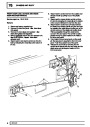
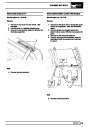
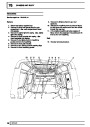
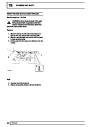
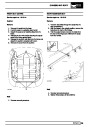
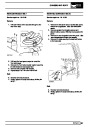
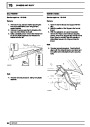
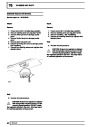
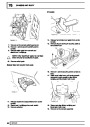
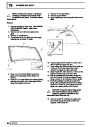
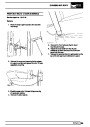
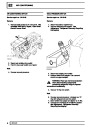
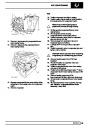
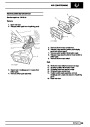
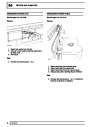
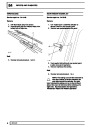
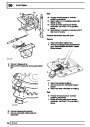
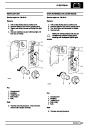
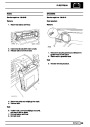
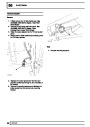
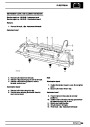
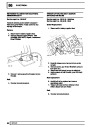
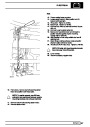
Release load space cover end sleeve from
mounting bracket.
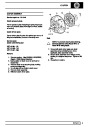
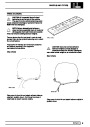
Remove load space cover.
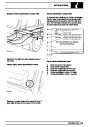
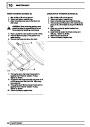
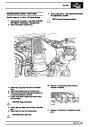
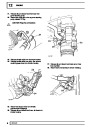
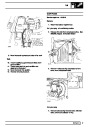
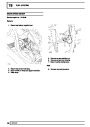
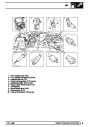
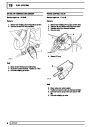
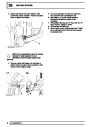
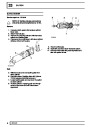
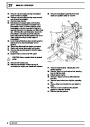
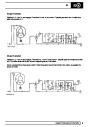
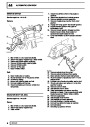
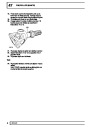
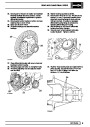
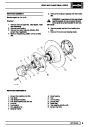
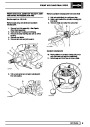
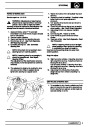
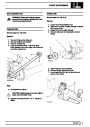
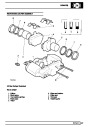
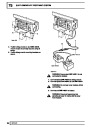
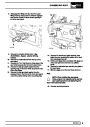
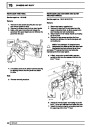
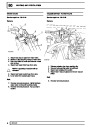
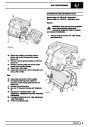
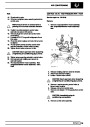
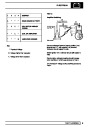
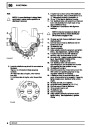
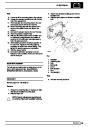
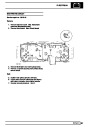
2.
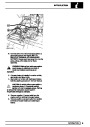
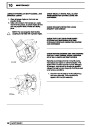
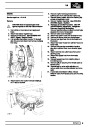
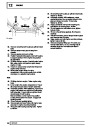
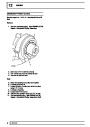
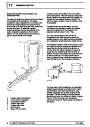
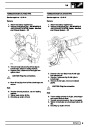
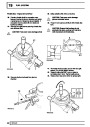
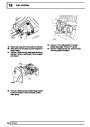
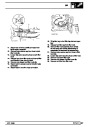
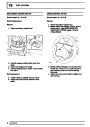
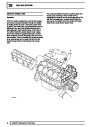
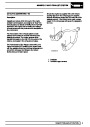
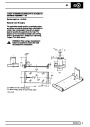
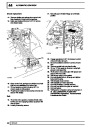
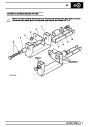
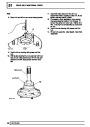
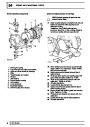
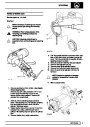
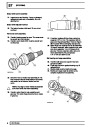
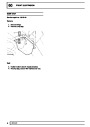
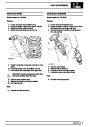
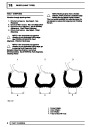
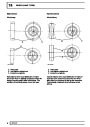
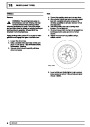
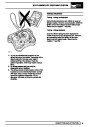
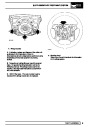
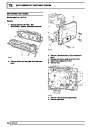
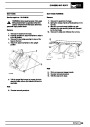
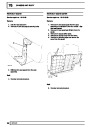
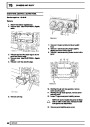
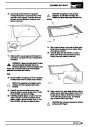
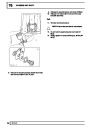
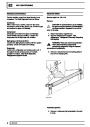
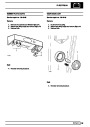
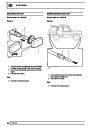
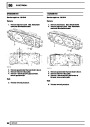
3.
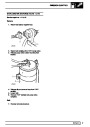
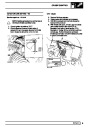
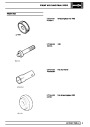
Remove 5 nuts and bolts securing mud flap to
body and bumper valance.
Remove mud flap.
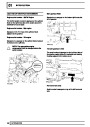
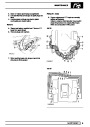
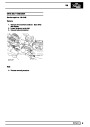
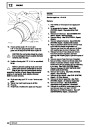
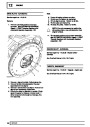
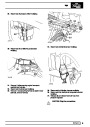
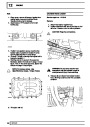
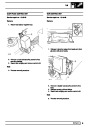
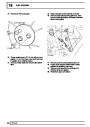
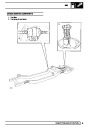
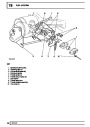
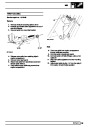
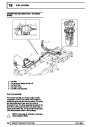
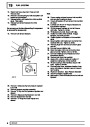
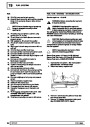
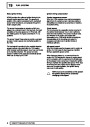
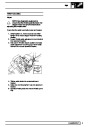
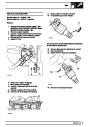
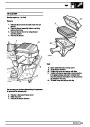
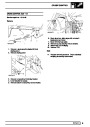
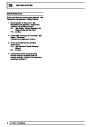
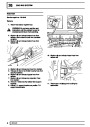
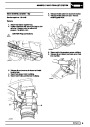
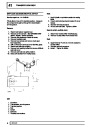
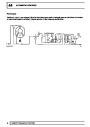
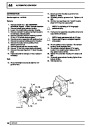
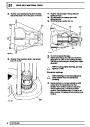
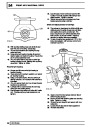
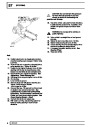
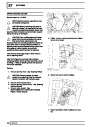
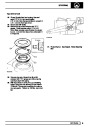
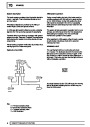
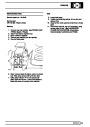
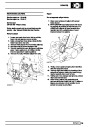
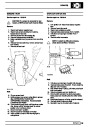
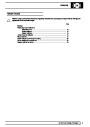
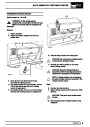
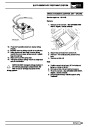
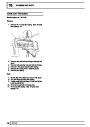
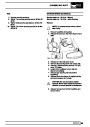
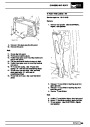
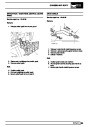
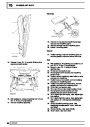
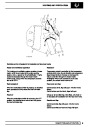
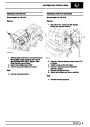
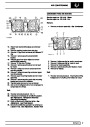
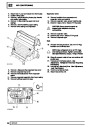
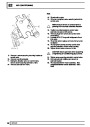
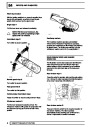
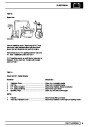
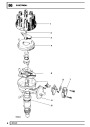
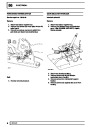
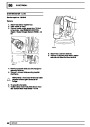
Refit
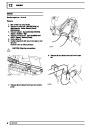
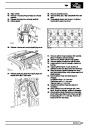
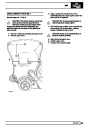
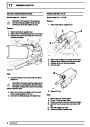
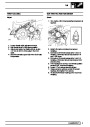
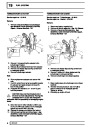
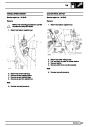
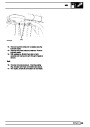
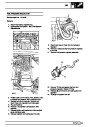
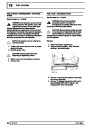
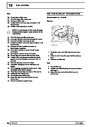
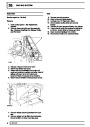
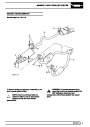
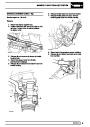
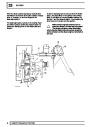
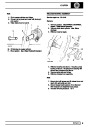
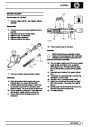
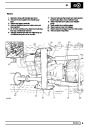
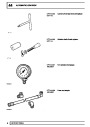
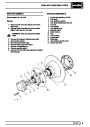
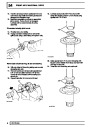
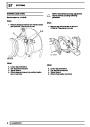
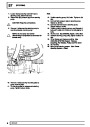
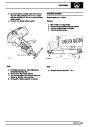
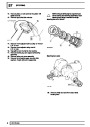
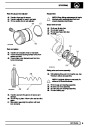
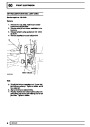
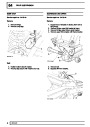
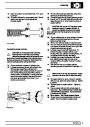
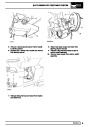
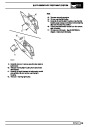
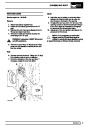
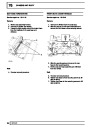
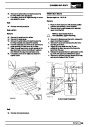
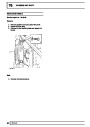
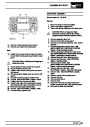
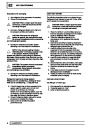
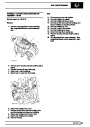
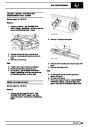
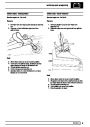
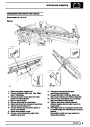
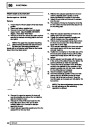
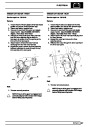
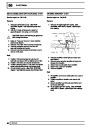
4.
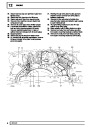
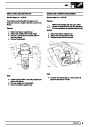
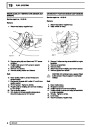
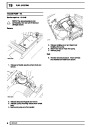
Position mud flap to body, fit bolts and tighten
nuts to 10 Nm (7 lbf ft) .
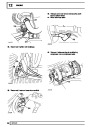
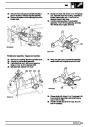
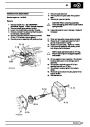
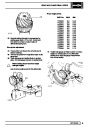
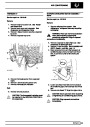
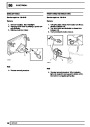
5.
Fit rear compartment lower trim panel. See rear
compartment lower trim panel - lh - with rear
air conditioning fitted.
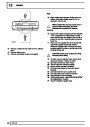
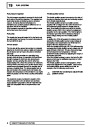
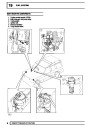
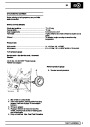
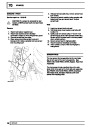
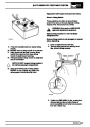
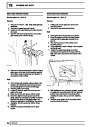
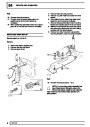
6.
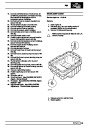
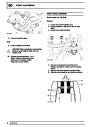
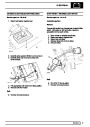
7.
8.
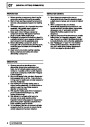
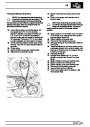
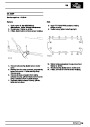
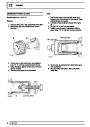
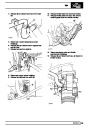
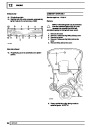
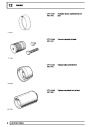
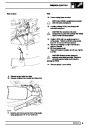
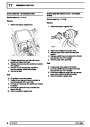
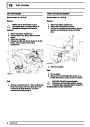
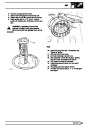
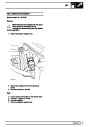
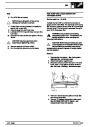
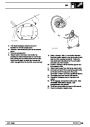
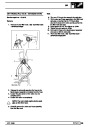
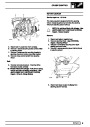
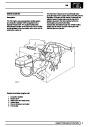
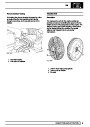
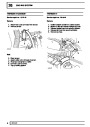
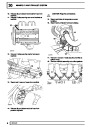
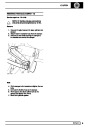
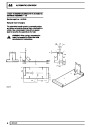
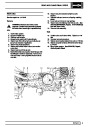
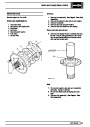
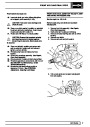
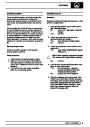
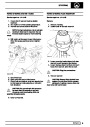
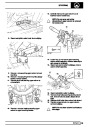
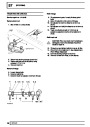
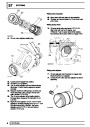
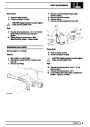
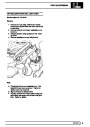
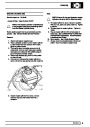
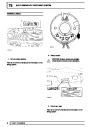
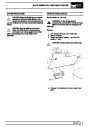
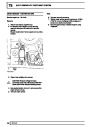
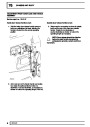
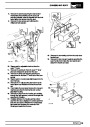
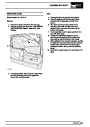
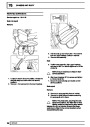
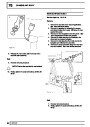
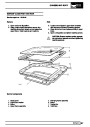
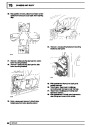
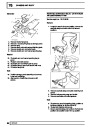
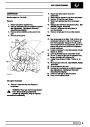
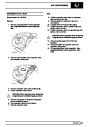
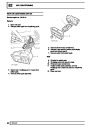
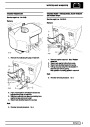
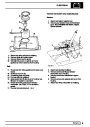
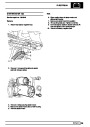
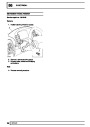
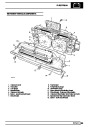
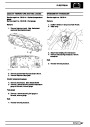
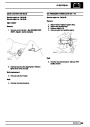
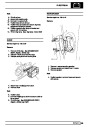
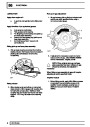
Press rear seat squab release button and fold
squab forward.
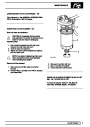
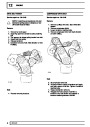
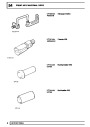
Remove 2 screws securing load space cover
mounting bracket.
Remove mounting bracket.
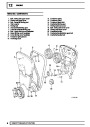
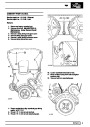
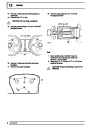
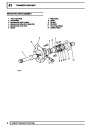
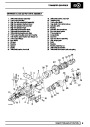
58
REPAIR
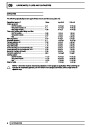
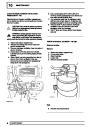
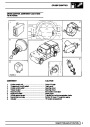
| Categories | Range Rover |
|---|---|
| Tags | Land Rover |
| Model Year | 1998 |
| Download File |
|
| Document Type | Workshop Manual |
| Language | English |
| Product Brand | Land Rover |
| Document File Type | |
| Publisher | landrover.com |
| Wikipedia's Page | http://en.wikipedia.org/wiki/Land_Rover |
| Copyright | Attribution Non-commercial |
(0 votes, average: 0 out of 5)