


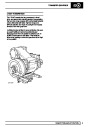


41
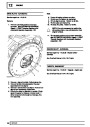
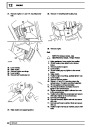
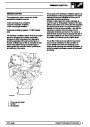
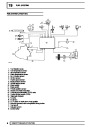
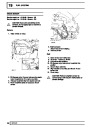
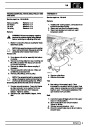
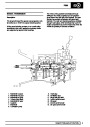
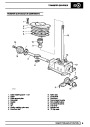
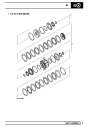
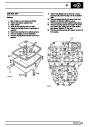
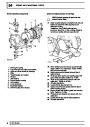
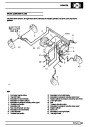
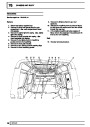
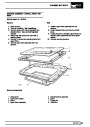
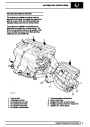
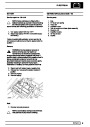
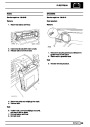
TRANSFER GEARBOX
PROCEDURE
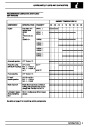
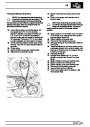
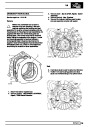
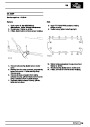
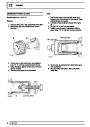
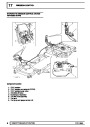
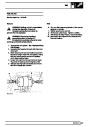
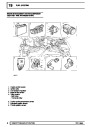
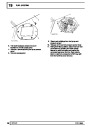
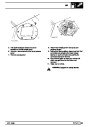
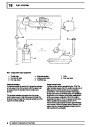
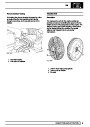
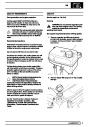
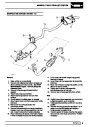
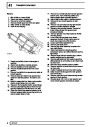
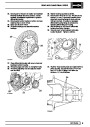
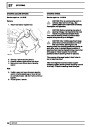
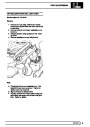
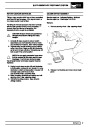
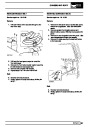
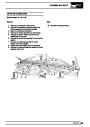
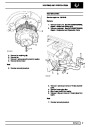
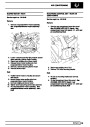
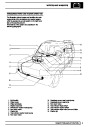
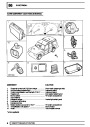
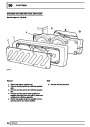
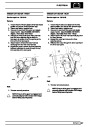
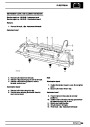
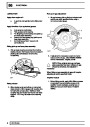
Leak between the main and transfer gearboxes.
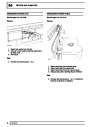
Prior to road test
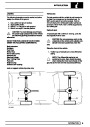
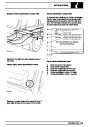
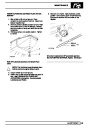
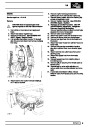
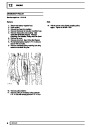
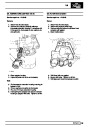
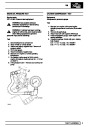
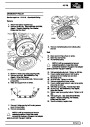
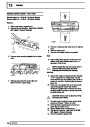
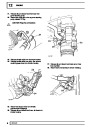
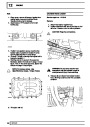
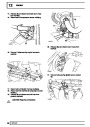
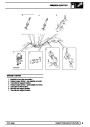
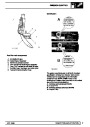
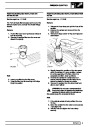
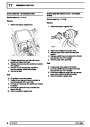
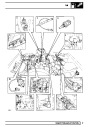
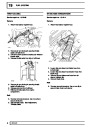
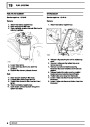
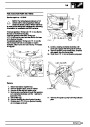
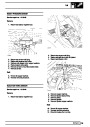
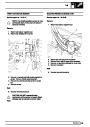
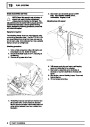
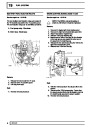
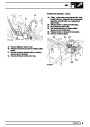
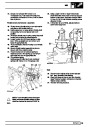
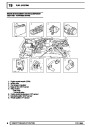
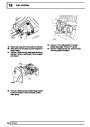
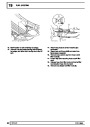
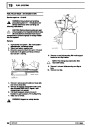
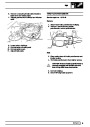
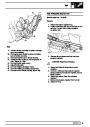
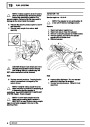
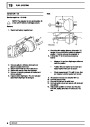
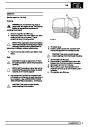
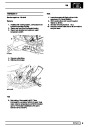
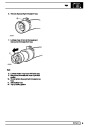
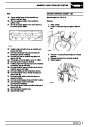
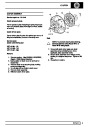
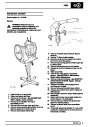
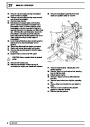
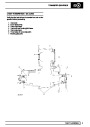
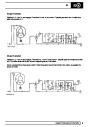
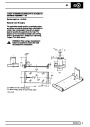
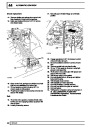
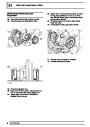
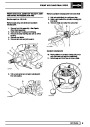
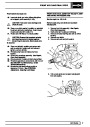
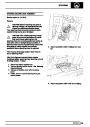
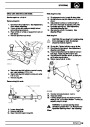
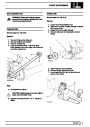
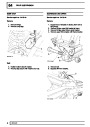
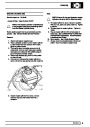
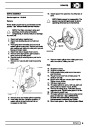
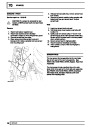
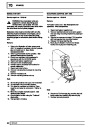
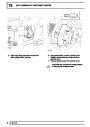
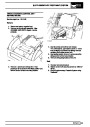
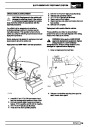
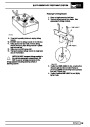
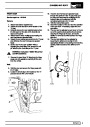
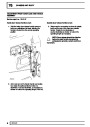
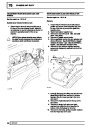
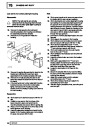
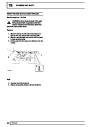
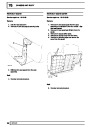
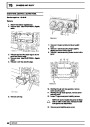
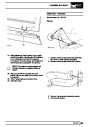
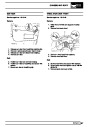
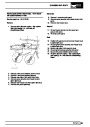
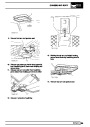
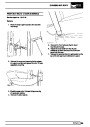
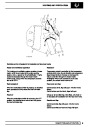
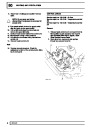
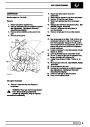
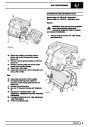
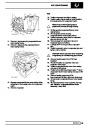
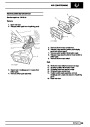
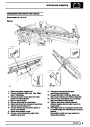
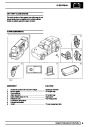
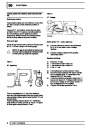
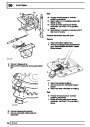
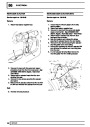
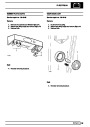
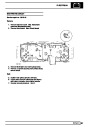
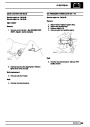
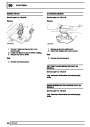
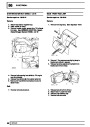
1. Site vehicle onto a ramp [hoist].
2.
Select neutral in transfer box and select 4th gear
in the main gearbox.
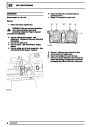
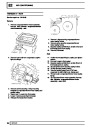
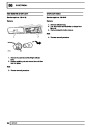
1.
2.
3.
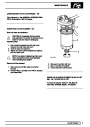
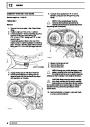
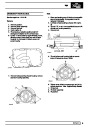
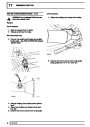
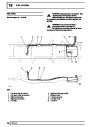
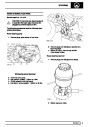
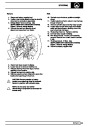
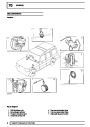
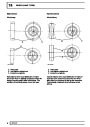
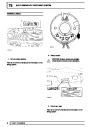
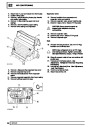
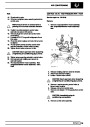
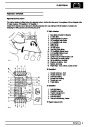
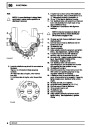
Check oil level in transfer box is correct.
Check tightness of level and drain plugs.
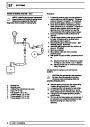
Check breather system for blockage. To validate
the system the pipe must be removed,
inspected, rectified as necessary and refitted.
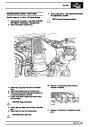
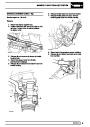
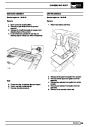
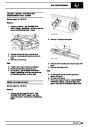
Remove all traces of oil from exterior of transfer
box.
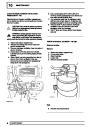
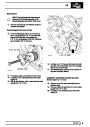
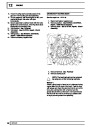
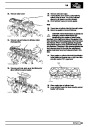
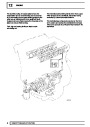
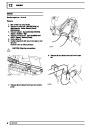
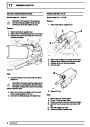
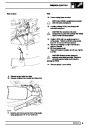
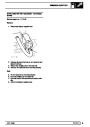
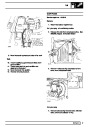
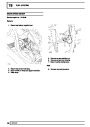
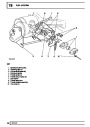
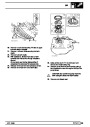
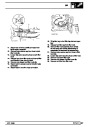
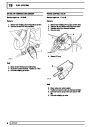
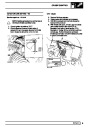
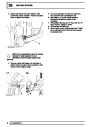
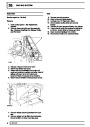
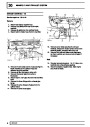
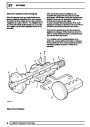
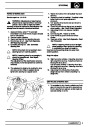
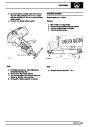
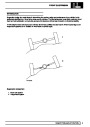
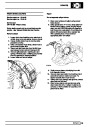
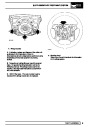
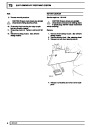
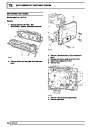
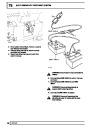
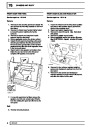
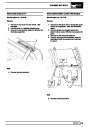
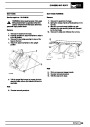
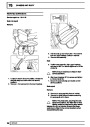
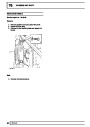
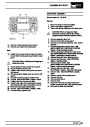
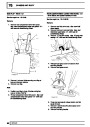
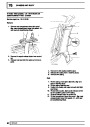
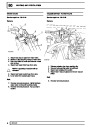
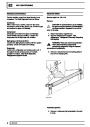
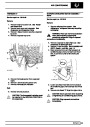
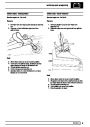
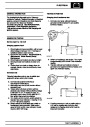
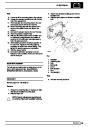
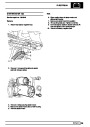
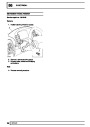
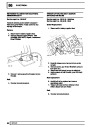
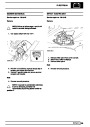
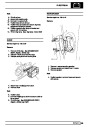
3. Run engine at 2000 rpm with the clutch/drive
engaged.
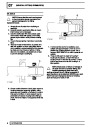
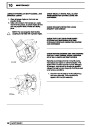
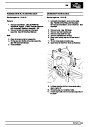
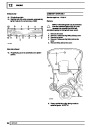
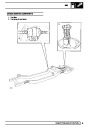
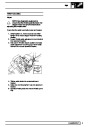
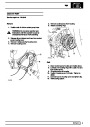
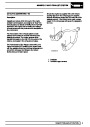
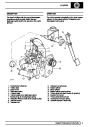
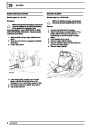
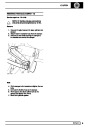
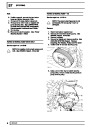
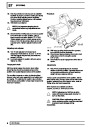
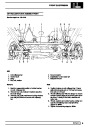
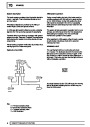
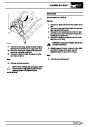
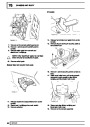
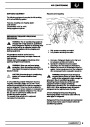
4. Observe joint between the main and transfer
boxes.
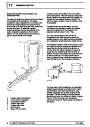
5. If oil leak is found establish if it is gear oil.
6. If so, the leak is originating from the transfer box.
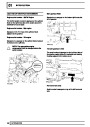
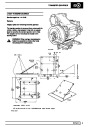
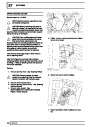
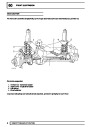
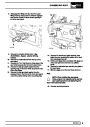
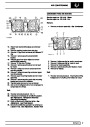
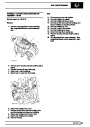
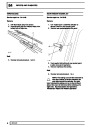
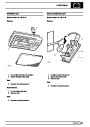
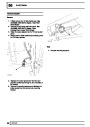
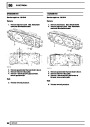
4.
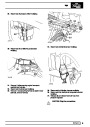
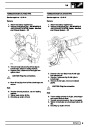
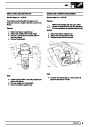
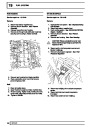
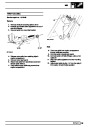
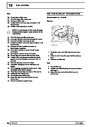
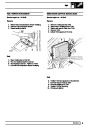
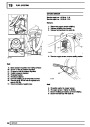
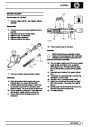
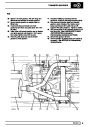
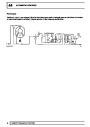
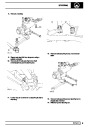
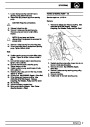
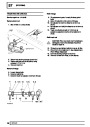
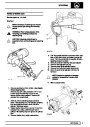
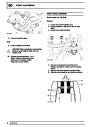
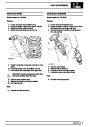
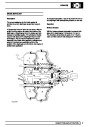
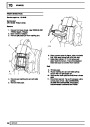
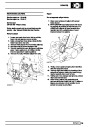
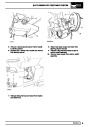
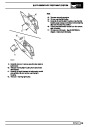
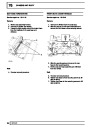
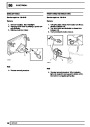
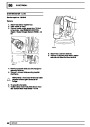
7.
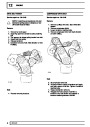
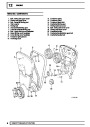
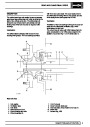
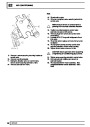
Check the two inner (main/transfer) bolts are oil
tight, as these holes are tapped through into the
main transfer case.
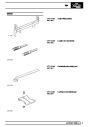
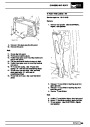
Take vehicle for short road test.
Identify source of leaks and rectify as follows.
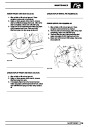
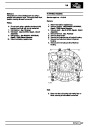
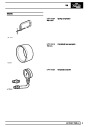
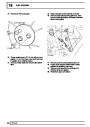
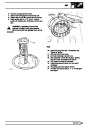
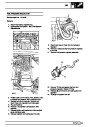
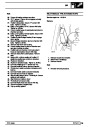
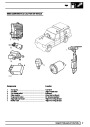
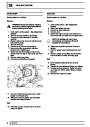
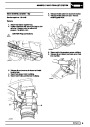
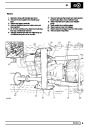
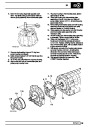
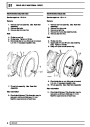
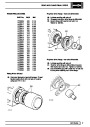
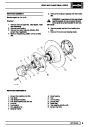
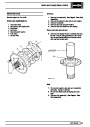
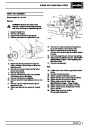
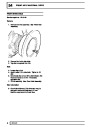
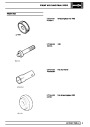
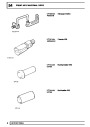
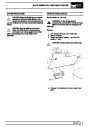
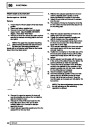
Front or rear output seal leaking:-
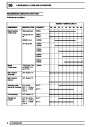
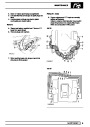
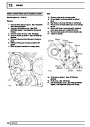
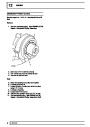
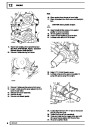
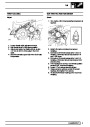
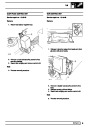
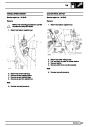
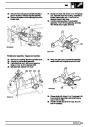
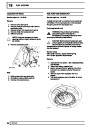
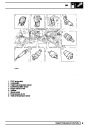
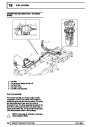
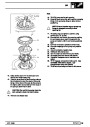
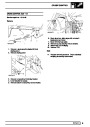
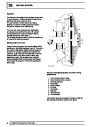
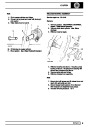
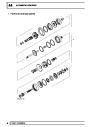
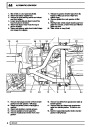
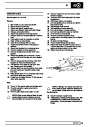
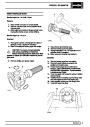
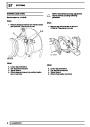
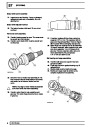
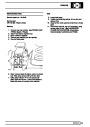
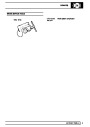
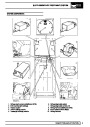
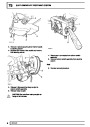
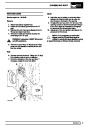
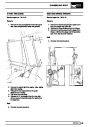
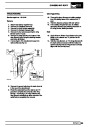
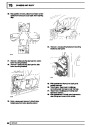
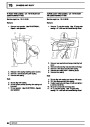
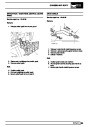
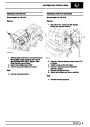
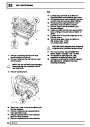
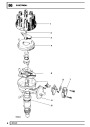
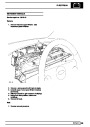
5.
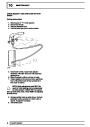
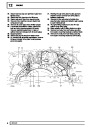
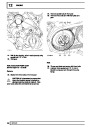
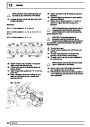
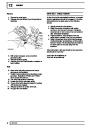
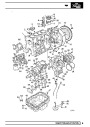
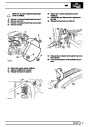
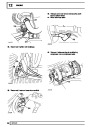
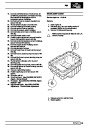
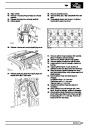
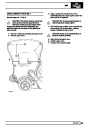
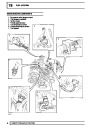
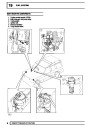
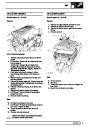
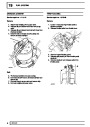
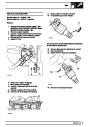
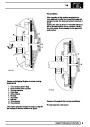
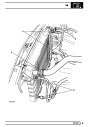
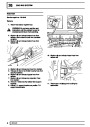
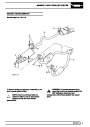
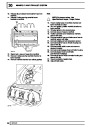
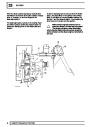
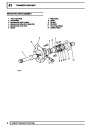
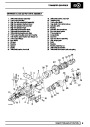
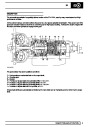
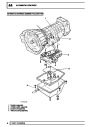
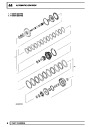
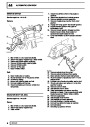
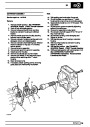
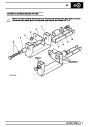
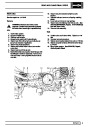
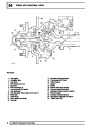
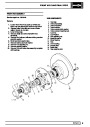
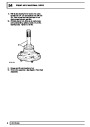
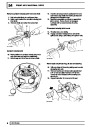
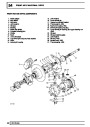
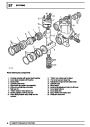
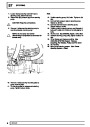
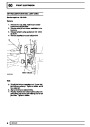
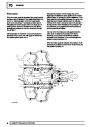
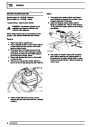
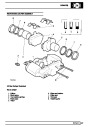
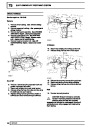
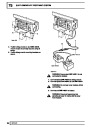
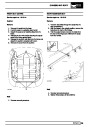
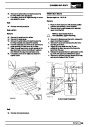
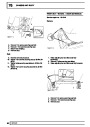
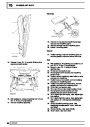
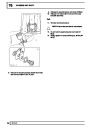
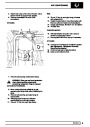
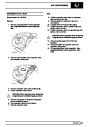
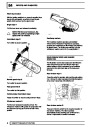
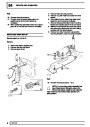
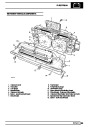
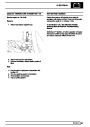
8. Remove the transfer box to inspect the
mainshaft collar seal track condition, and the
front face of the transfer case for porosity. See
Repair, LT230T Transfer Gearbox
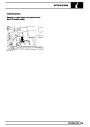
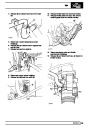
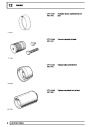
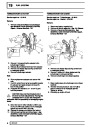
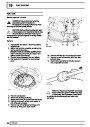
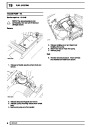
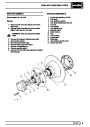
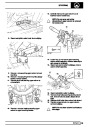
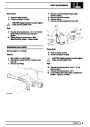
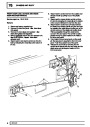
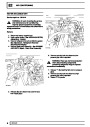
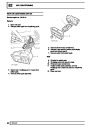
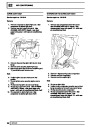
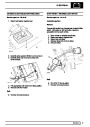
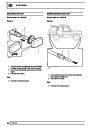
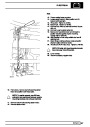
1.
2.
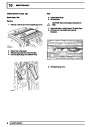
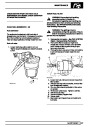
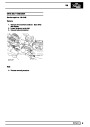
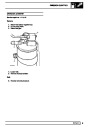
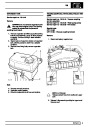
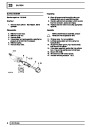
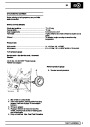
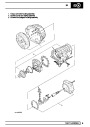
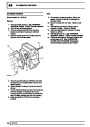
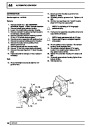
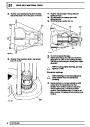
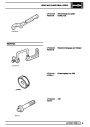
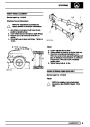
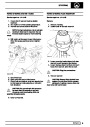
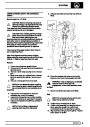
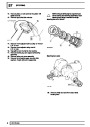
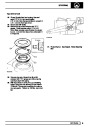
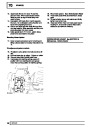
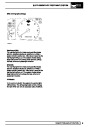
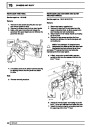
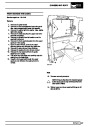
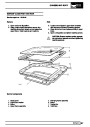
Drain the oil and remove the leaking output
flange.
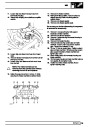
9. If these areas require servicing, the transfer
gearbox input seal must also be renewed.
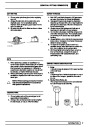
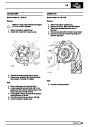
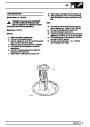
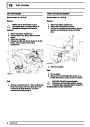
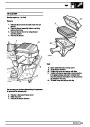
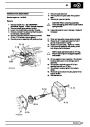
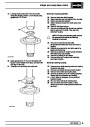
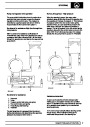
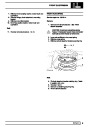
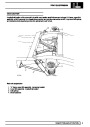
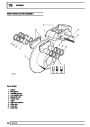
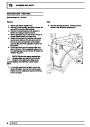
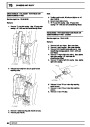
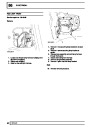
Inspect the seal track on the flange for surface
damage. If damaged renew component.
Remove and discard the oil seal.
Inspect the seal locating bore and remove any
sharp edges which may damage the new oil
seal.
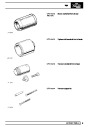
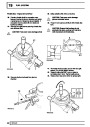
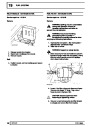
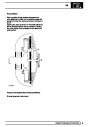
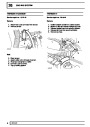
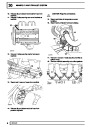
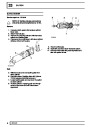
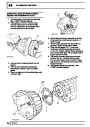
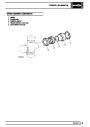
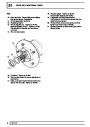
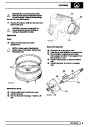
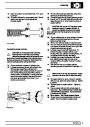
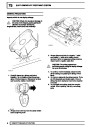
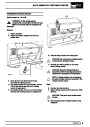
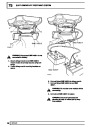
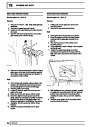
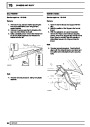
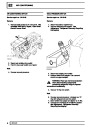
CAUTION: Avoid damaging the new seal
lip and ensure the seal is fitted flush with
the machined face. Also ensure the new
seal is not damaged when refitting the transfer
gearbox.
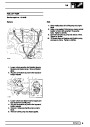
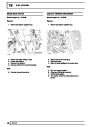
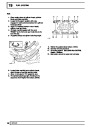
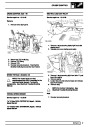
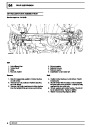
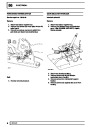
3.
4.
5.
6.
7.
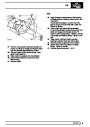
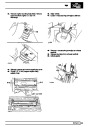
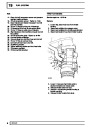
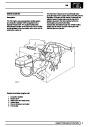
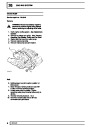
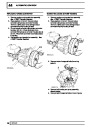
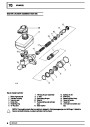
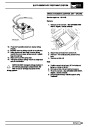
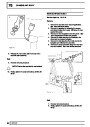
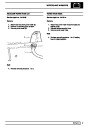
Fit new seal.
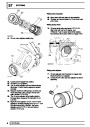
Fit the output flange and all the other parts.
Add oil to correct level into the gearbox. See
LUBRICANTS, FLUIDS AND CAPACITIES,
Information, Recommended Lubricants and
Fluids
10. If red A.T.F type oil is seen leaking during the
workshop test, investigate the main gearbox for
cause of leak.
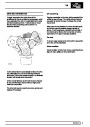
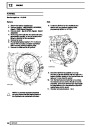
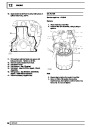
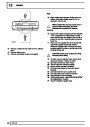
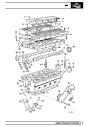
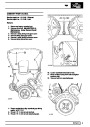
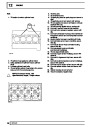
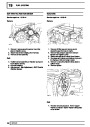
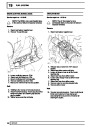
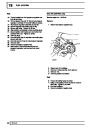
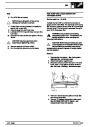
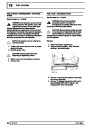
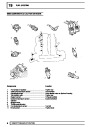
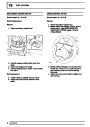
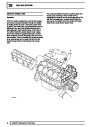
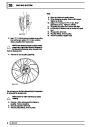
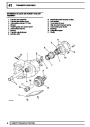
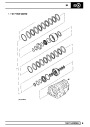
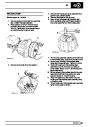
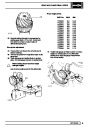
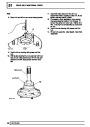
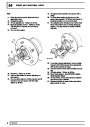
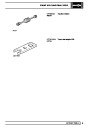
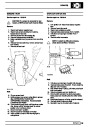
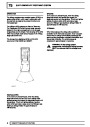
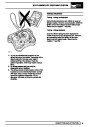
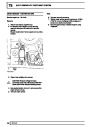
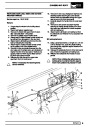
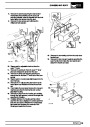
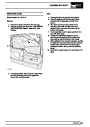
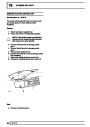
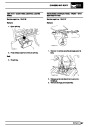
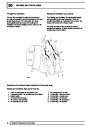
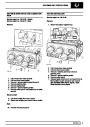
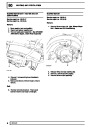
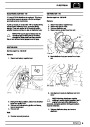
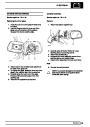
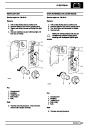
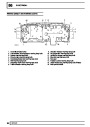
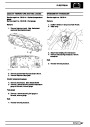
Detent plug or electrical switch leaks.
Cover plate gasket leaking.
1. Detent plugs and electrical switches do not
usually leak. It must be noted that they fit into
open tapped holes in the transfer case and
therefore should be considered when looking for
the source of the leak.
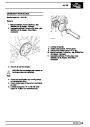
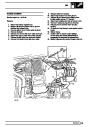
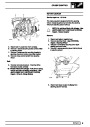
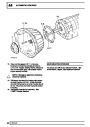
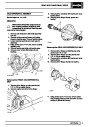
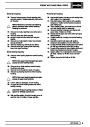
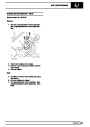
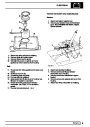
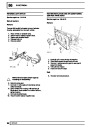
1.
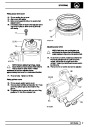
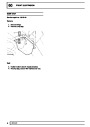
2.
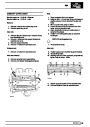
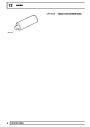
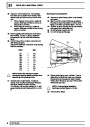
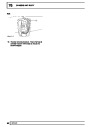
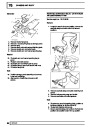
Drain the oil and remove the leaking cover plate.
Remove all traces of joint sealant from both joint
faces.
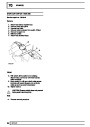
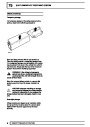
3.
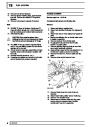
4.
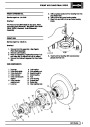
5.
Degrease all components and apply a thin film of
Hylomar sealant, to both joint faces.
Apply thread sealant to the bolts which come
into contact with gearbox oil.
Refit cover plate.
CAUTION: Care must be taken not to
overtighten the fixings.
2
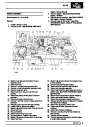
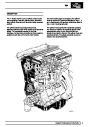
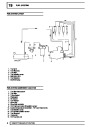
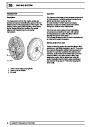
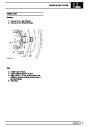
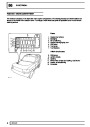
FAULT DIAGNOSIS
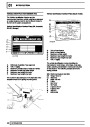
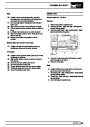
| Categories | Range Rover |
|---|---|
| Tags | Land Rover |
| Model Year | 1998 |
| Download File |
|
| Document Type | Workshop Manual |
| Language | English |
| Product Brand | Land Rover |
| Document File Type | |
| Publisher | landrover.com |
| Wikipedia's Page | http://en.wikipedia.org/wiki/Land_Rover |
| Copyright | Attribution Non-commercial |
(0 votes, average: 0 out of 5)