


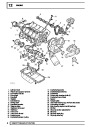
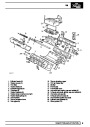


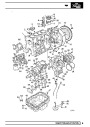
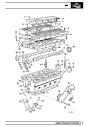


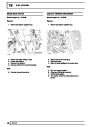


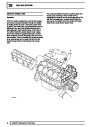


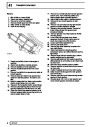
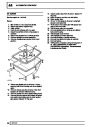
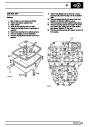
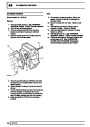
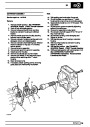
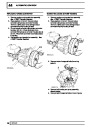
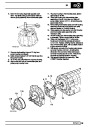
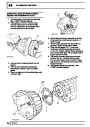
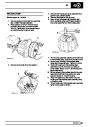
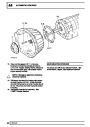
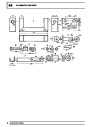


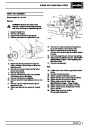
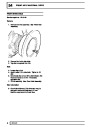
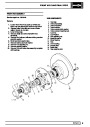
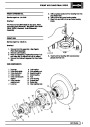


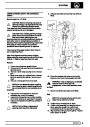


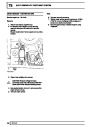

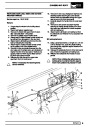


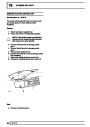


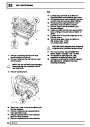


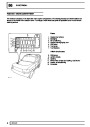
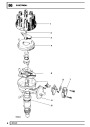

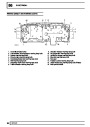

CHASSIS AND BODY
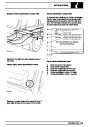
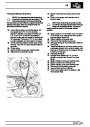
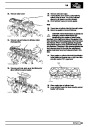
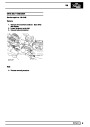
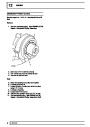
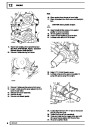
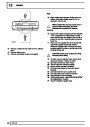
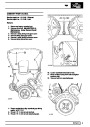
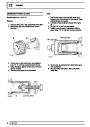
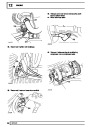
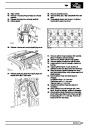
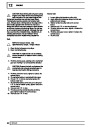
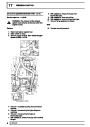
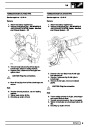
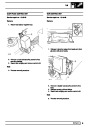
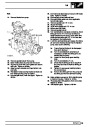
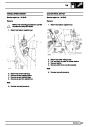
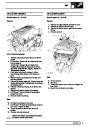
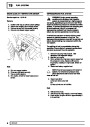
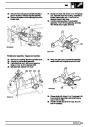
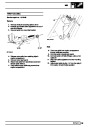
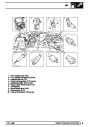
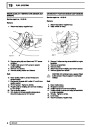
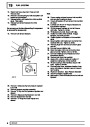
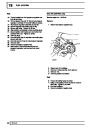
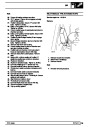
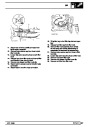
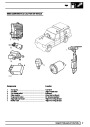
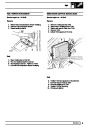
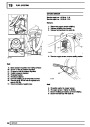
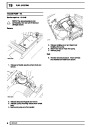
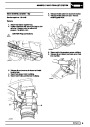
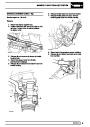
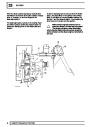
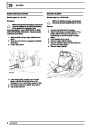
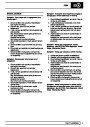
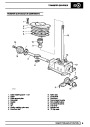
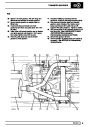
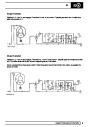
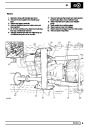
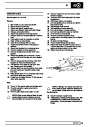
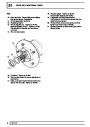
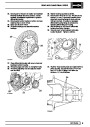
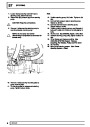
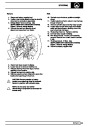
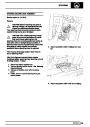
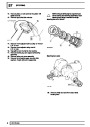
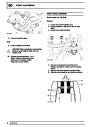
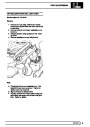
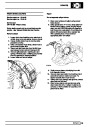
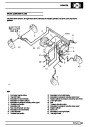
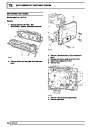
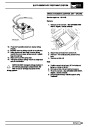
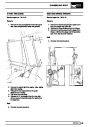
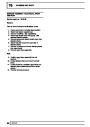
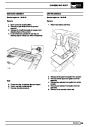
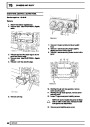
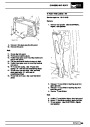
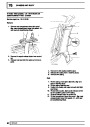
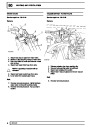
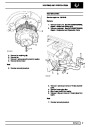
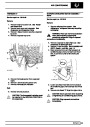
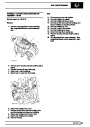
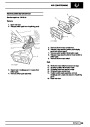
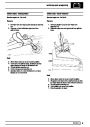
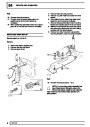
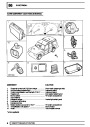
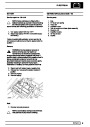
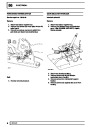
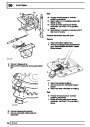
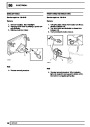
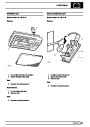
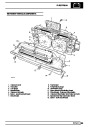
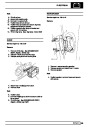
Refit
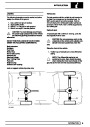
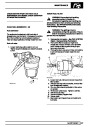
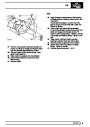
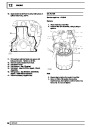
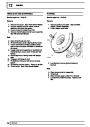
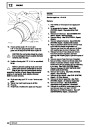
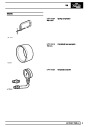
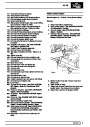
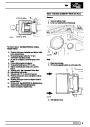
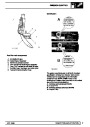
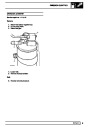
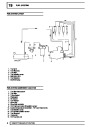
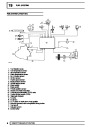
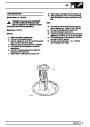
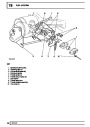
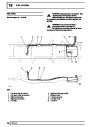
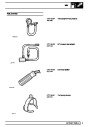
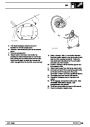
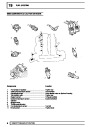
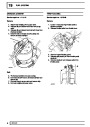
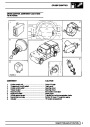
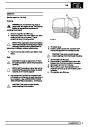
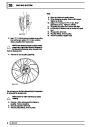
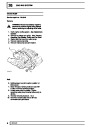
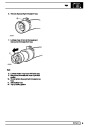
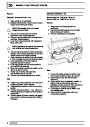
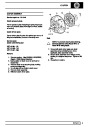
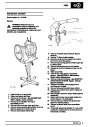
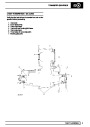
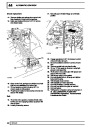
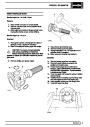
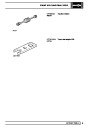
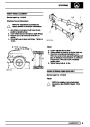
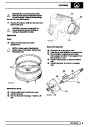
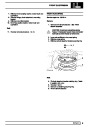
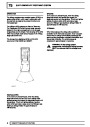
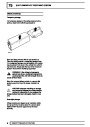
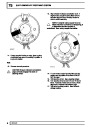
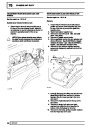
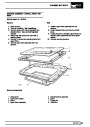
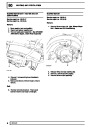
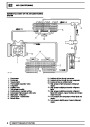
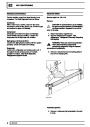
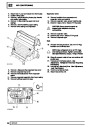
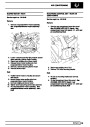
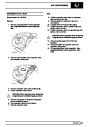
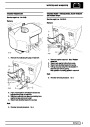
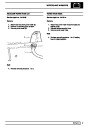
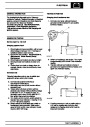
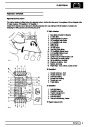
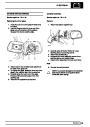
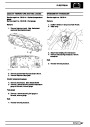
INTERIOR MIRROR (96 MODELS)
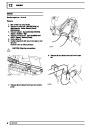
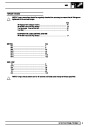
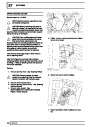
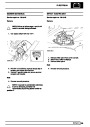
7.
8.
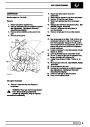
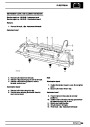
Reverse removal procedure.
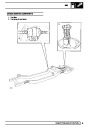
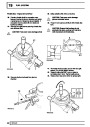
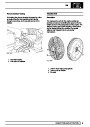
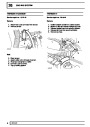
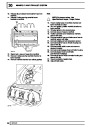
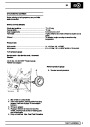
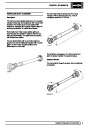
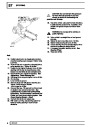
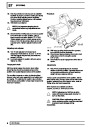
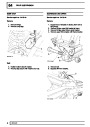
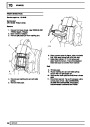
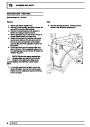
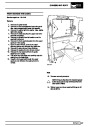
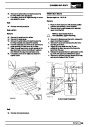
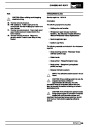
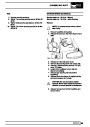
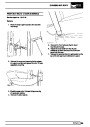
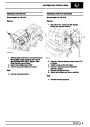
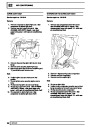
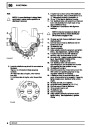
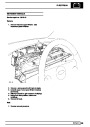
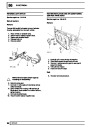
Tighten Torx screws securing seat to 29 Nm (21
lbf ft) .
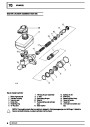
Service repair no - 76.10.51 - Manual
Service repair no - 76.10.54 - Auto dimming
9.
Tighten bolts securing seat slides to 22 Nm (16
lbf ft) .
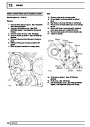
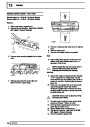
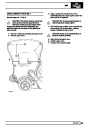
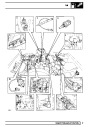
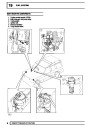
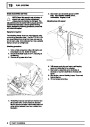
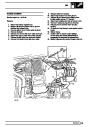
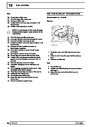
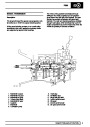
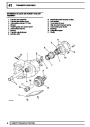
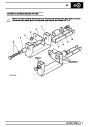
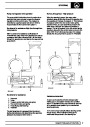
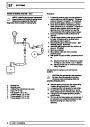
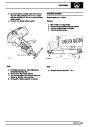
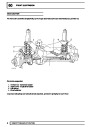
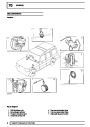
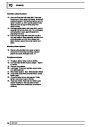
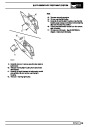
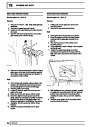
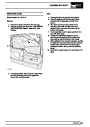
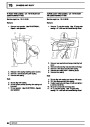
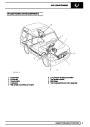
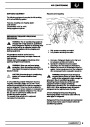
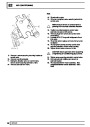
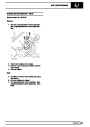
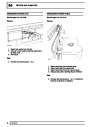
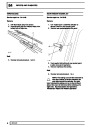
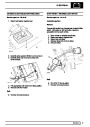
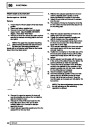
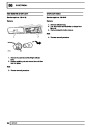
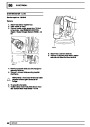
Remove
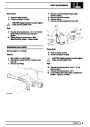
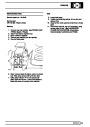
10.
Tighten Torx screw securing seat belt to 32 Nm
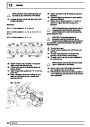
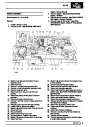
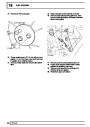
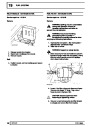
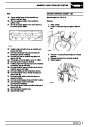
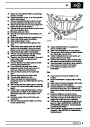
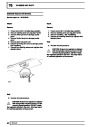
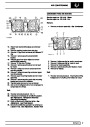
NOTE: To remove manual mirror, follow
step 8 only.
(24
lbf ft) .
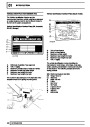
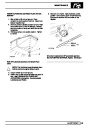
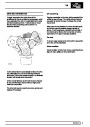
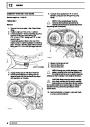
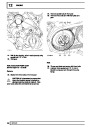
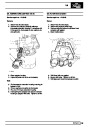
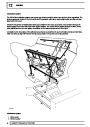
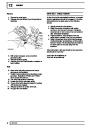
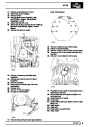
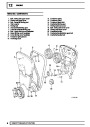
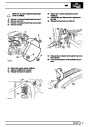
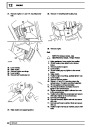
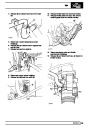
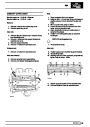
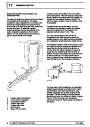
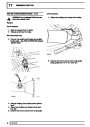
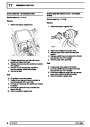
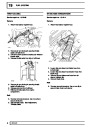
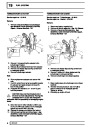
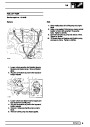
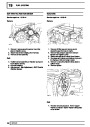
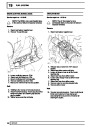
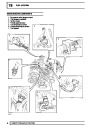
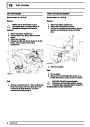
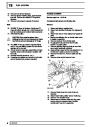
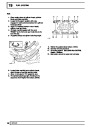
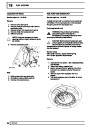
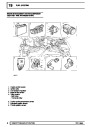
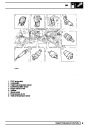
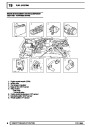
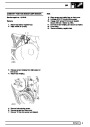
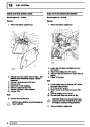
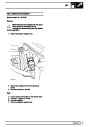
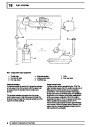
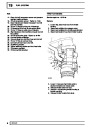
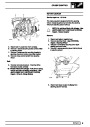
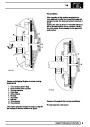
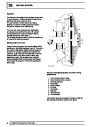
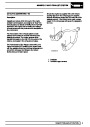
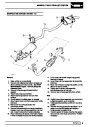
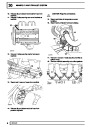
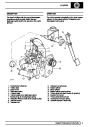
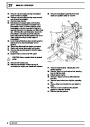
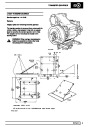
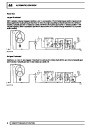
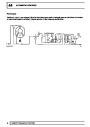
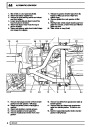
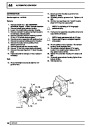
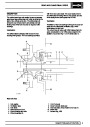
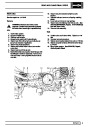
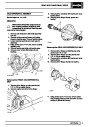
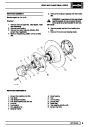
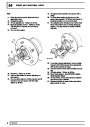
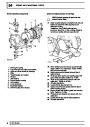
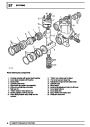
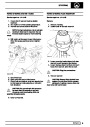
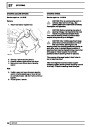
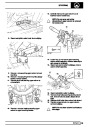
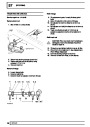
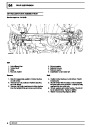
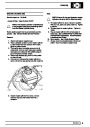
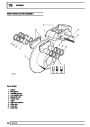
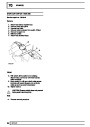
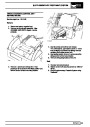
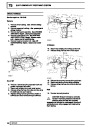
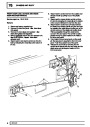
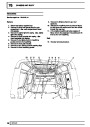
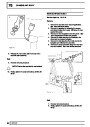
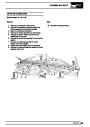
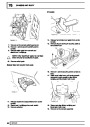
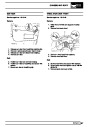
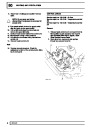
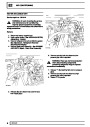
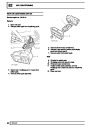
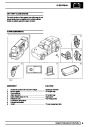
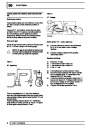
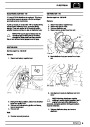
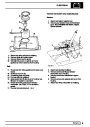
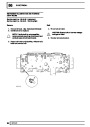
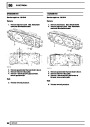
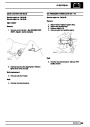
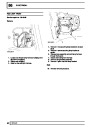
1.
2.
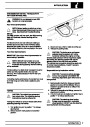
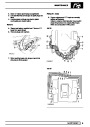
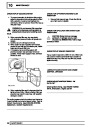
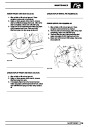
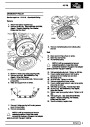
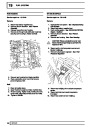
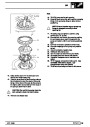
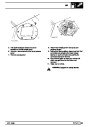
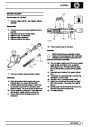
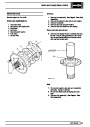
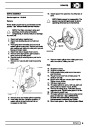
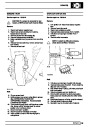
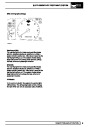
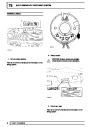
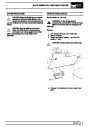
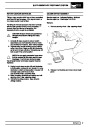
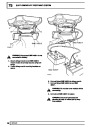
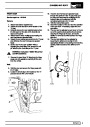
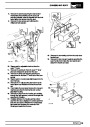
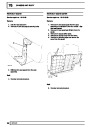
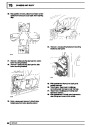
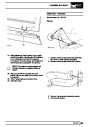
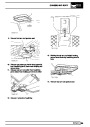
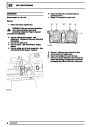
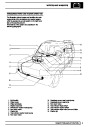
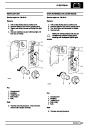
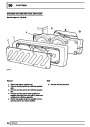
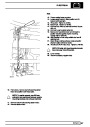
Remove headlining front pocket.
Release left hand sun visor from clip and move
aside.
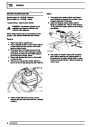
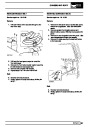
3.
4.
5.
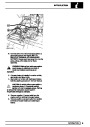
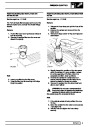
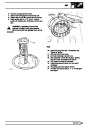
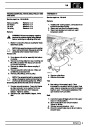
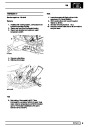
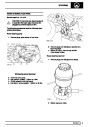
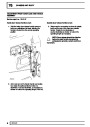
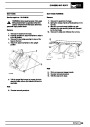
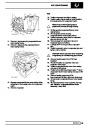
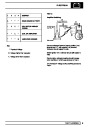
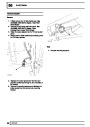
Release sun visor clip screw cover.
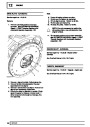
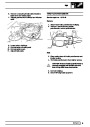
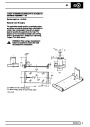
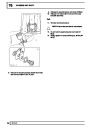
Remove clip securing screw and remove clip.
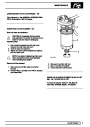
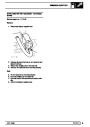
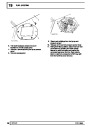
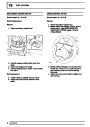
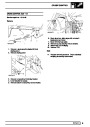
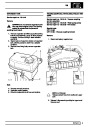
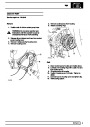
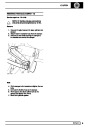
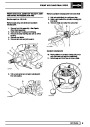
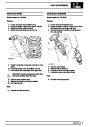
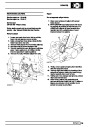
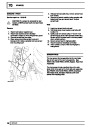
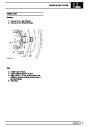
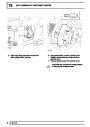
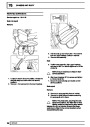
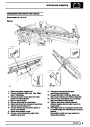
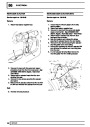
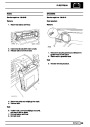
Remove 2 screws securing sunroof ECU and
move ECU aside.
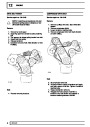
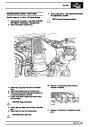
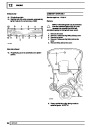
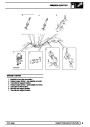
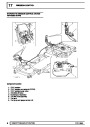
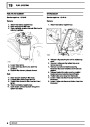
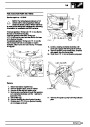
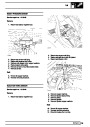
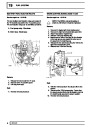
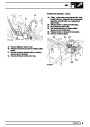
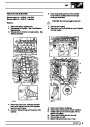
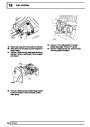
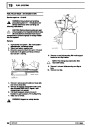
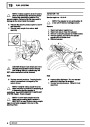
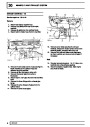
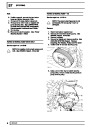
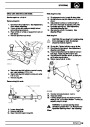
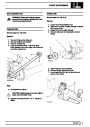
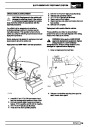
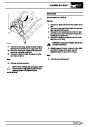
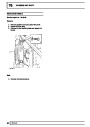
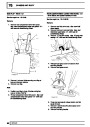
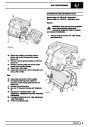
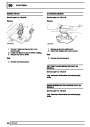
6.
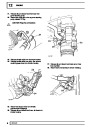
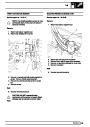
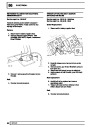
7.
8.
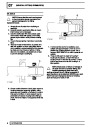
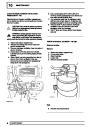
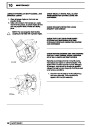
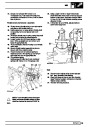
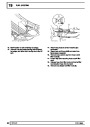
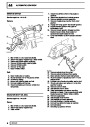
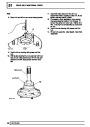
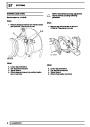
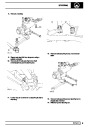
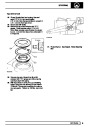
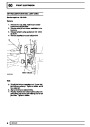
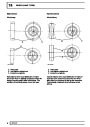
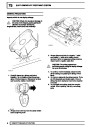
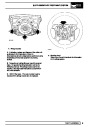
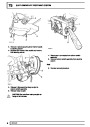
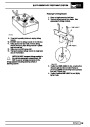
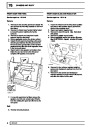
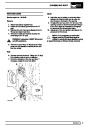
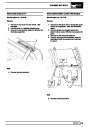
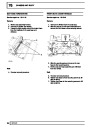
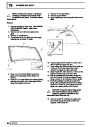
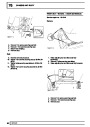
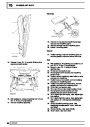
Locate mirror multiplug, remove clip and
disconnect multiplug.
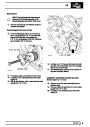
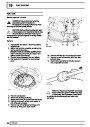
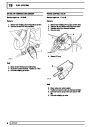
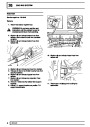
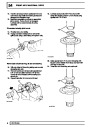
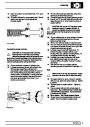
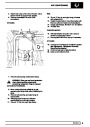
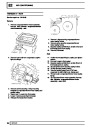
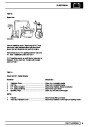
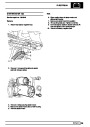
Remove tape securing harness (behind
headlining).
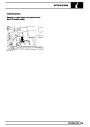
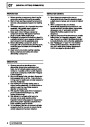
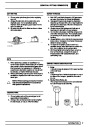
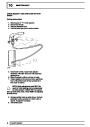
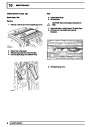
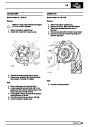
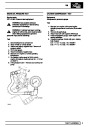
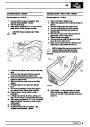
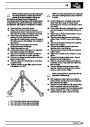
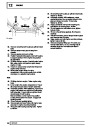
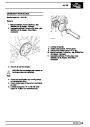
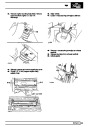
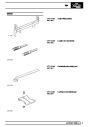
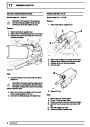
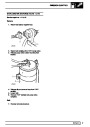
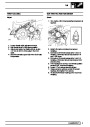
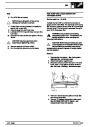
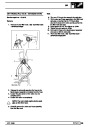
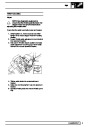
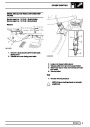
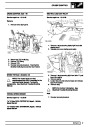
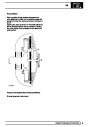
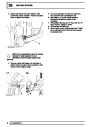
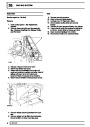
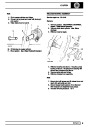
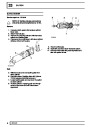
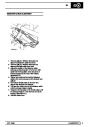
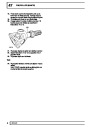
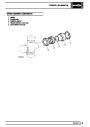
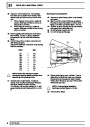
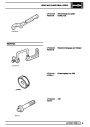
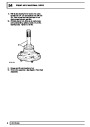
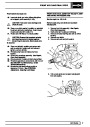
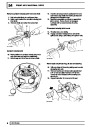
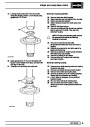
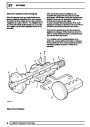
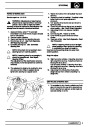
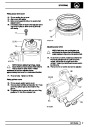
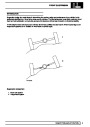
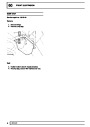
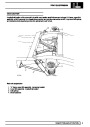
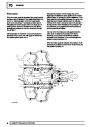
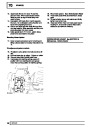
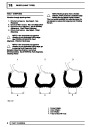
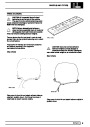
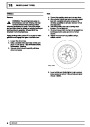
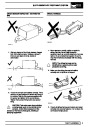
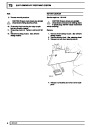
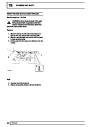
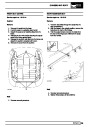
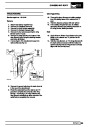
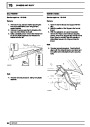
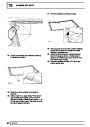
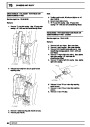
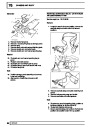
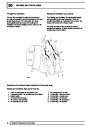
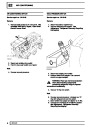
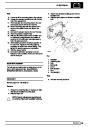
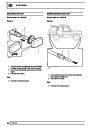
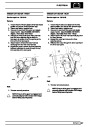
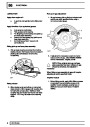
Release mirror from screen by applying sharp
downward pressure to the base.
CAUTION: Do not use tools to assist
removal. Mirror base should be moved in
direction of arrow, parallel to windscreen.
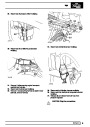
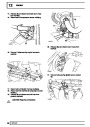
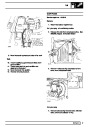
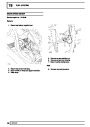
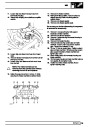
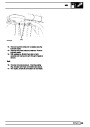
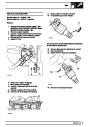
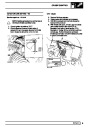
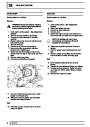
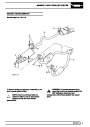
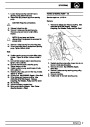
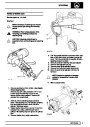
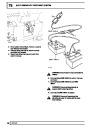
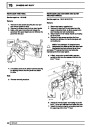
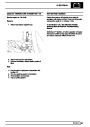
9.
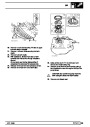
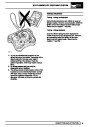
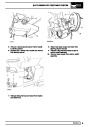
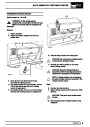
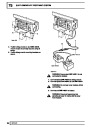
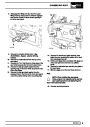
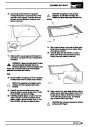
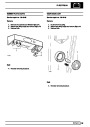
Release harness from behind headlining and
remove mirror.
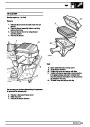
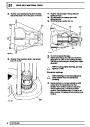
REPAIR
55
| Categories | Range Rover |
|---|---|
| Tags | Land Rover |
| Model Year | 1998 |
| Download File |
|
| Document Type | Workshop Manual |
| Language | English |
| Product Brand | Land Rover |
| Document File Type | |
| Publisher | landrover.com |
| Wikipedia's Page | http://en.wikipedia.org/wiki/Land_Rover |
| Copyright | Attribution Non-commercial |
(0 votes, average: 0 out of 5)