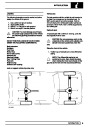
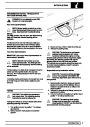


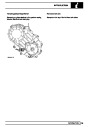


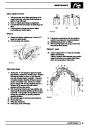


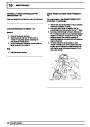

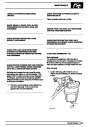

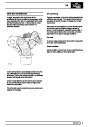


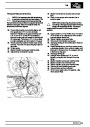


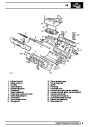


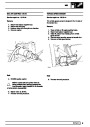


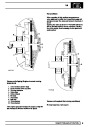


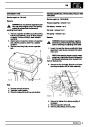
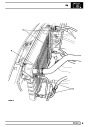


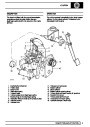


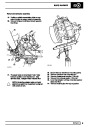


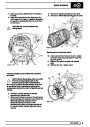


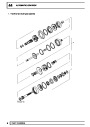


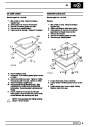


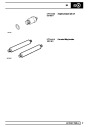


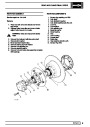


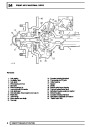


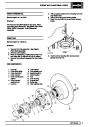


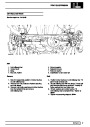


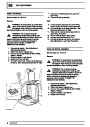


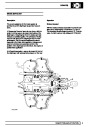


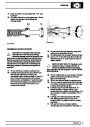


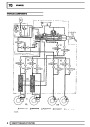


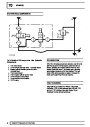


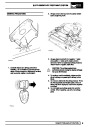


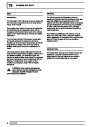


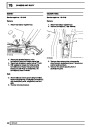

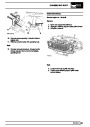


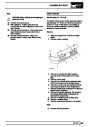


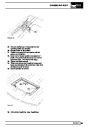


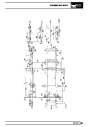


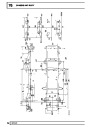


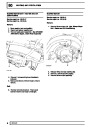


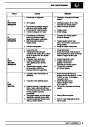


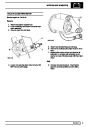

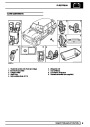


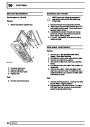


AIR SUSPENSION
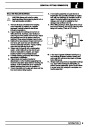
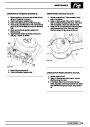
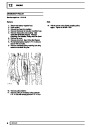
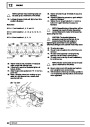
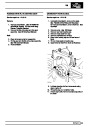
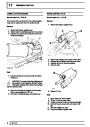
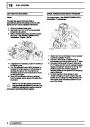
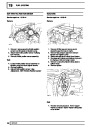
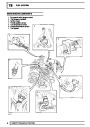
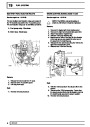
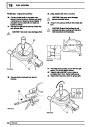
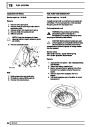
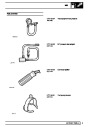
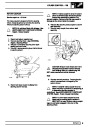
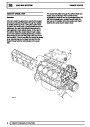
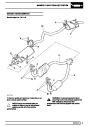
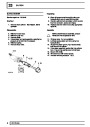
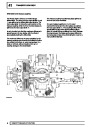
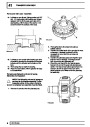
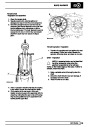
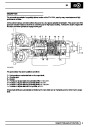
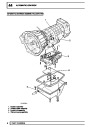
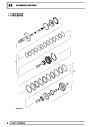
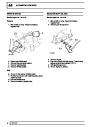
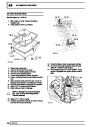
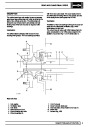
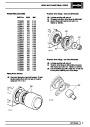
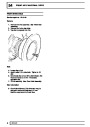
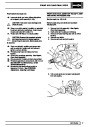
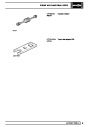
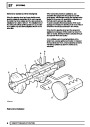
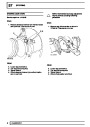
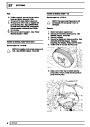
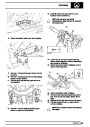
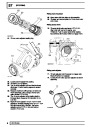
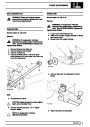
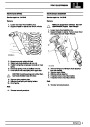
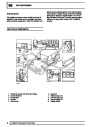
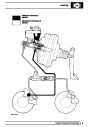
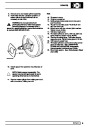
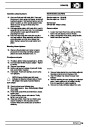
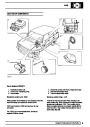
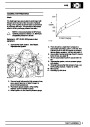
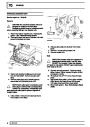
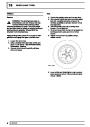
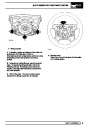
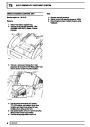
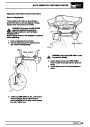
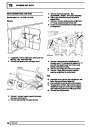
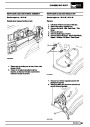
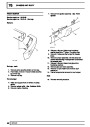
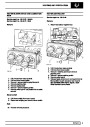
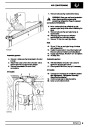
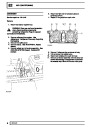
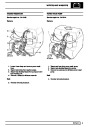
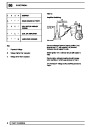
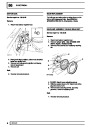
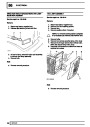
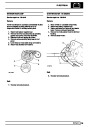
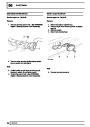
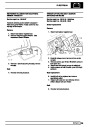
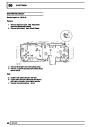
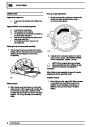
AIR COMPRESSOR
Service repair no - 60.50.10
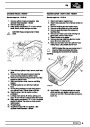
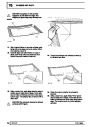
Remove
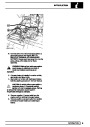
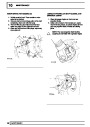
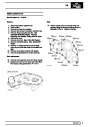
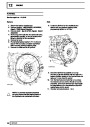
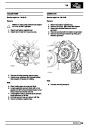
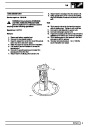
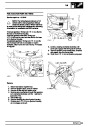
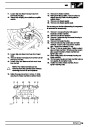
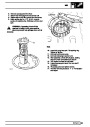
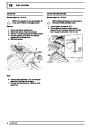
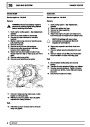
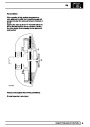
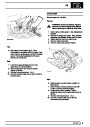
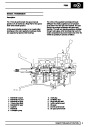
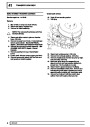
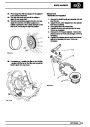
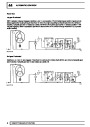
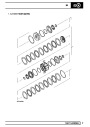
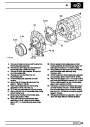
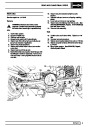
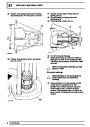
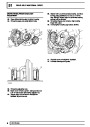
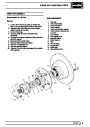
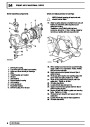
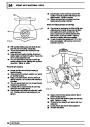
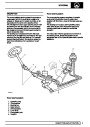
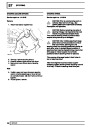
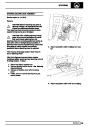
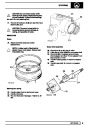
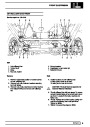
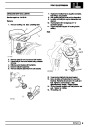
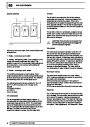
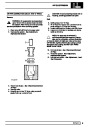
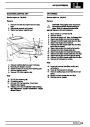
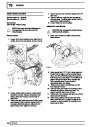
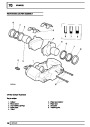
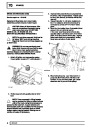
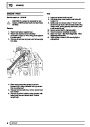
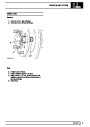
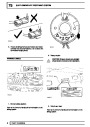
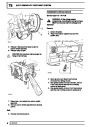
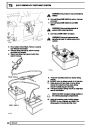
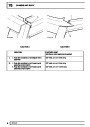
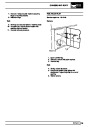
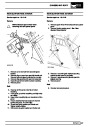
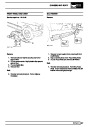
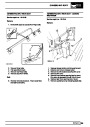
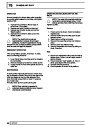
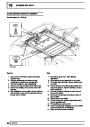
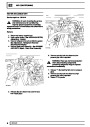
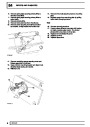
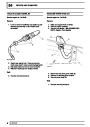
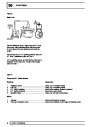
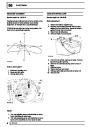
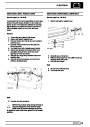
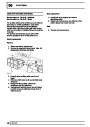
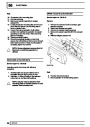
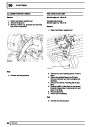
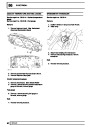
VALVE BLOCK
Service repair no - 60.50.11
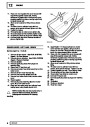
Remove
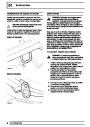
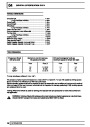
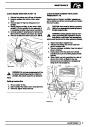
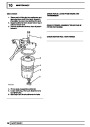
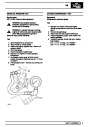
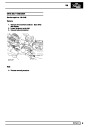
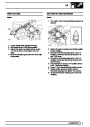
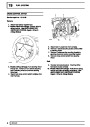
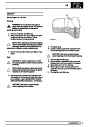
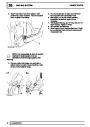
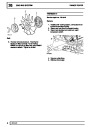
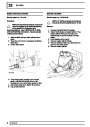
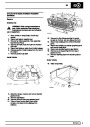
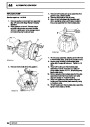
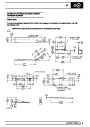
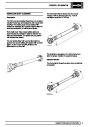
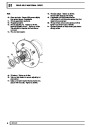
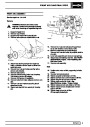
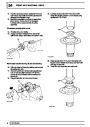
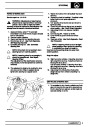
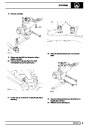
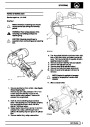
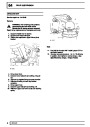
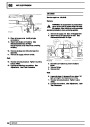
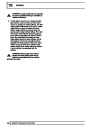
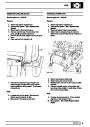
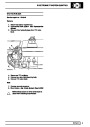
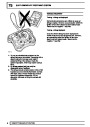
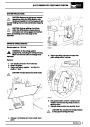
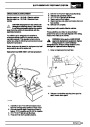
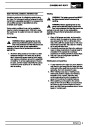
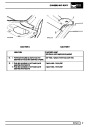
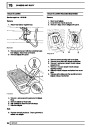
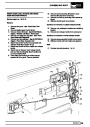
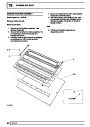
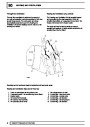
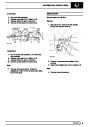
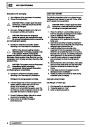
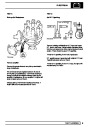
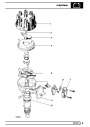
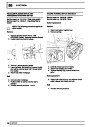
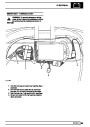
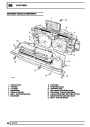
WARNING: The air compressor assembly
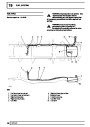
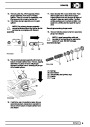
WARNING: Air suspension is pressurised
becomes hot when running. Avoid
personal contact or allow to cool.
up to 10 bar. Dirt or grease must not enter
the system. Wear hand, ear and eye safety
standard protection when servicing system.
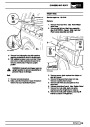
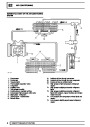
1.
2.
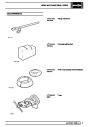
Remove air supply unit. See Air Supply Unit
Remove compressor outlet pipe, seal all
exposed ends.
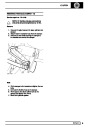
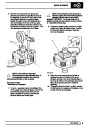
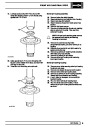
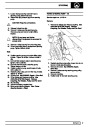
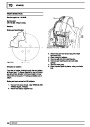
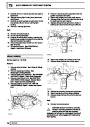
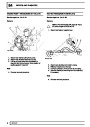
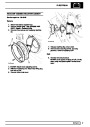
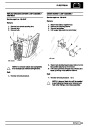
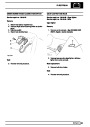
1. Remove air supply assembly. See Air Supply
Unit
2.
Disconnect air pipes from valve block, seal all
pipe ends See Disconnect/Connect Air Pipe
CAUTION: Air pipes must be refitted
correctly to avoid component damage.
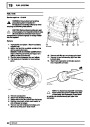
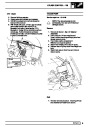
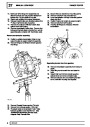
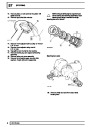
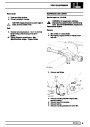
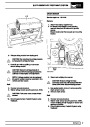
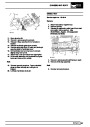
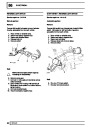
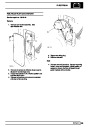
3.
4.
Remove four fixing nuts.
Remove compressor assembly.
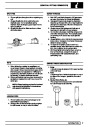
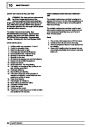
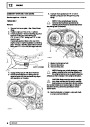
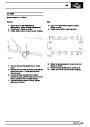
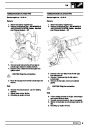
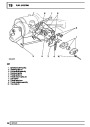
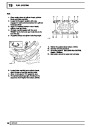
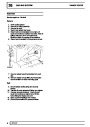
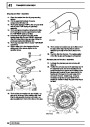
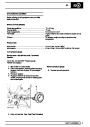
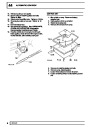
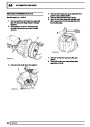
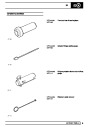
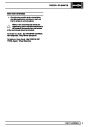
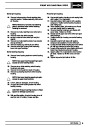
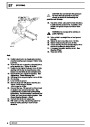
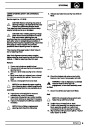
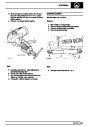
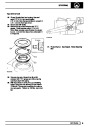
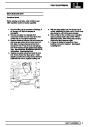
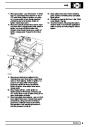
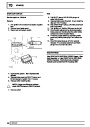
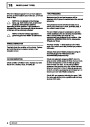
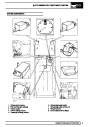
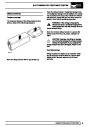
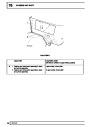
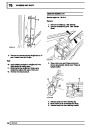
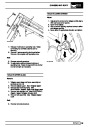
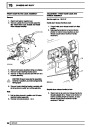
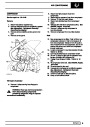
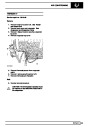
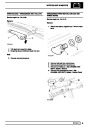
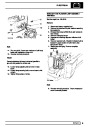
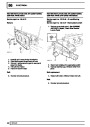
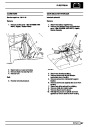
Refit
5.
Inspect compressor mountings, replace if
necessary.
6.
Reverse removal procedure. Tighten nuts to
7Nm.
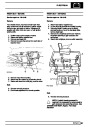
7.
8.
Check operation of compressor.
Leak test connections. See Adjustment, Leak
Test Procedure
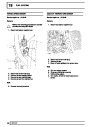
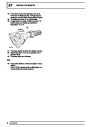
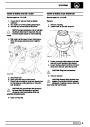
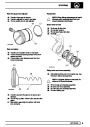
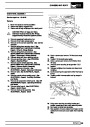
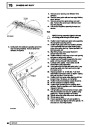
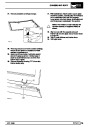
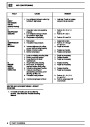
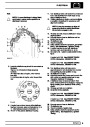
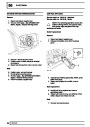
3.
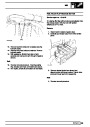
4.
Remove four fixing bolts.
Remove valve block assembly.
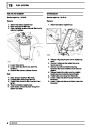
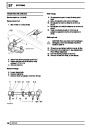
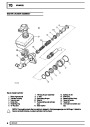
Refit
5.
6.
Reverse removal procedure.
Leak test connections. See Adjustment, Leak
Test Procedure
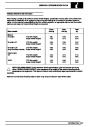
REPAIR
11
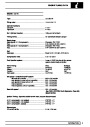
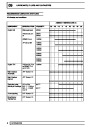
| Categories | Land Rover, Range Rover |
|---|---|
| Tags | Land Rover |
| Model Year | 1995 |
| Download File |
|
| Document Type | Owners Manual |
| Language | English |
| Product Name | Range Rover Classic |
| Product Brand | Land Rover |
| Document File Type | |
| Publisher | landrover.com |
| Wikipedia's Page | http://en.wikipedia.org/wiki/Land_Rover |
| Copyright | Attribution Non-commercial |
(0 votes, average: 0 out of 5)